In a recording session, the term “tracking vocals” denotes the specific task of recording the singer’s voice onto an individual track. This task stands out for its complexity and fine-tuning, with each vocalist requiring a unique approach. Guided by a clear objective – the optimal vocal performance – the tracking process strategically aligns each action in the session towards this desired outcome. Therefore, when you hear “let’s track the vocals,” it specifically pertains to the focused effort of capturing only the vocal performance.
If you're recording voice-over for a commercial, the steps involved and the equipment utilized will likely be very different than if you are laying down tracks with an opera diva or the singer of a punk-rock band.
Whatever style you're recording, you'll want to use every tool in your bag to tease out the best result possible. Vocal tracks are at the sonic forefront of every mix, and nothing will sink your final project faster than sloppy or hastily-recorded vocals. Here are 5 tips to keep in mind as you record.
1. The Right Space
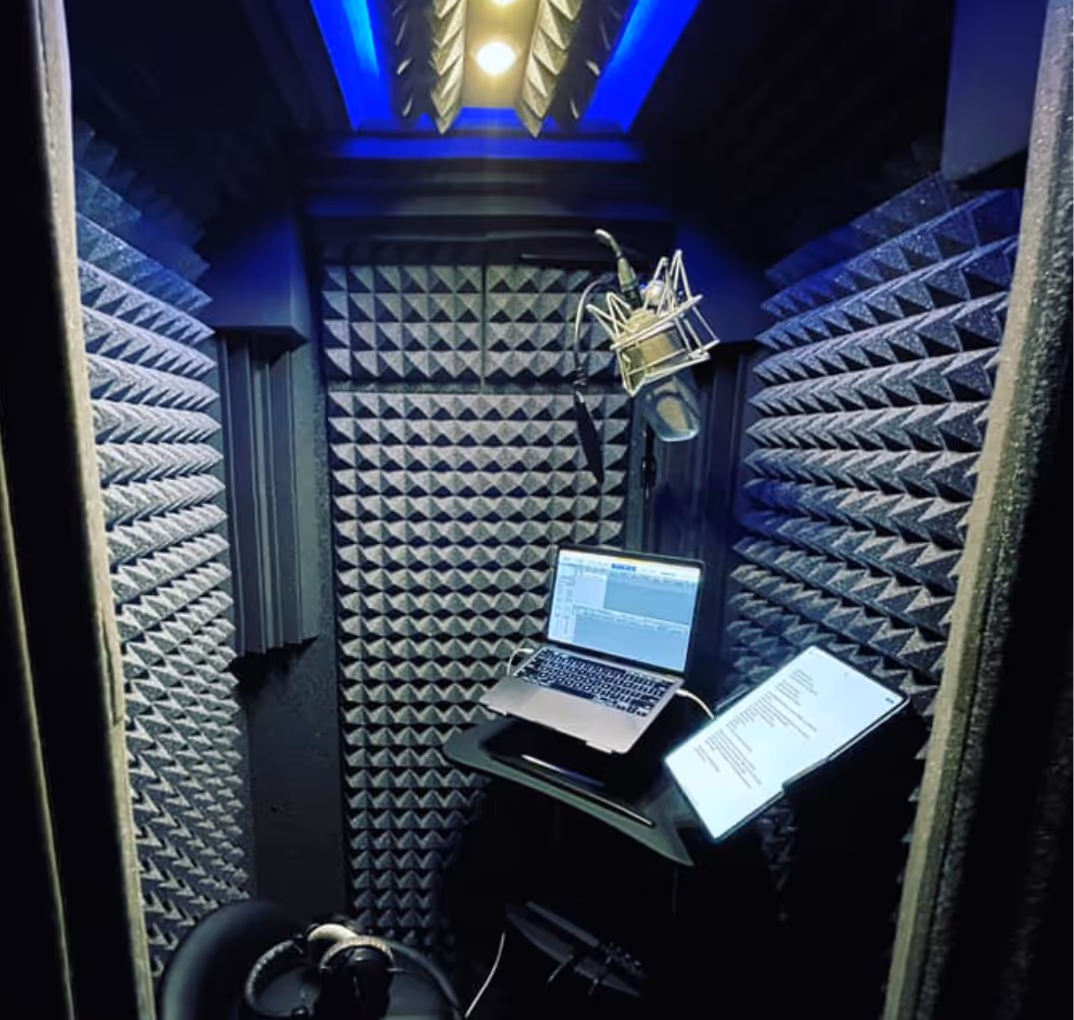
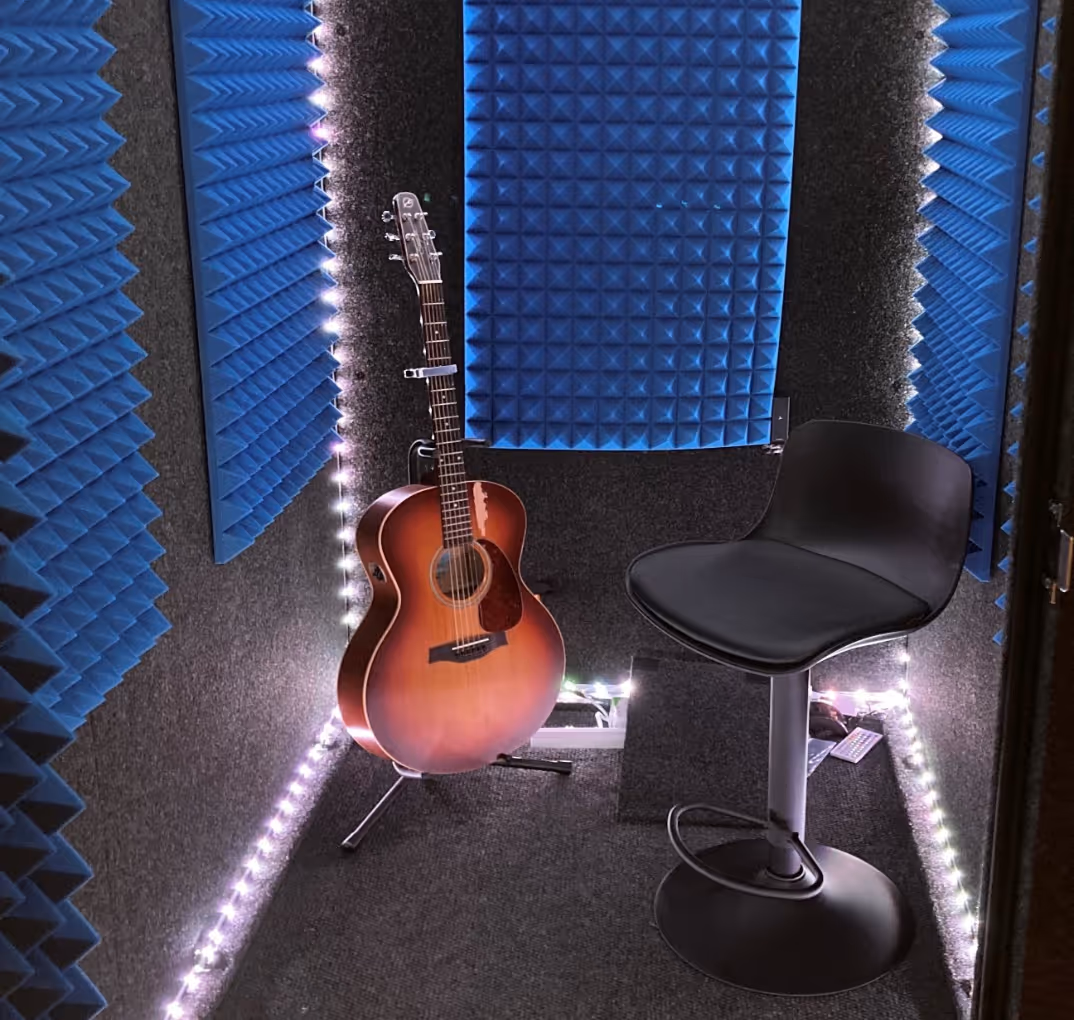
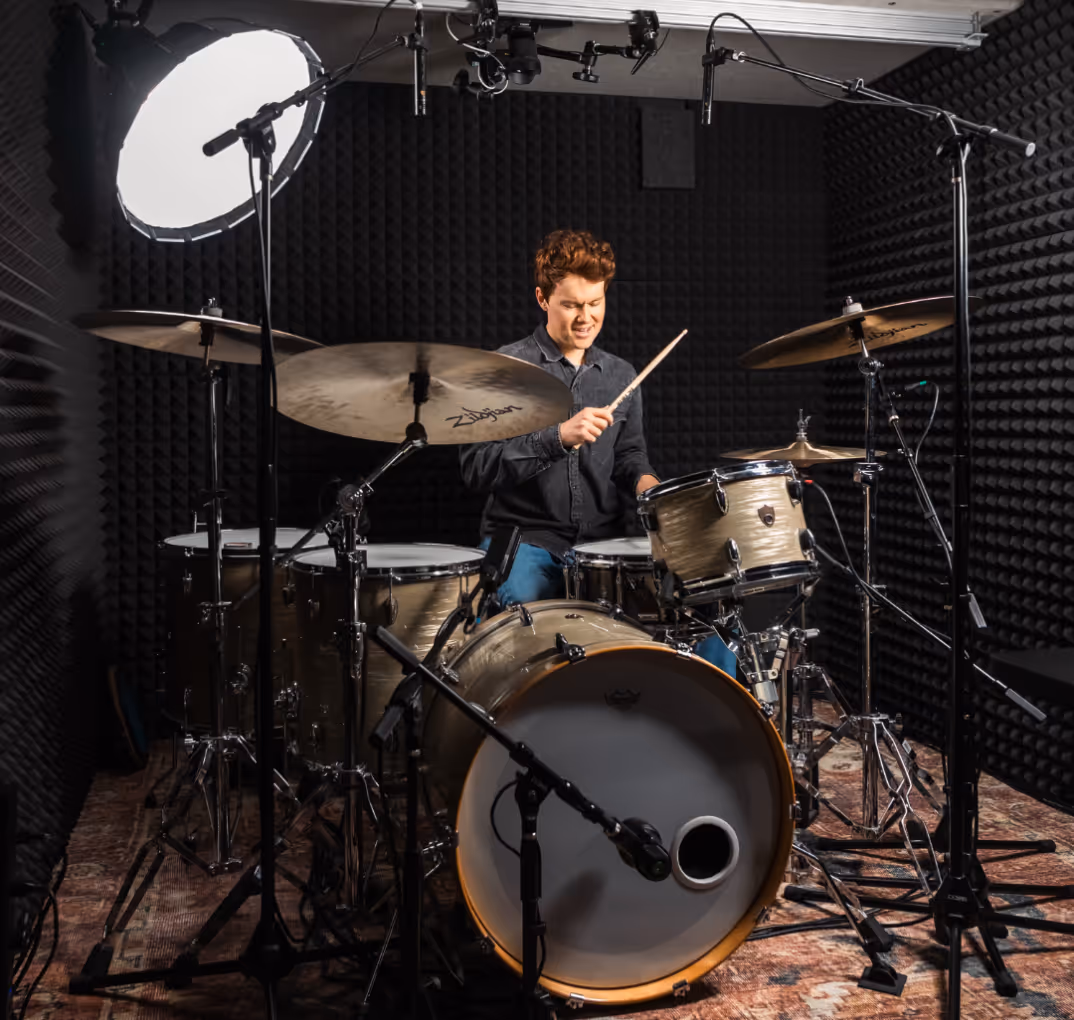
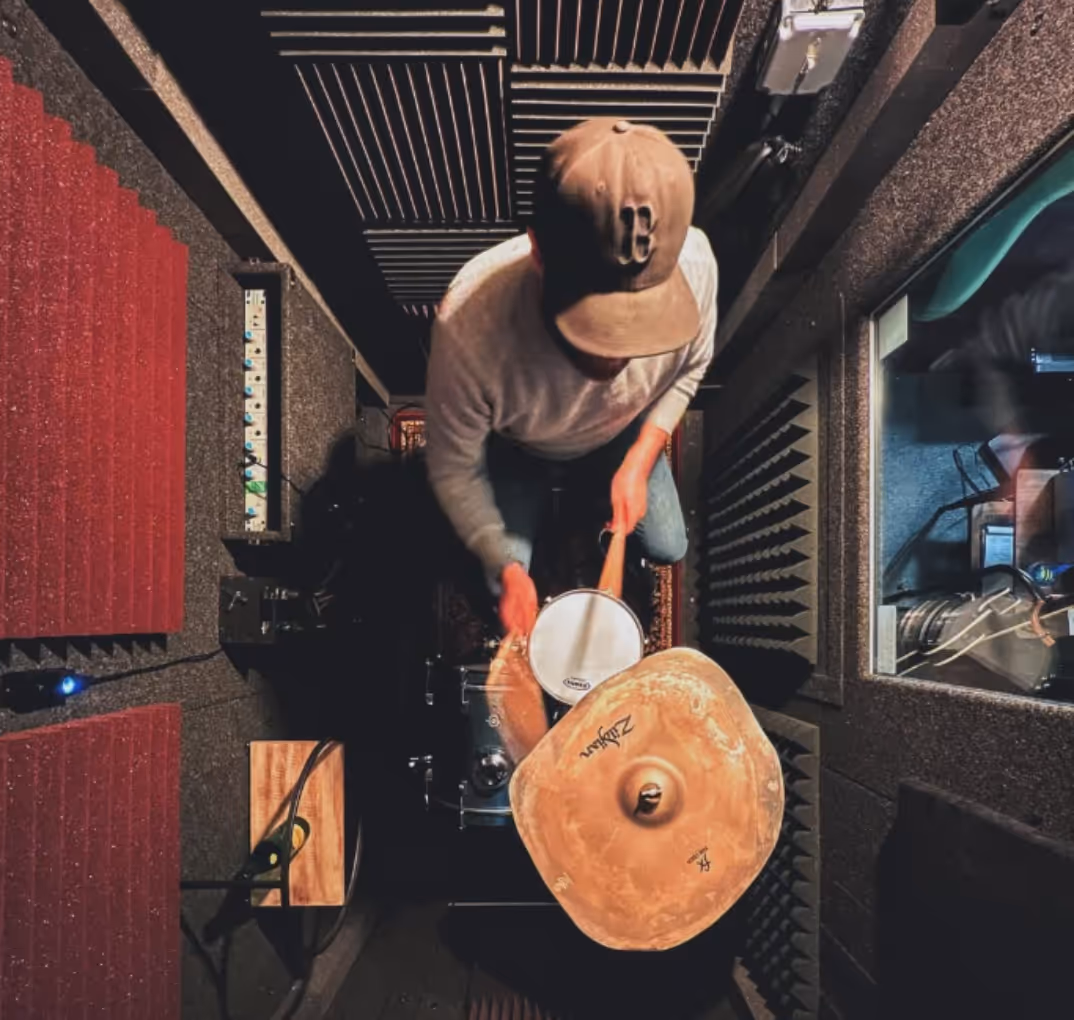
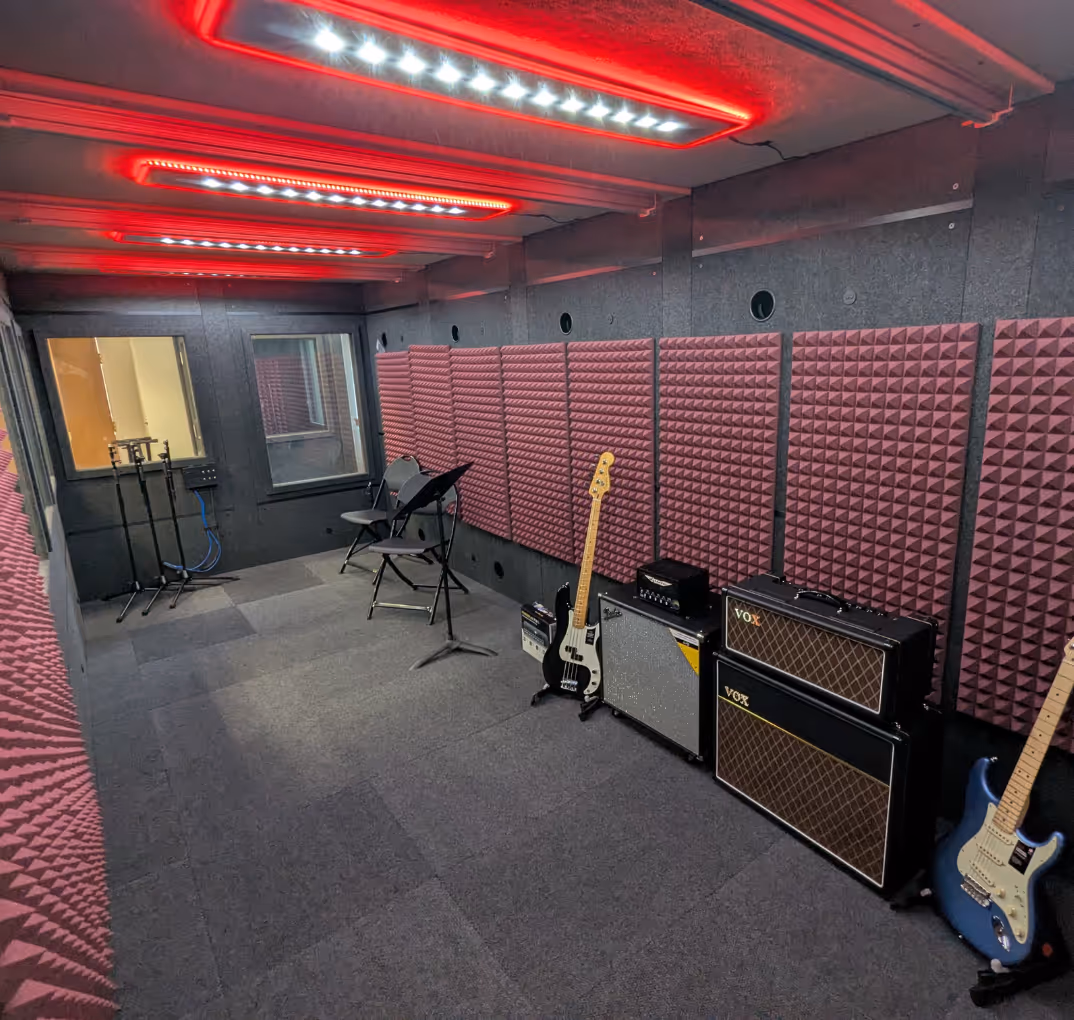
Few things will affect your vocal recordings as much as room choice. It's best to have a silent and acoustically treated environment to track your vocal in. Recording studios have different rooms because the size, shape, and surface of each room affect the sounds that are being produced.

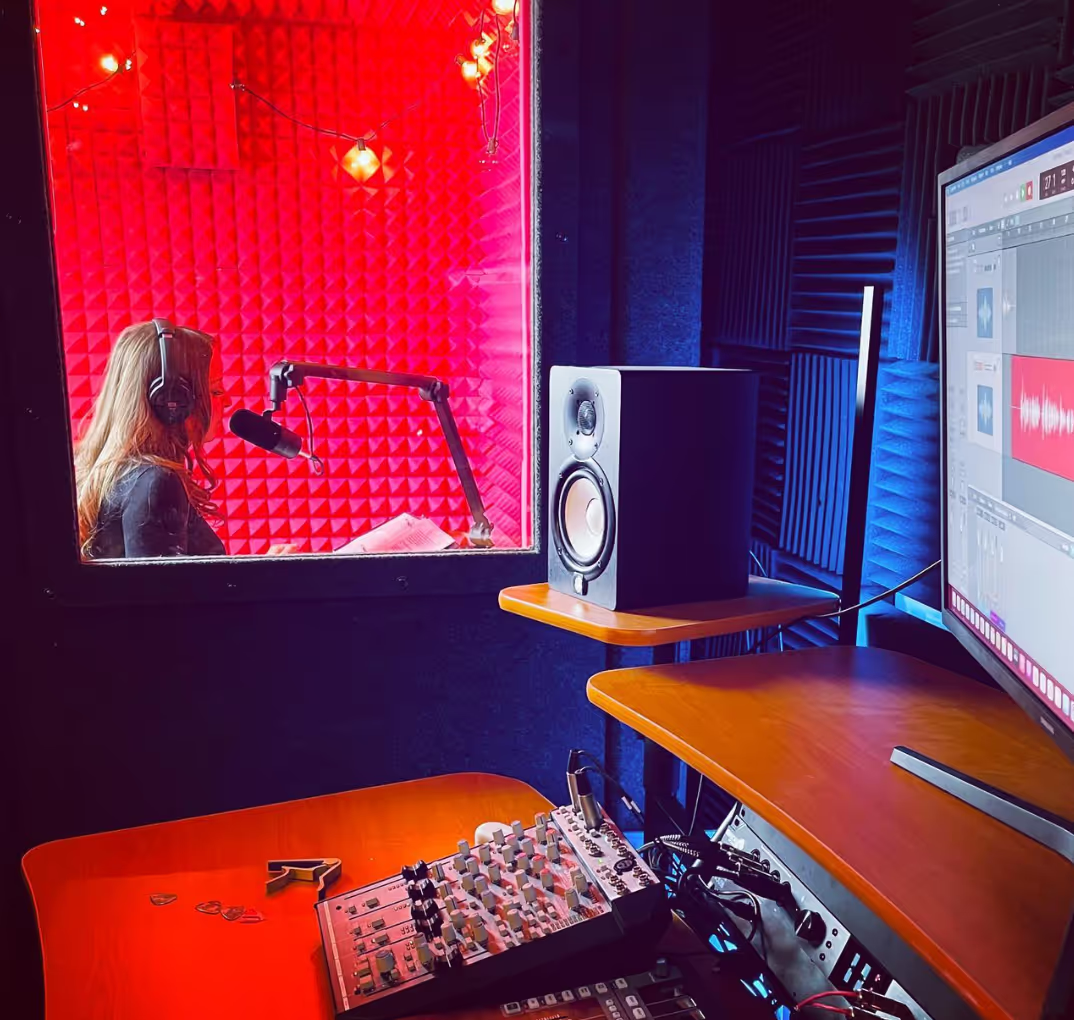
Recording at Home
When recording at home, be aware that furnished, carpeted rooms of medium size will achieve warmer-sounding vocals while spare, reflective rooms (those with tile or other smooth surfaces) will add unwanted amounts of natural reverb to your recording.
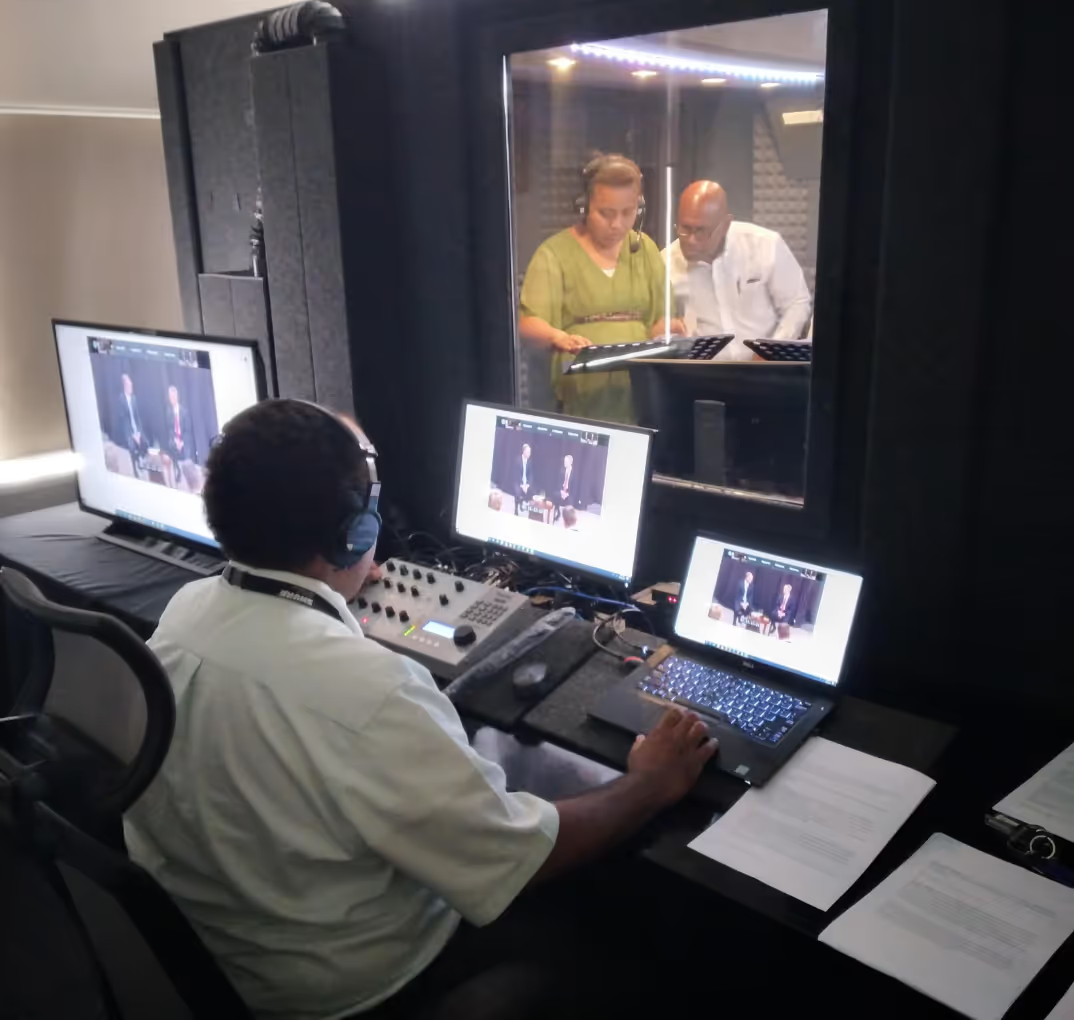
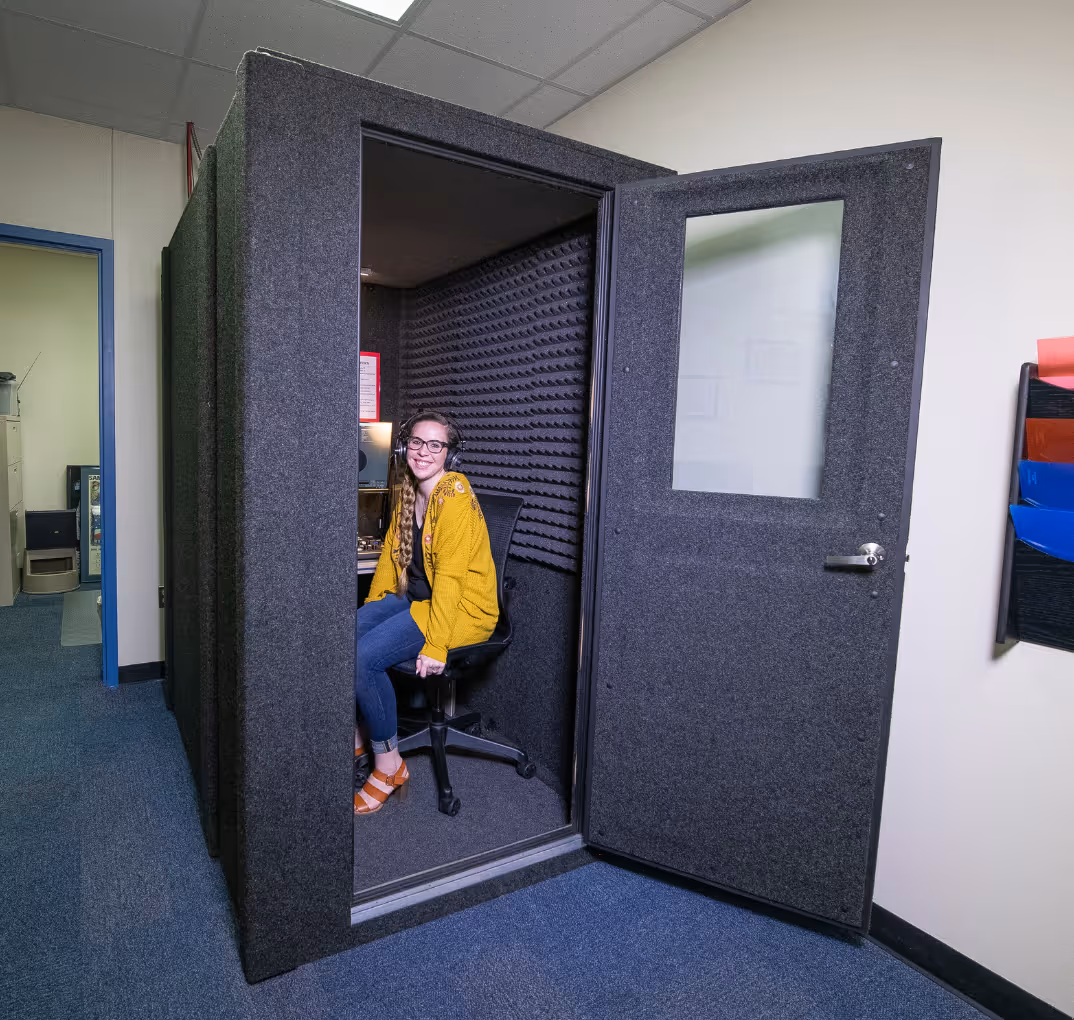
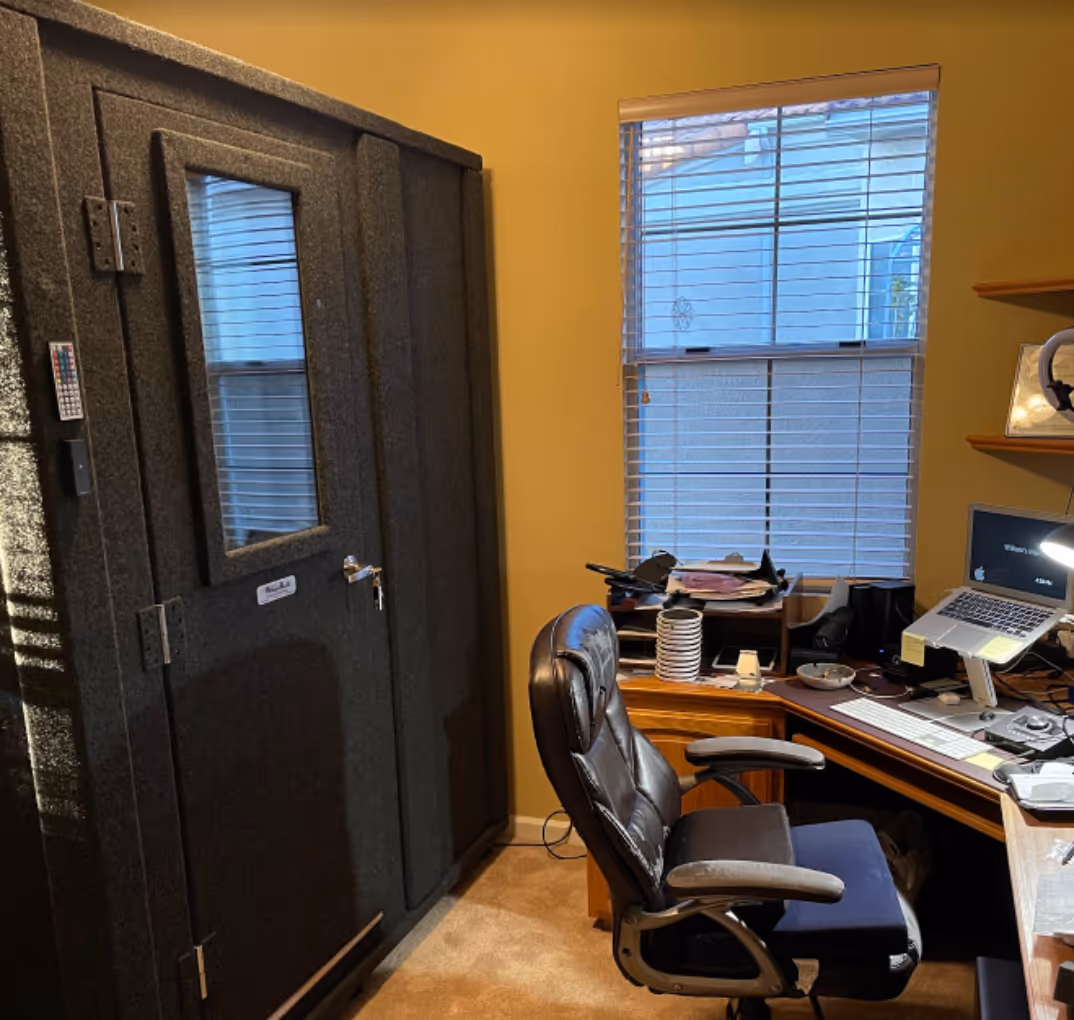
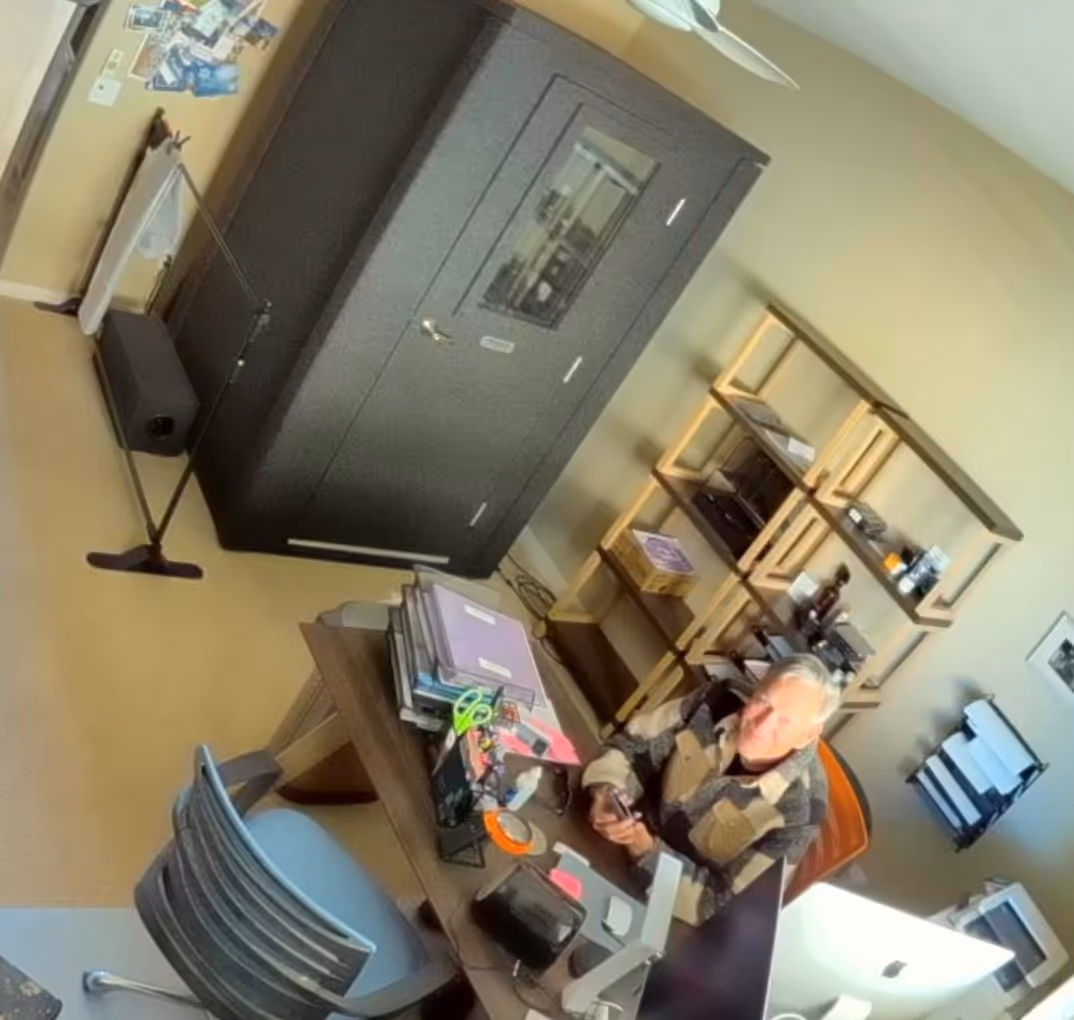
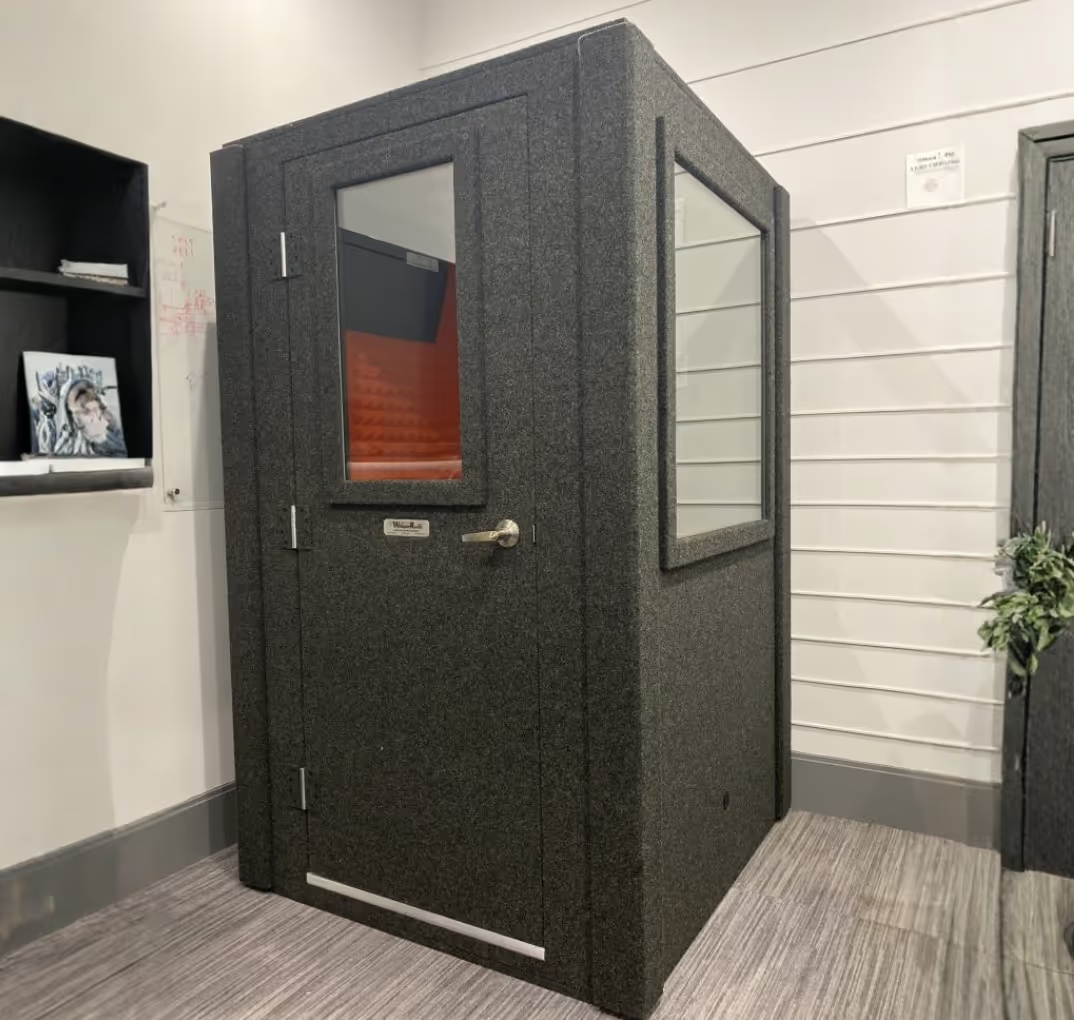
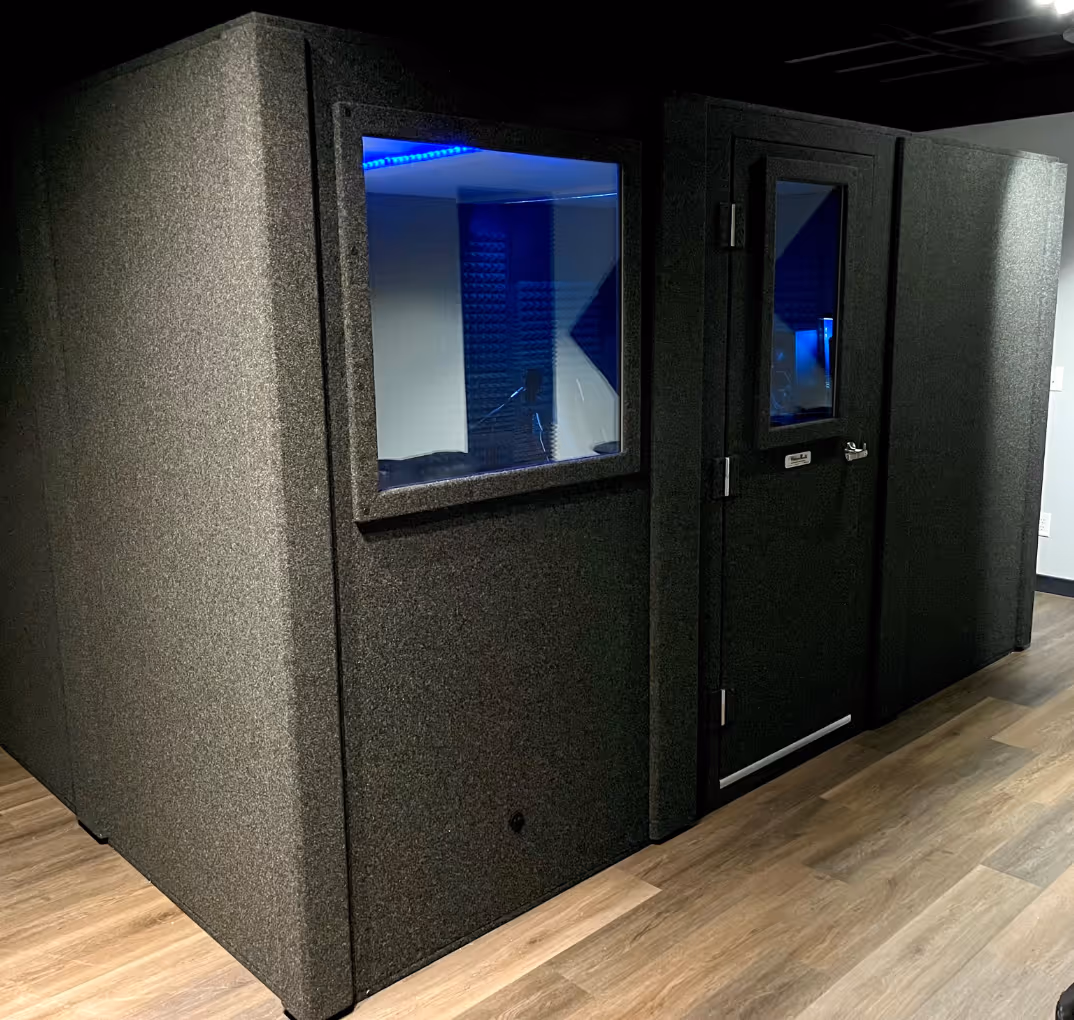
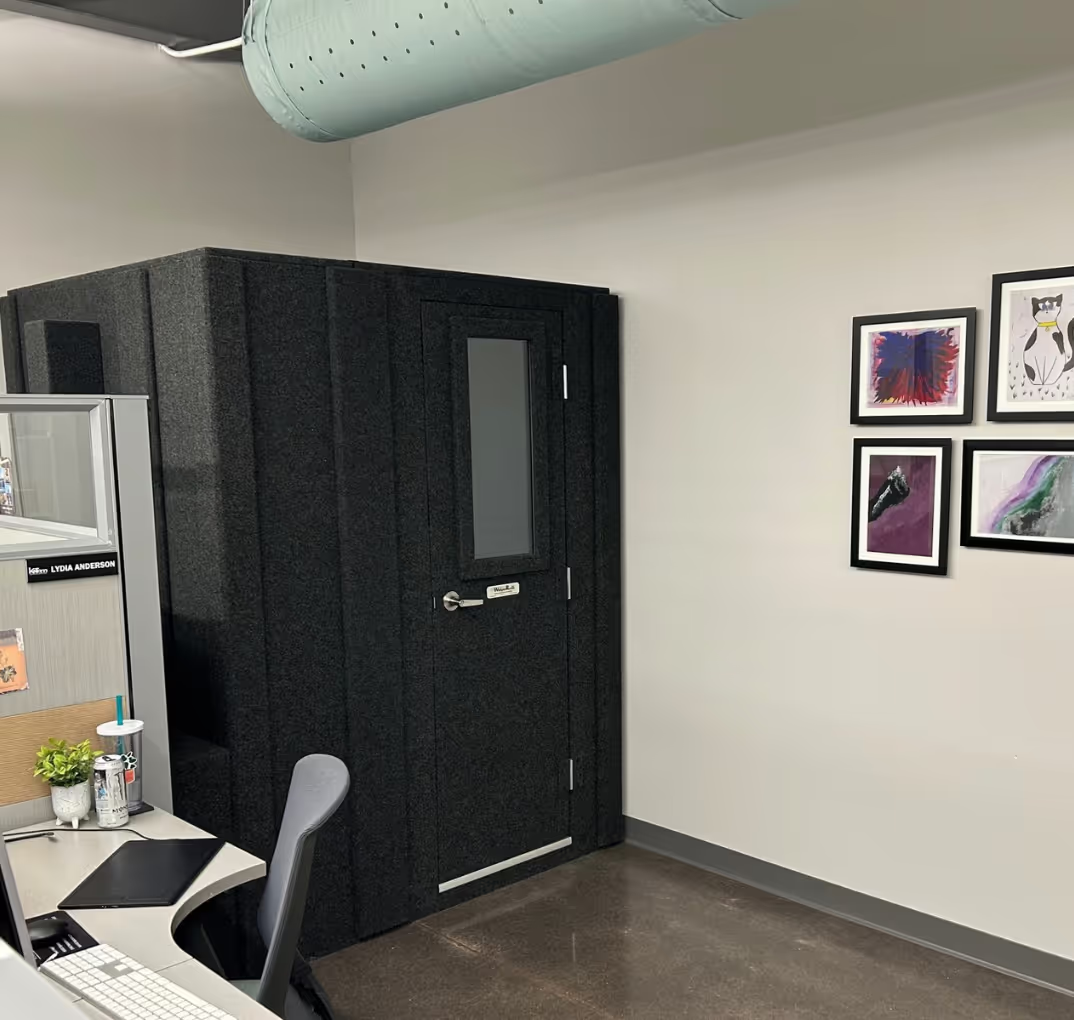
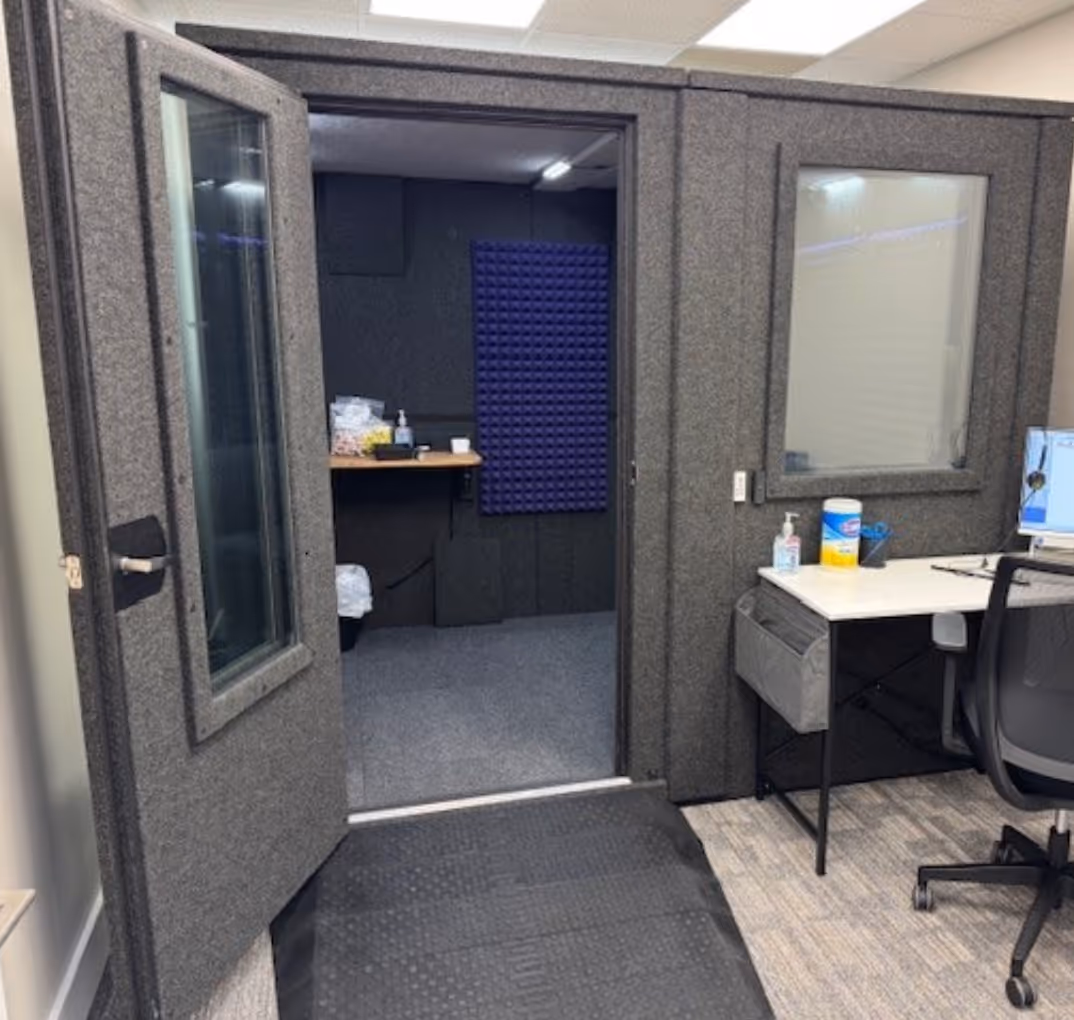
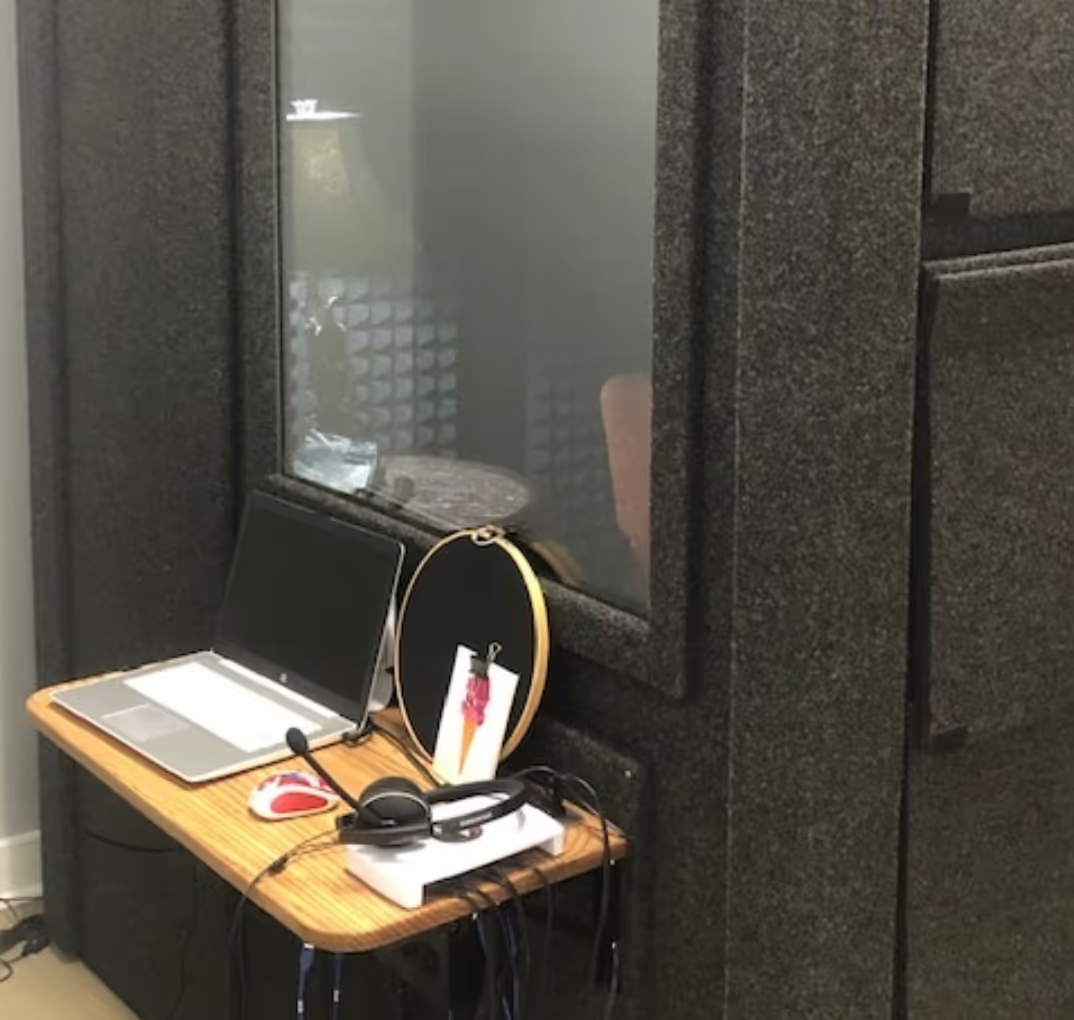
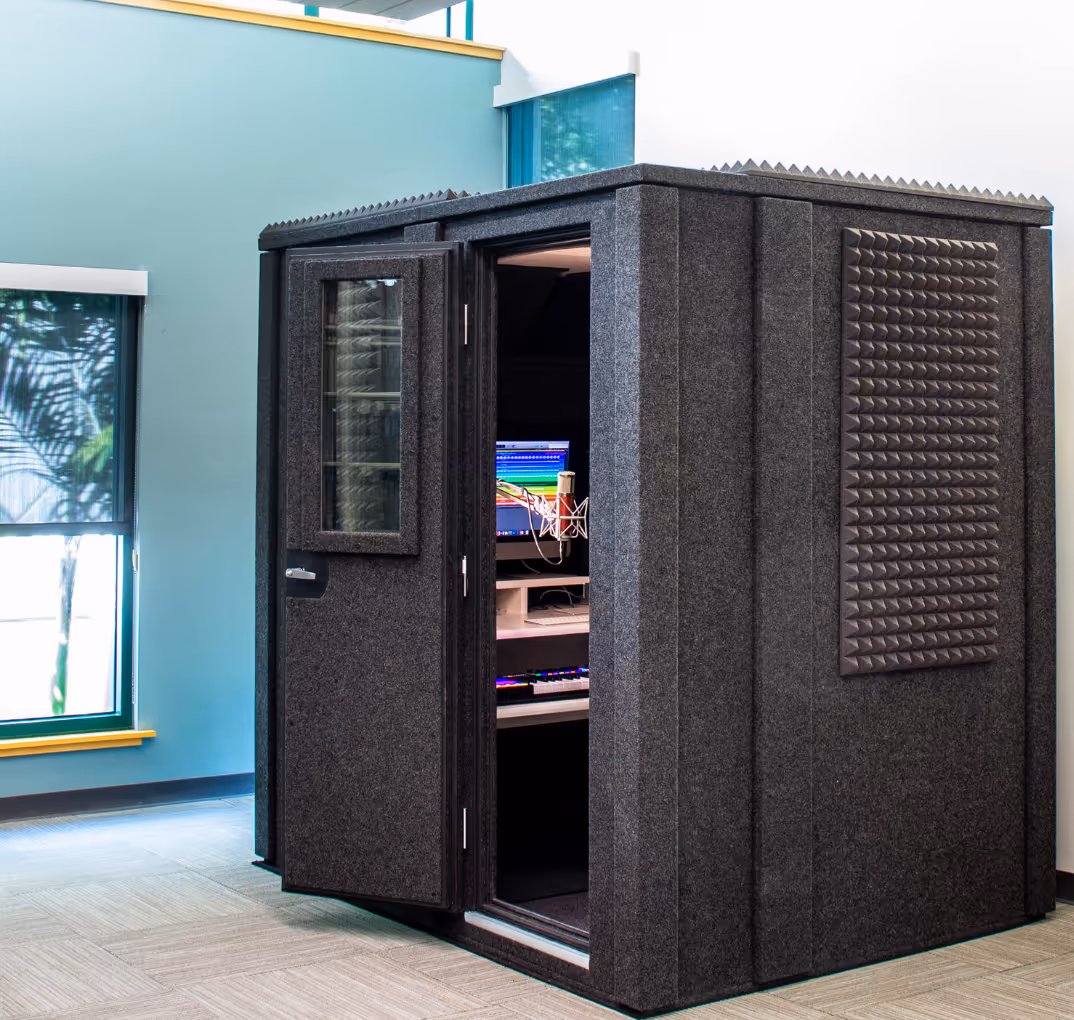
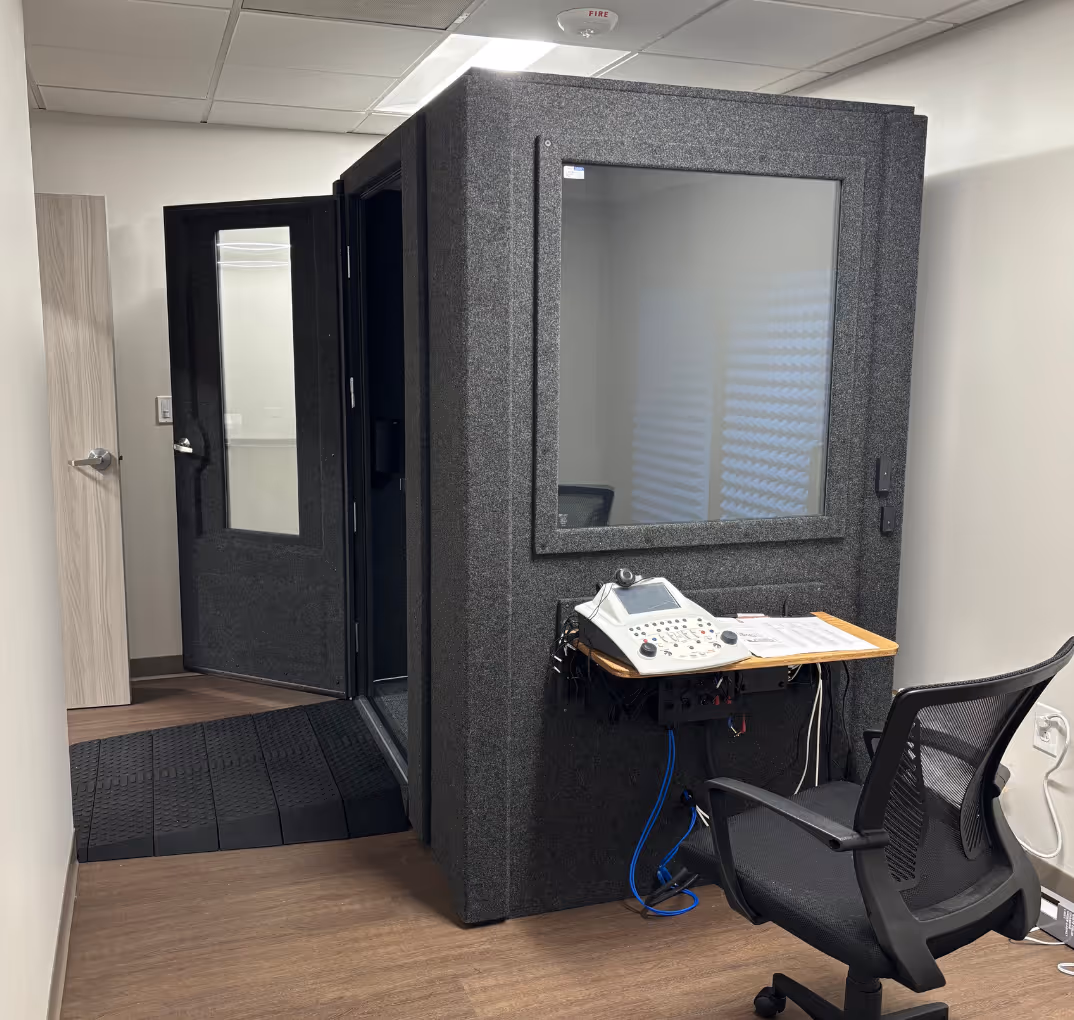
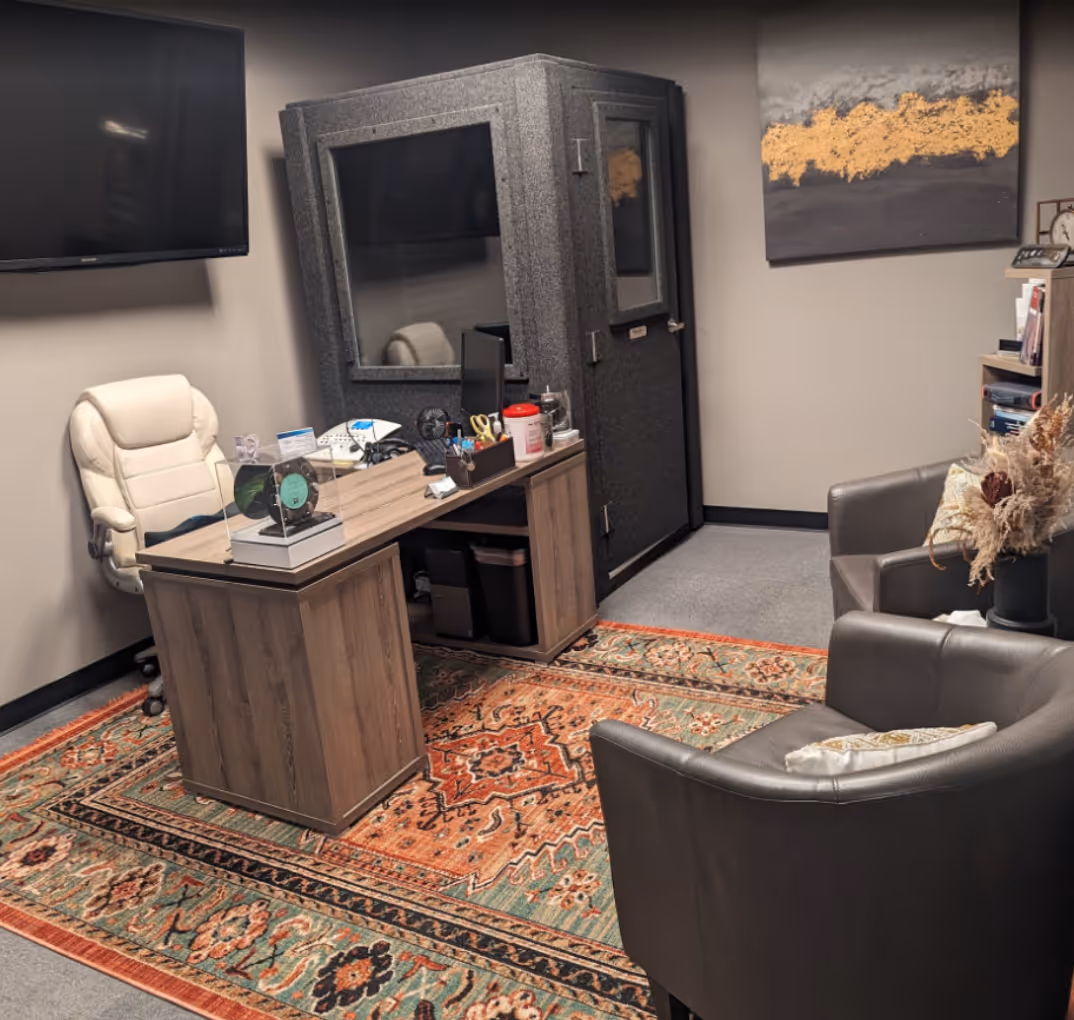
Depending on where you're at in your career and how often you record, you might consider investing in a soundproof booth for your professional home studio.
If so, a WhisperRoom isolation booth is a versatile option that will consistently provide you with an excellent recording environment. Our sound booths are modular and expandable, so you can easily relocate or upgrade when necessary. We offer 26 different sound booth sizes - check them out!
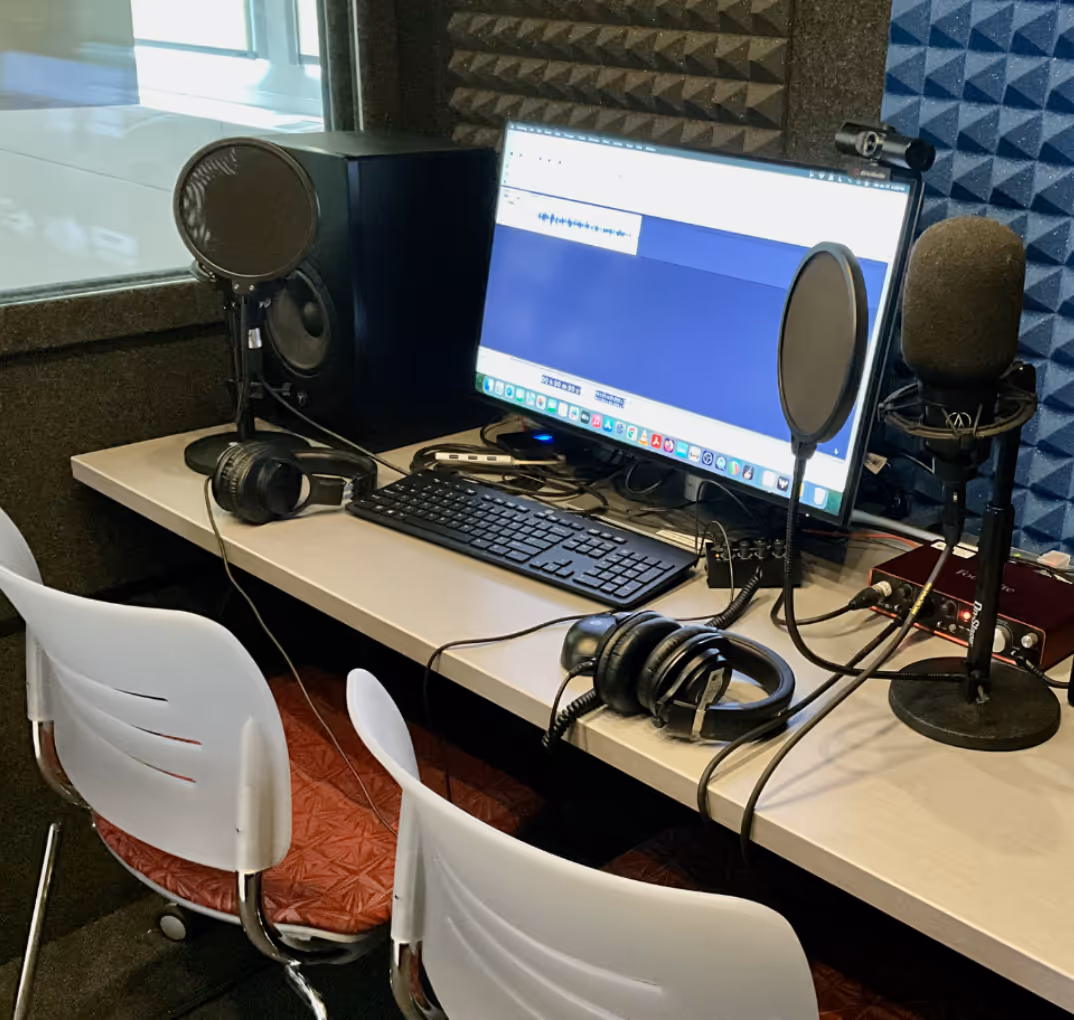
2. Choice of Microphone
Of course, microphone choice will affect your recording. While there are many types, condenser mics, and dynamic mics are the two most popular for tracking vocals. The major difference between them is the output level.
Most vocals are recorded with condenser mics, which come in small and large diaphragm models. Dynamic mics have a lower output and are therefore perfect for recording instruments that are already loud.
With very few exceptions, small-diaphragm condenser mics are preferable to the large-diaphragm style for recording vocals. This is because small-diaphragm mics follow sound waves more accurately and consistently than large-diaphragm mics.
Since so many mics are on the market, it's helpful to know what to look for before you make a purchase. Check out the video below to help you choose the right microphone.
Tuts+ Music & Audio's Dave Bode gives some recommendations on what microphones to use.
3. Microphone Placement

Most rooms have what is referred to as a "sweet spot" where recording produces the best results. The rooms in your home have sweet spots too. Experiment with recording in different areas of your space. Avoid the center of the room and don't get too close to the walls-- other than that, try recording everywhere!
Proximity to the Microphone
When tracking vocals, a performer's proximity to the mic will also affect the tone and levels of the recording. While different microphone types have different suggested distances there's no hard-and-fast rule. Simply move closer to or further from the mic to achieve your desired result.
Positioning the Microphone
Microphone position relative to the vocalist will influence the result of your recordings too. A mic positioned horizontally to the mouth is considered to be in the default position. Lowering and tilting the mic upward toward the vocalist will achieve a brighter sound. Aiming the microphone downward toward the vocalist will accentuate the lower end.
4. Vocal Performance
In the age of cut-and-paste, auto-tune-capable digital recording, it's imperative we don't let the machines do the heavy lifting for us. "We'll fix it later" may be an okay sentiment for songwriting or recording scratch tracks, but never for professional recording.
Digital effects are spices, not ingredients. They should be used sparingly to bring out the flavor of a track. No amount of salt will make a lousy meal taste better, and no amount of reverb will compensate for a lackluster vocal performance.
Whether you're capturing the bittersweet strains of a country ballad or recording dialog for an audiobook, you have to make the listener believe. Because emotion plays so vital a role in vocal performance and recording, it's a good idea to use lighting and atmosphere to your advantage.
It may seem cliche, but make sure to set the "vibe". You'd be surprised how dimming the lights can change the mood in a room. Conversely, for a higher-energy recording, brighter lighting should be used.
Timing and tone are both integral to achieving solid vocal performances. As such, record as many vocal tracks as necessary, then record a few more. Double tracking or carefully combining multiple tracks will help highlight subtle nuances in your performance.
Mike Bryant give advice on tuning in emotion while singing.
5. Record "Dry"
Finally, leave the effects for last and use them sparingly. Record your tracks "dry" (without any effects) so you can better hear the nuances of each take.
Different people have different recording techniques, but we believe it's a "best practice" to record vocals without any effects - unless you are stylistically trying to achieve a certain sound.
Final Thoughts
Follow and experiment with the suggestions listed above and chances are you'll be amazed at the difference in the quality of vocal recordings you'll produce!


.avif)
.avif)
.avif)

.avif)
.avif)

.avif)
.avif)
.avif)
.avif)
.avif)
.avif)
.avif)
.avif)
.avif)
.avif)
.avif)
.avif)
.avif)
.avif)

.avif)
.avif)


.avif)