Are you finally ready to let the world know how beautiful your music is?
There's no better time than now. Besides, recording your own pieces is not that difficult; you can even do it by yourself and still on a very professional level.
How? Here's a small guide with some tips to record your own music.
1. Choose a Setup
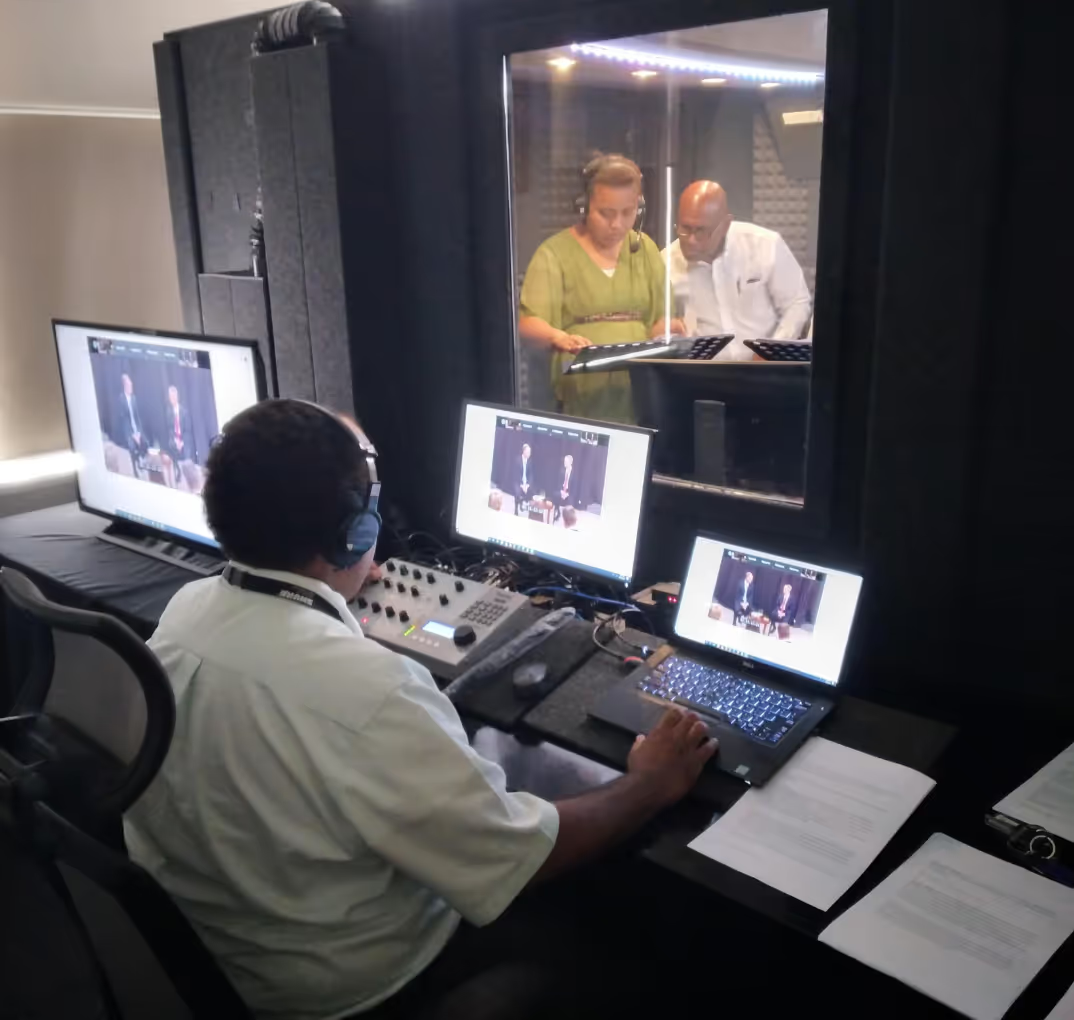
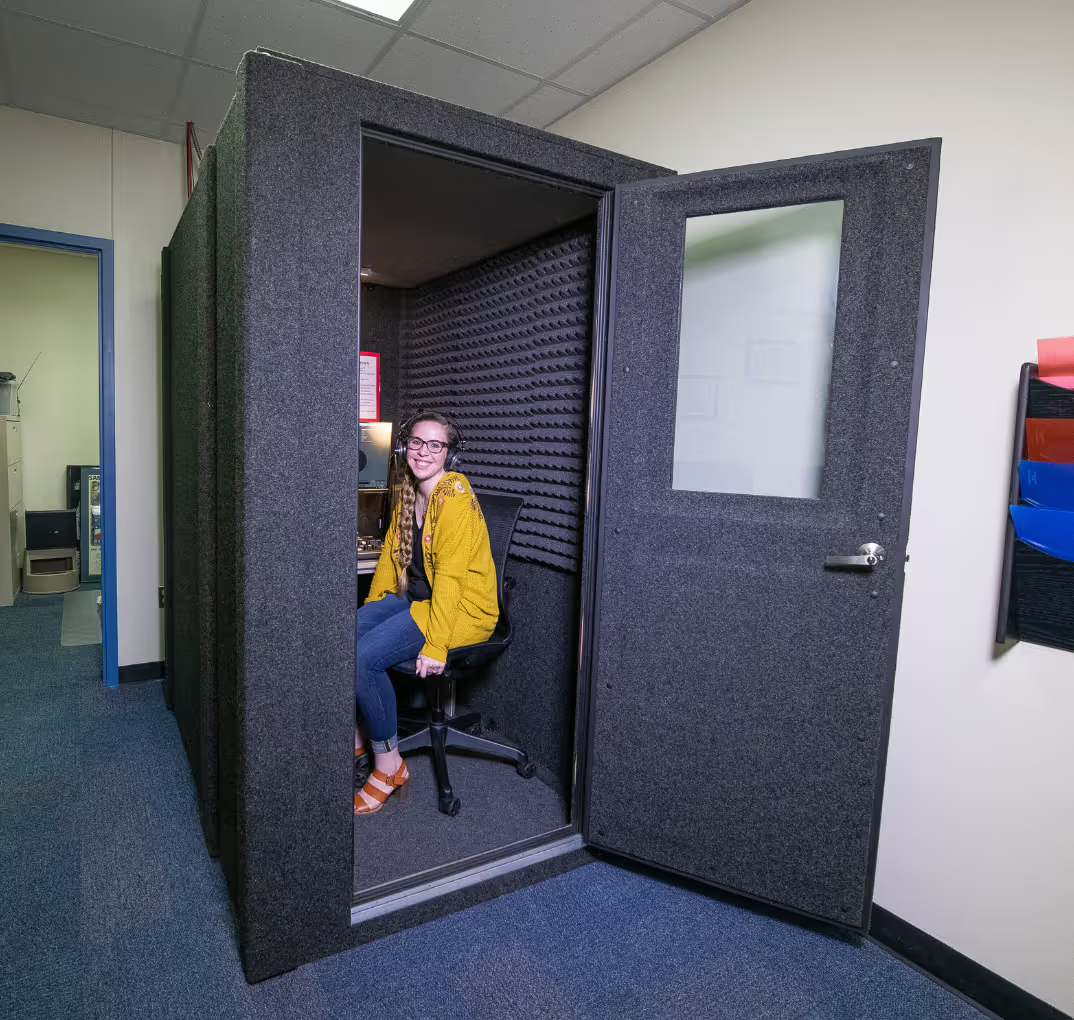
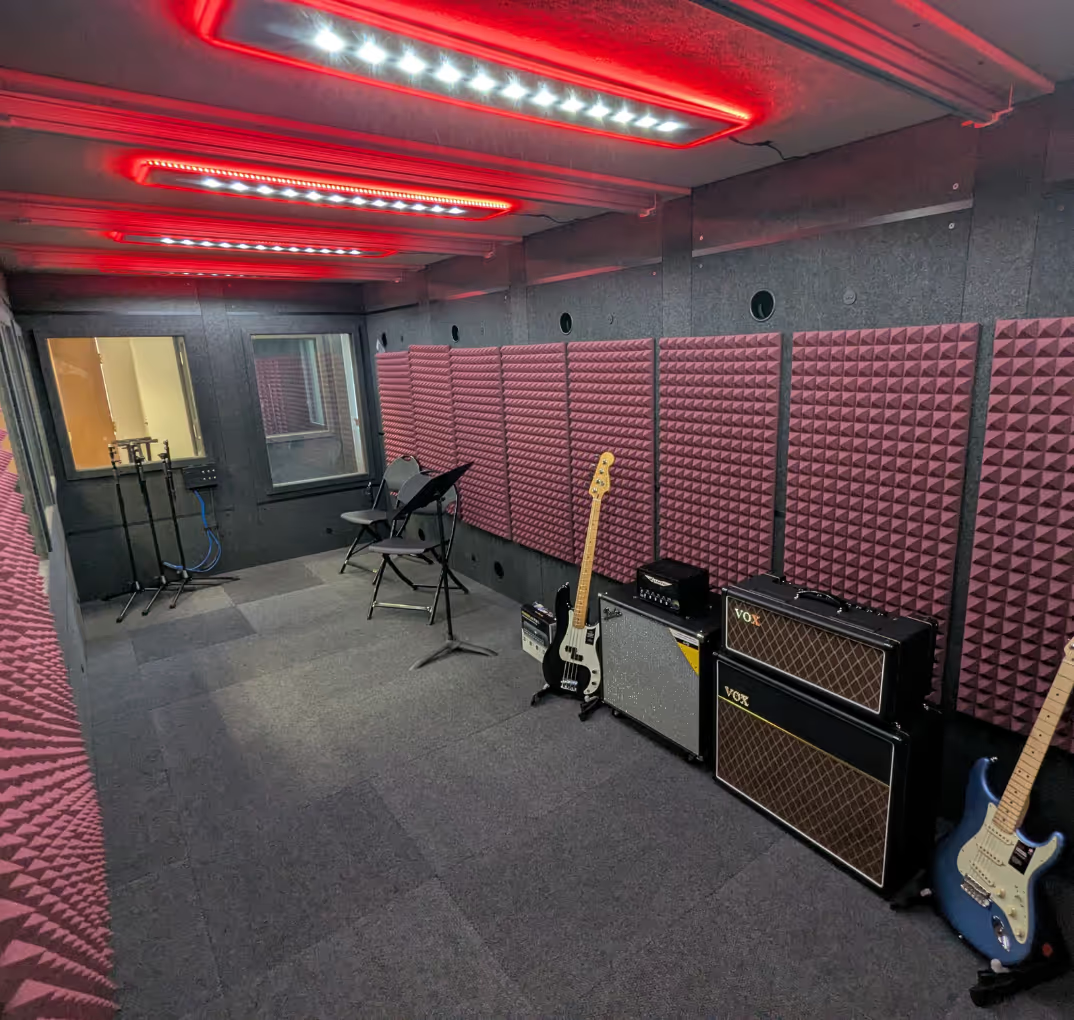
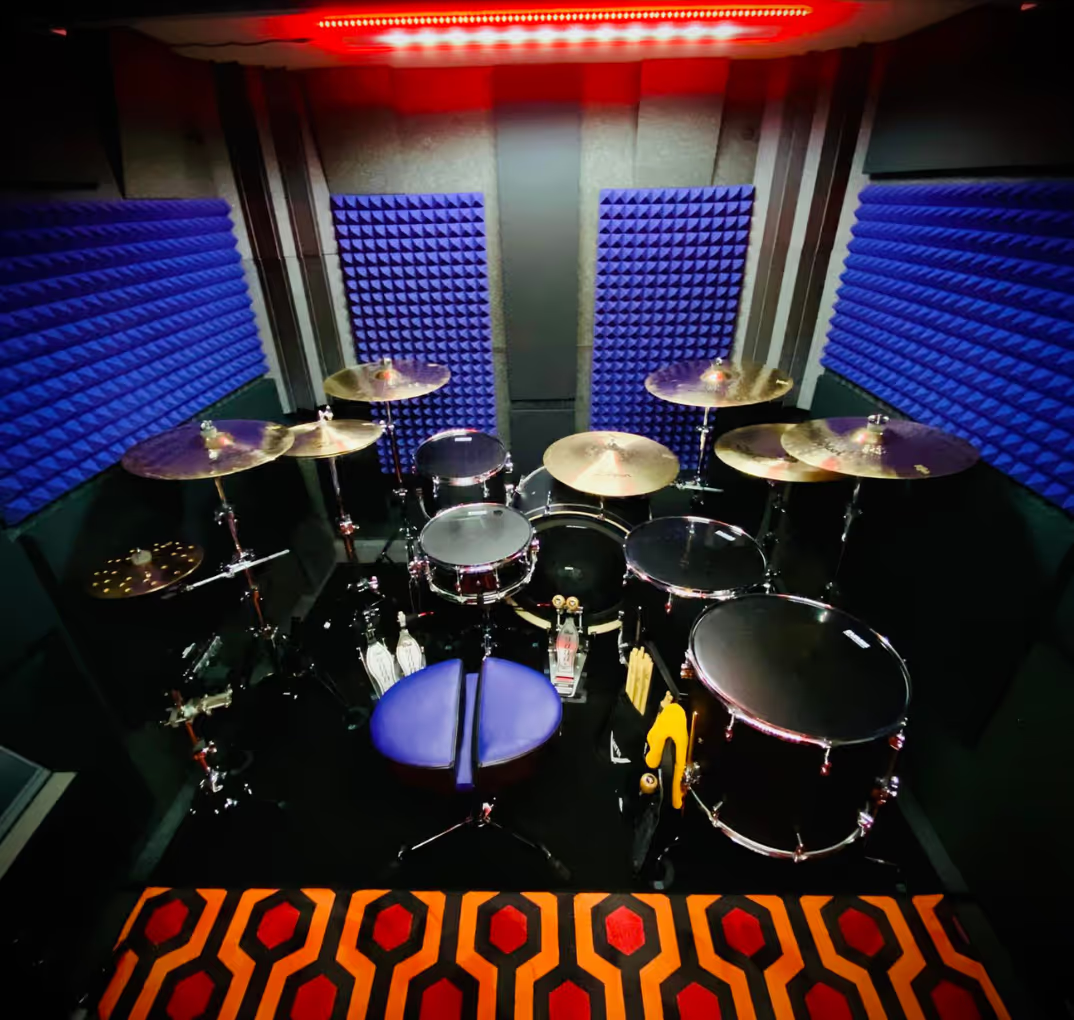
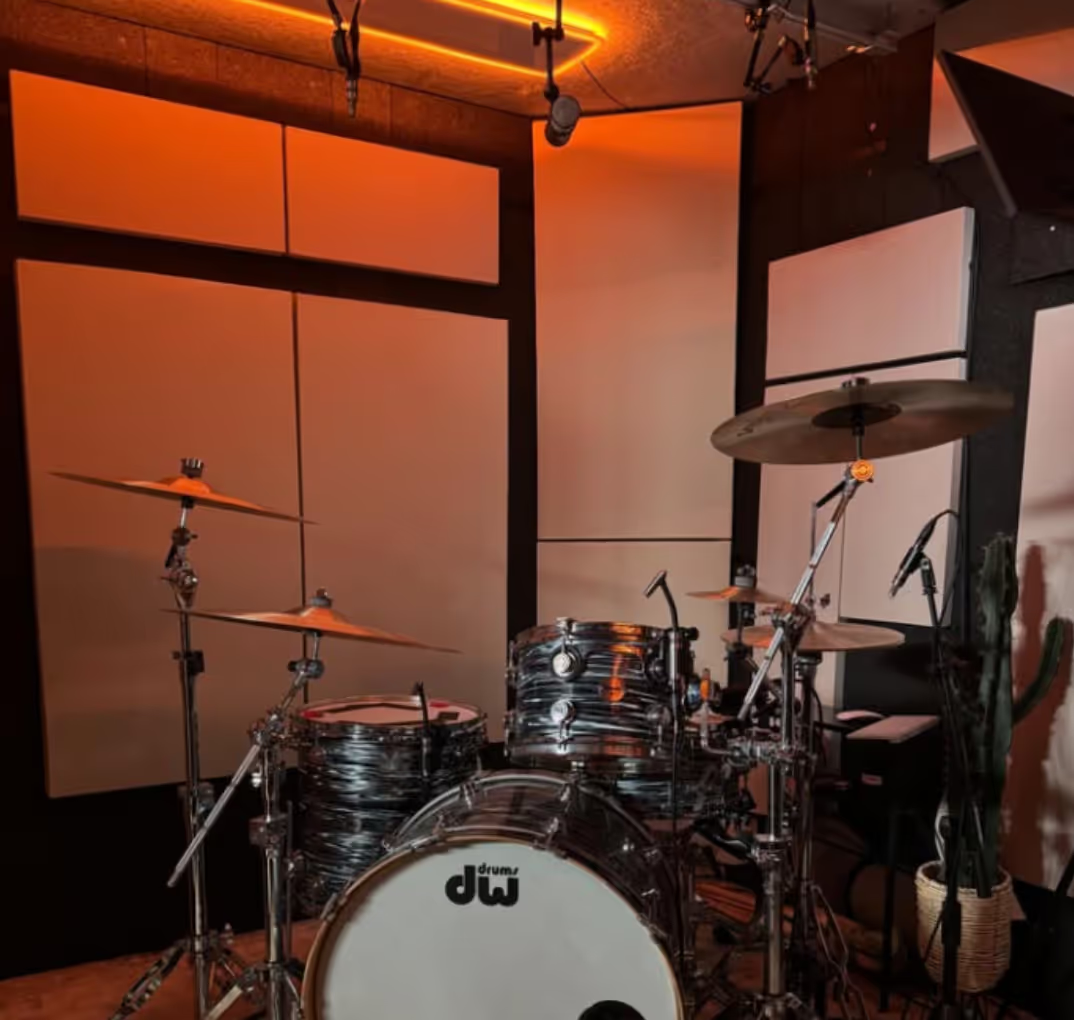
Every aspiring artist who wants to introduce their music to the masses has two options of recording it - at home or in a rental studio. Let's take a closer look at these two alternatives.
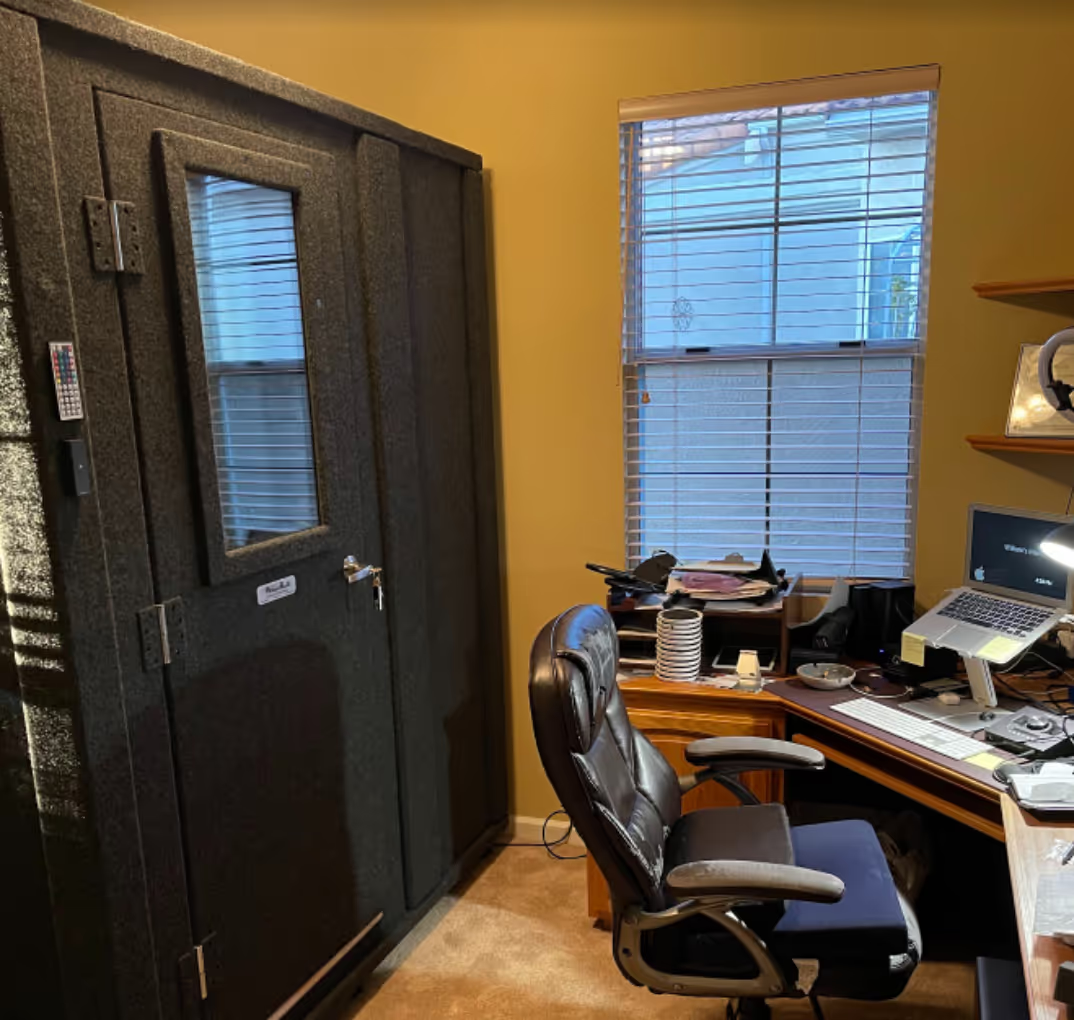
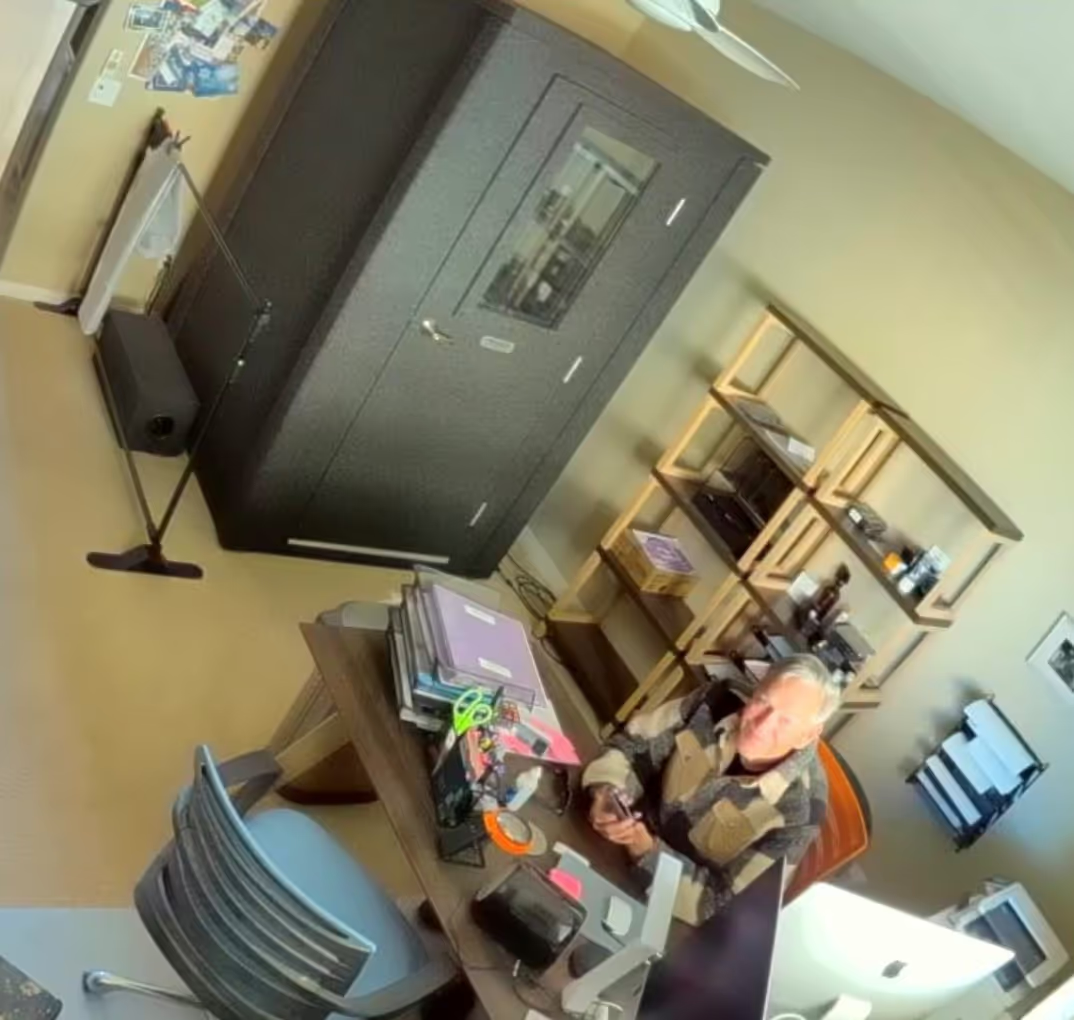
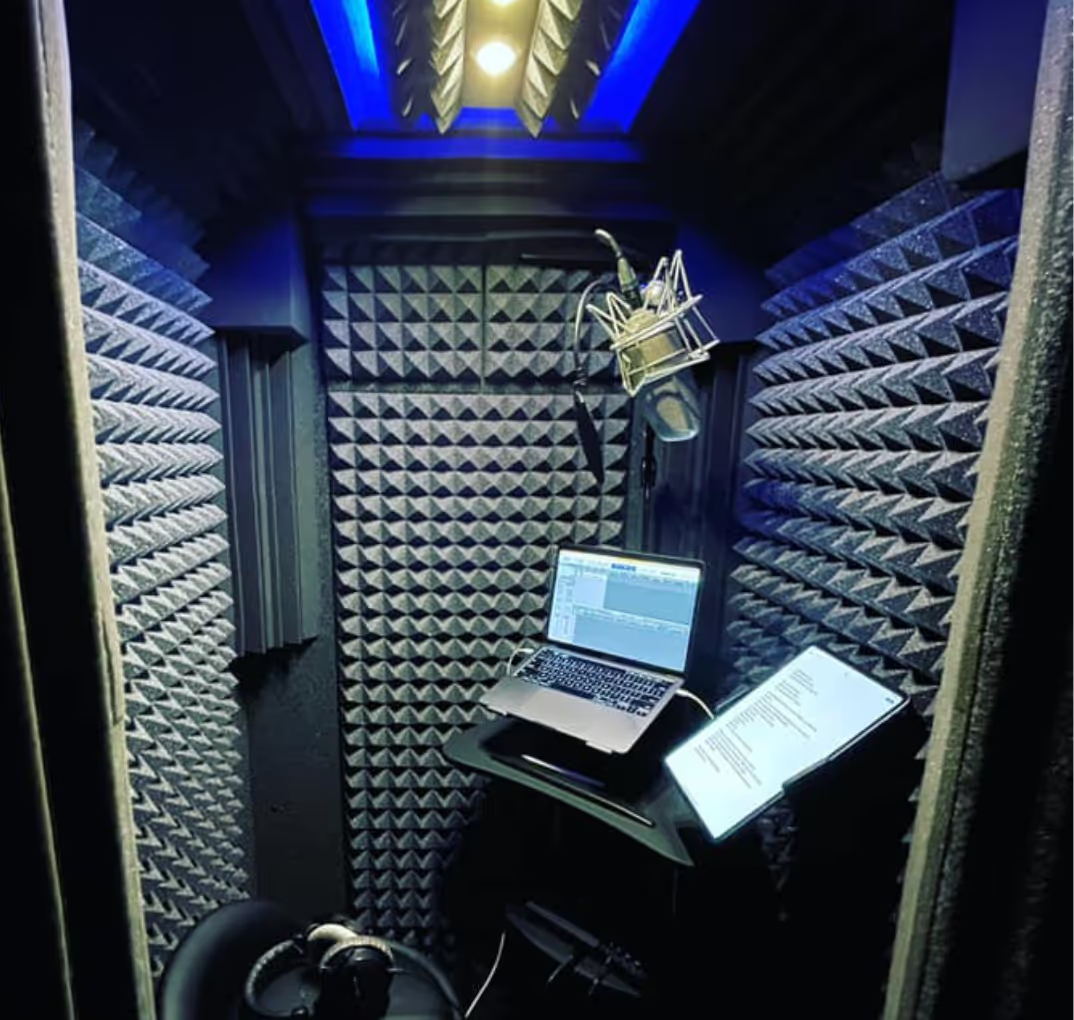
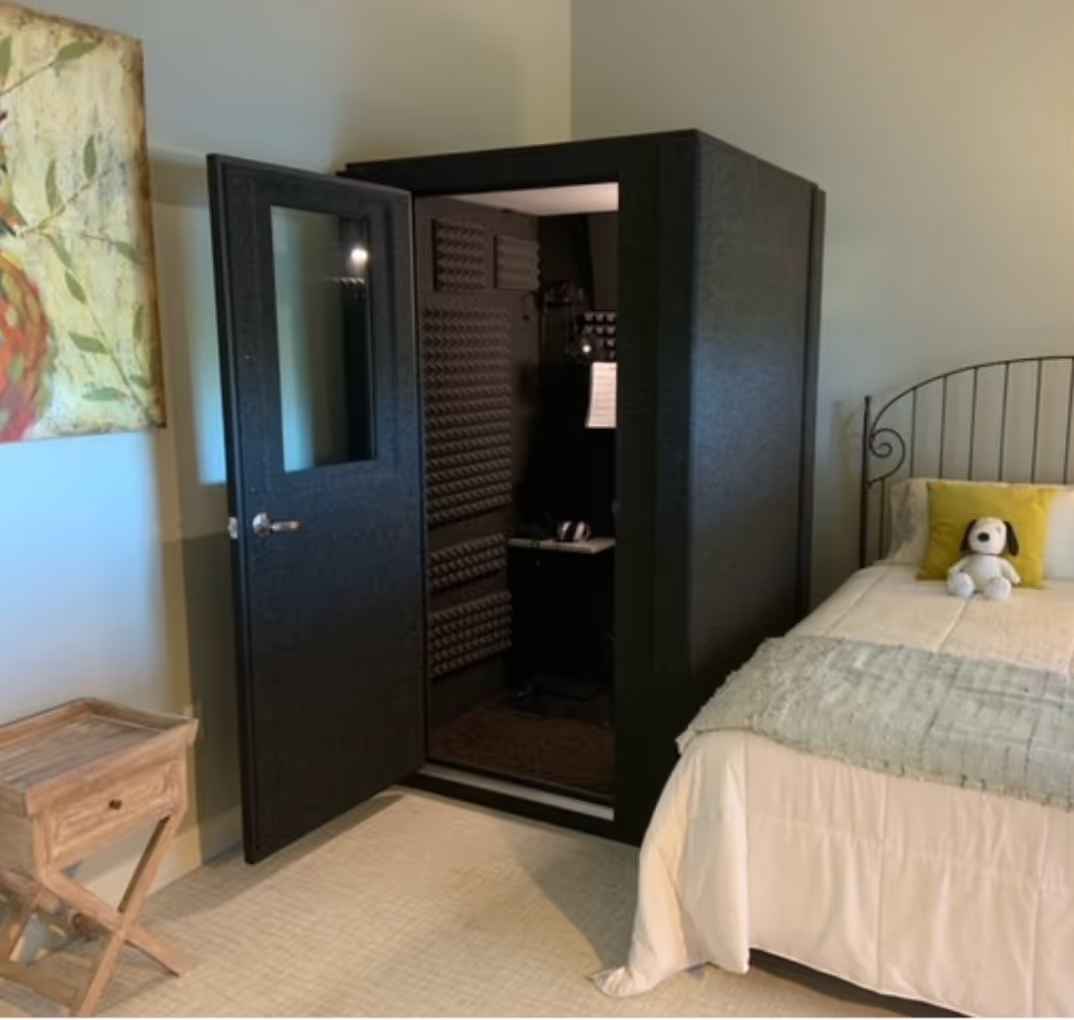
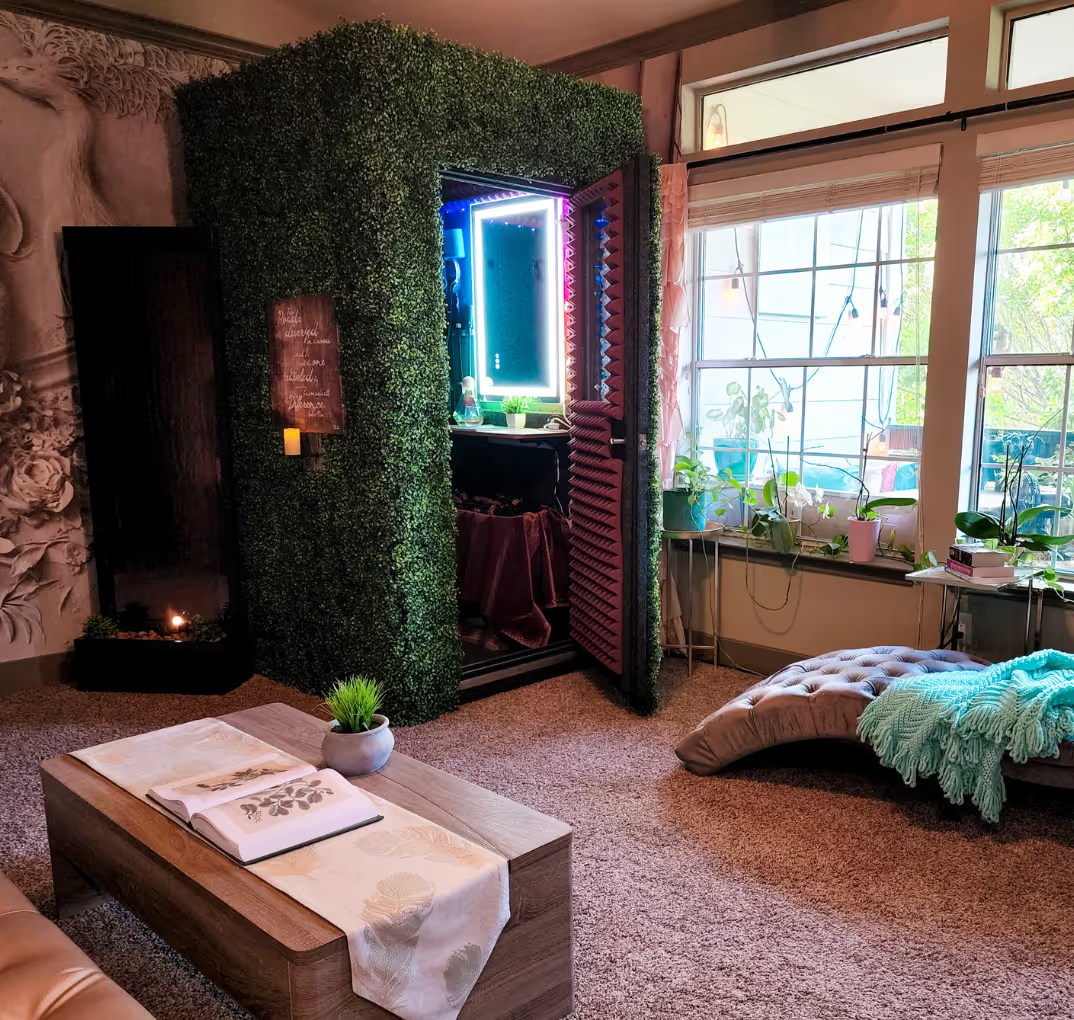
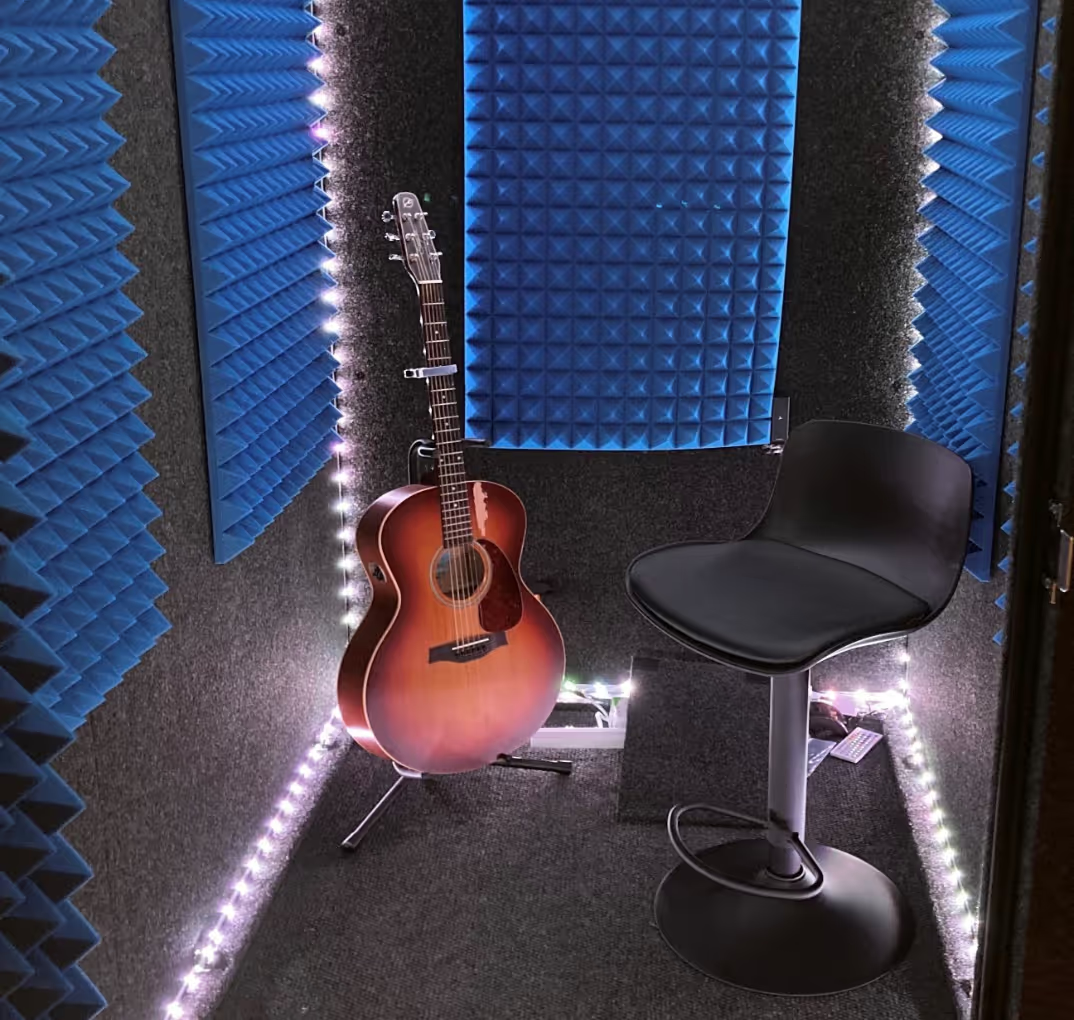
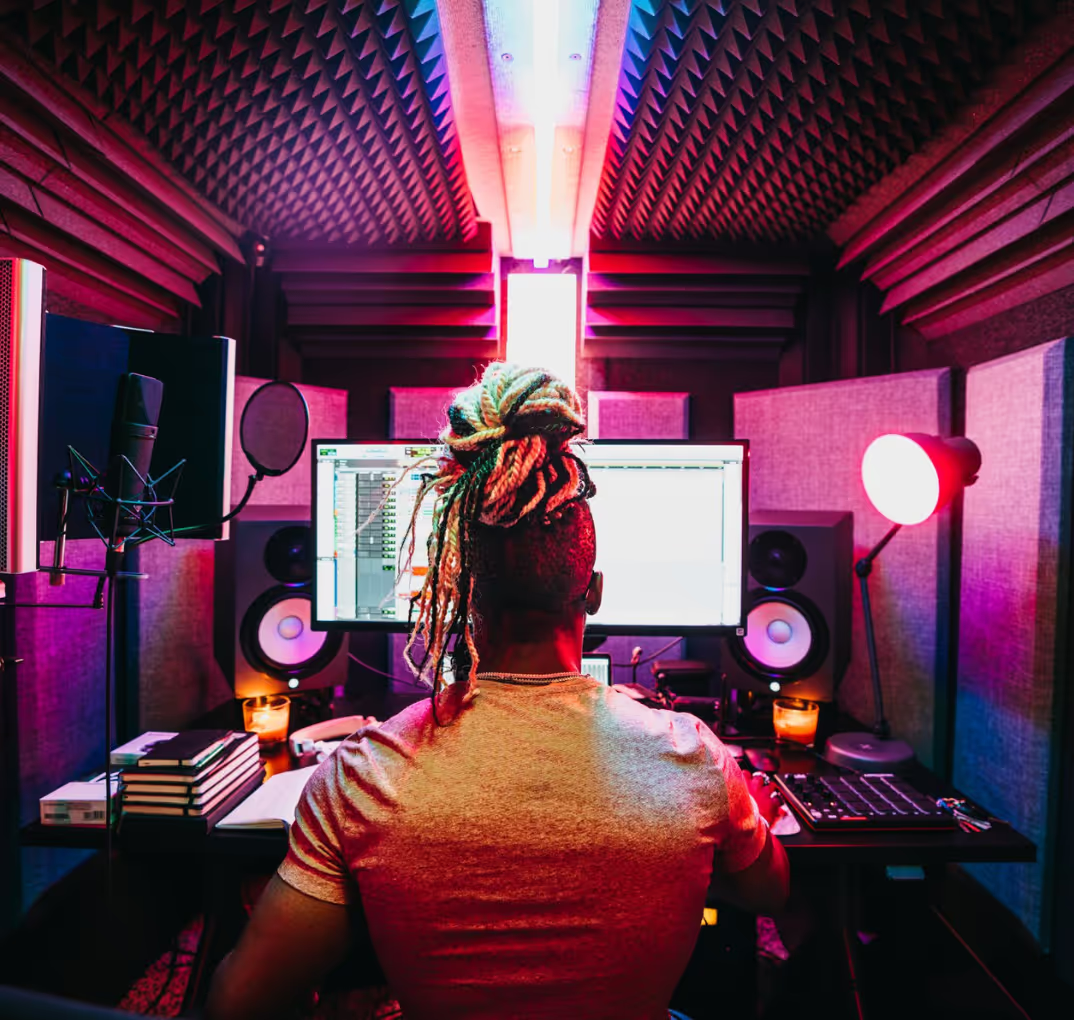
Creating a home studio has a few considerable benefits:
- You get to work in the comfort of your own house
- Your recording time is unlimited
- The equipment is all yours
- It's a good investment for your future as an artist
Apart from that, it's an excellent opportunity to learn the art of music recording, which will come in handy when you will be releasing your first album (fingers crossed).
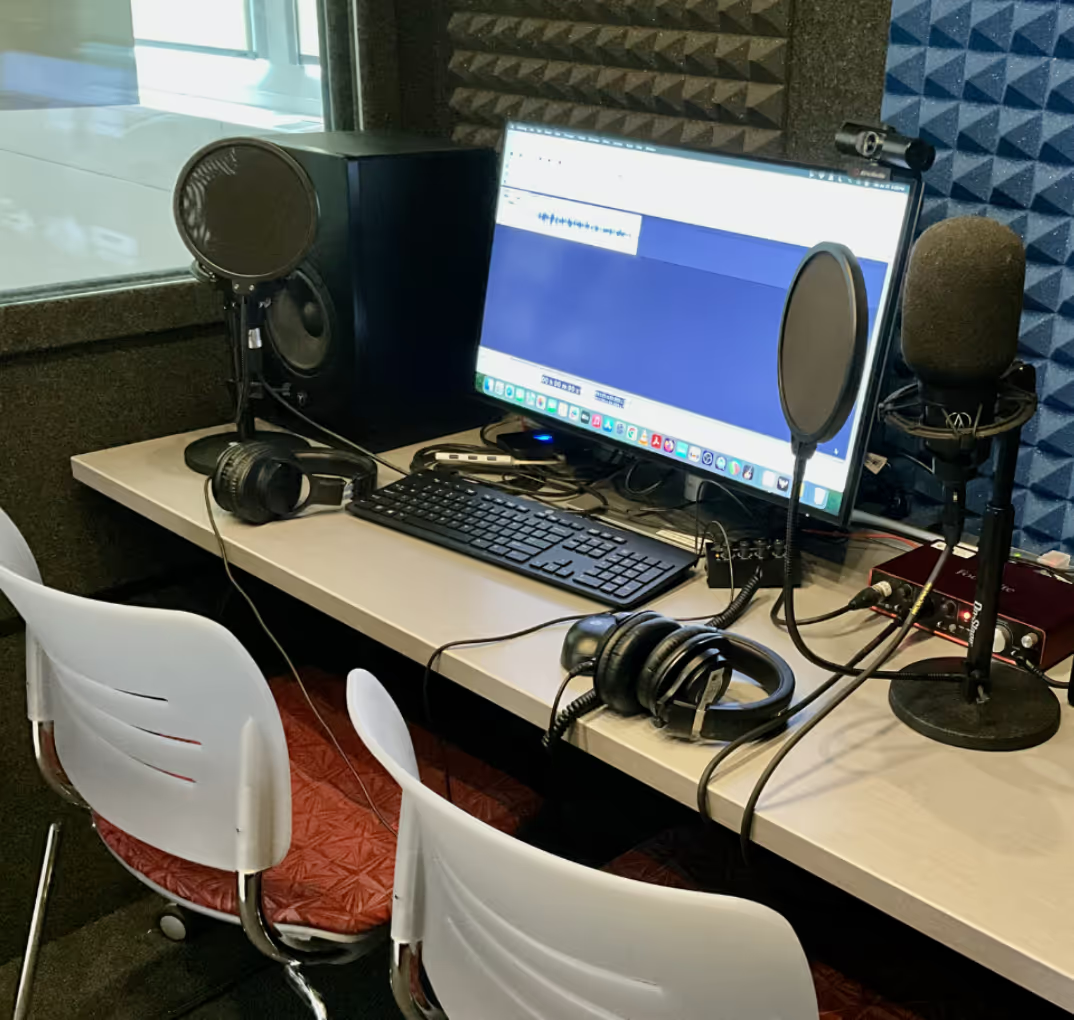
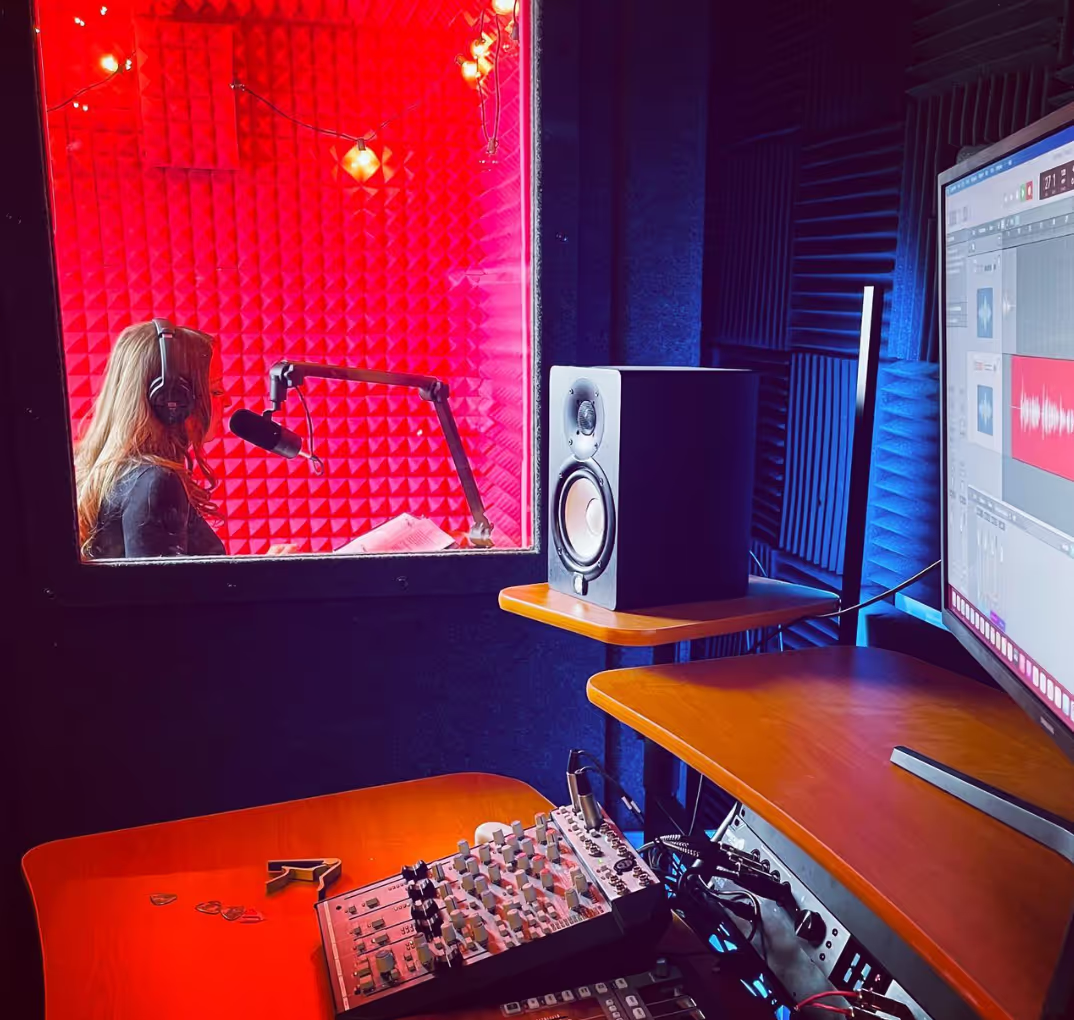
If you want to create your own home studio, we have a comprehensive guide for you to follow. The minimum equipment for what an at-home setup should have is included below:
- A reliable computer
- Headphones
- Microphone
- A microphone stand
- Digital Audio Workstation (DAW)
- Studio monitors
- Pop filter
- Assorted cables (1/4" cables, and XLR cables)

This list doesn't seem like a lot until you see the prices. For example, an Avid DAW, professional recording hardware, can cost up to $8,000, which is too overwhelming for an artist on a budget. However, there are several reliable DAWs that only cost a few hundred dollars. Any musician can save up a bit of cash and set up DAW software on the computer.
What about studios?
The prices differ from city to city. For example, an hour at Gotham Podcast Studio in New York costs $68. Bear in mind that one hour will hardly be enough, especially if you don’t have much experience with recording music.
2. Seek Professional Guidance
Speaking about professional help, it's a smart decision to look for it before you get to the recording process. Surely, you can try to do everything yourself and go all the way through the trial-and-error process, but it can take months until you are able to release your music.
So, if you have the setup but don't know where to go from there, why not hire someone who will guide you?
Start with a professional audio recorder. This is a person who will be "behind the wheel", monitoring all the software and checking the quality of sound while you are playing your music.
How expensive are the services of professional audio recorders?
Look for freelancers if you're on a budget. For example, on Upwork, there are professionals who charge no more than $10-$100 an hour.

Apart from music recording specialists, you also need to think of other people who can help make the music recording process faster and easier.
For example, if you're recording a song or a cover in a foreign language, you might need to hire an accent coach first to help you sound more natural. If you're not a native English speaker, taking English classes for beginners will be enough for you to work on your pronunciation and accent. During these classes, you will also learn how to sound more native-like. It’s also a good idea to let your tutor hear you sing, so they could highlight the parts of the song that sound a bit off.
Once the recording process is done, you can either edit the end result yourself or hire an editor to mix and master your work. However, make sure to remain in full control of what they're doing - you don't want them to ruin the way you want your music to sound.
3. Create Multiple Recordings
A final and very important tip for all first-timers in music recording is to make several tape versions (or demo versions). Here's the full list of trial recordings we recommend making in the studio:
- A pilot - includes drums and bass only.
- Lead vocals draft - helps make sure your voice is in tune with the instruments.
- A recording to check the rhythm - is necessary to avoid music instruments playing out of beat.
- Harmonies - these are recordings of the parts that "fill in the gaps".
- Additionals - these include backup vocals and sound effects.
Seems like too much work?
Trust us, it's easier to edit these pieces separately and then put them together than re-record your entire song over and over again. Besides, you can't control every instrument playing while you're singing or performing the main theme of your piece. Making multiple recordings will save you an incredible amount of time (and money if you're renting a studio).
Wrapping Up
So, it's definitely not impossible to record music, but if you want to do it like a pro, you need to approach this process like one.
Get ready in advance - set up a home studio with all the necessary equipment and get familiar with it. If you don't have time, a rental studio is a perfect option, but it can get costly.
When in the process of recording, make sure to do several tapes/takes - a pilot, one with lead vocals, rhythm, harmonies, backup vocals, and sound effects. IT will speed up the editing process.
Last but not least - don't shy away from help. If you feel like you can't do it on your own, hire a professional who will guide and teach you.
____________________________________
Ryan is a passionate blogger and writer who likes sharing his thoughts, and now he works as a content editor and internet researcher, you can check out his website. He likes to travel and explore new countries.


.avif)
.avif)
.avif)

.avif)
.avif)

.avif)
.avif)
.avif)
.avif)
.avif)
.avif)
.avif)
.avif)
.avif)
.avif)
.avif)
.avif)
.avif)
.avif)
.avif)
.avif)


.avif)

