If you already have some experience recording or mixing some stuff in your home studio, you probably realized that even though your room or your garage may be a super convenient location to record your projects, they can also present great challenges when it comes to audio quality or delivering a pro-level music production. What would you say?
If you are facing frustration because of this, don’t! Your frustration can be replaced with joy after learning some acoustic basics and applying a few basic recording principles to your home studio.
Here, we will discuss some cool concepts for you to improve your studio’s acoustics and overall audio recording/mixing quality. Whether you spend a lot of money or not, you will hear a big difference.
1 - Why Do You Need to Improve Your Room's Acoustics?
Okay, so first, let's identify some problems that arise when the acoustics of your recording or mixing room are not taken into consideration...
It's All About Sound Waves
Sound waves are vibrations that travel on air, this moving air that vibrates at a certain frequency is what causes our ear to perceive sound and pitch in general. Remember that sound is air vibrating while traveling through the air itself.
Now, when sound waves travel through the air and reach a wall or an object, they respond and are affected by the characteristics or properties of that very object. Depending on its material, shape, and size the sound wave can be either absorbed or reflected.
When sound waves start being projected back or bounced back from the walls and objects in your room, your microphone will also pick up those sound waves.

All those reflecting waves are not good for your recording, as they start killing the pureness of your audio takes.
Not only that, the waves that bounce back have also been “altered” in some ways (it’s not that important for me to explain here, but keep it in mind). As an example, imagine what it's like to look at yourself in a funny mirror, you can tell that something is off, right? The same thing happens with audio and these reflected waves (known as reverberation).
Let's Look at Some Common Acoustic Issues When Recording in a Home Studio
Your Room is Too Small
If you are recording in a room that is too small, the waves can't travel very far, so they rapidly bounce back (again and again). As a result, you will get a very muddy recording and the pureness of your audio source will hardly be what you desire.
The Materials in Your Room
Not all materials are the same when it comes to acoustics. Materials that have pores are always better at absorbing sound. As the air (therefore the sound waves) go through those pores, it helps keep the sound waves from directly bouncing back.
You Are Not Positioned in the Best Spot
As you already know, sound waves can travel all around your room and fight each other. If possible, try to run some tests and identify the best place where you have the least reflections or phasing issues. You will be surprised how different locations within the same room affect the sound. Learn your room!
2 - Frequencies
The characteristics of your recording room can affect the audio quality of the recording. In the later stages of music production, this is something that can be very difficult and even impossible to fix. Let’s take a deeper look.
Frequency refers to sound vibration's speed and it determines the sound's pitch. The number of sound wave cycles occurring in a single second determines the Hertz (Hz for short).
If we divide the whole audio spectrum of frequencies, we will have:
- Sub Bass (20hz - 50hz)
- Bass (60hz - 250hz)
- Low Mids (250hz - 500hz)
- Midrange (500hz - 2000hz)
- Upper Mids (2000hz - 4000hz)
- Presence (4000hz - 6000hz)
- Brilliance (6000hz - 20,000hz)

If you realize that there are some acoustic issues to resolve in your studio room, the first thing you should do is identify what kind of reflections your room is emphasizing. Depending on the size, shape, and materials in your room, it will reflect more or less one of the spectrum ranges mentioned above.
Take a look at this article to learn more about the nature of acoustics.
3 - The Mic Can Pick Up Unwanted Reflections
If you are recording in a small room, you can expect that lower frequencies (reflections) will be more present. Believe it or not, a room can sound too bassy or muddy very quickly if something is not done to prevent it. For instance, if you are recording acoustic guitars you will notice their boomy sound.
Most of the music we play is in the midrange frequency spectrum and it can become very boomy too. Always try to absorb as much of the low and midrange frequencies with material that does the job well.
What is your mic getting?
When you are recording, your mic will capture the audio source and all the frequencies reflecting through your room. So make sure to keep those unwanted signals to a minimum.
Try to isolate as much as you can from unwanted noises (dogs barking, airplanes, birds, noises from construction) around your location. These can ruin your best takes and cause frustration and wasted time.

4 - Principles of Improvement to Your Room's Acoustics
Start Simple
Once you know where you will create your studio, try to make it as acoustically correct as you can. This means cutting down reflections as much as possible.
Square rooms are the most difficult to treat. If this room is your only alternative, you can fix some big curtains on the windows, place a sofa along the wall, and utilize books on a shelf to help counteract your squared dimensions. Bulky items and furniture will help improve your studio's acoustics.
Don't Use Egg Boxes
In reality, egg boxes will not do much to improve your acoustics, and they look awful too. You may not have enough money to buy acoustic panels at the time, but egg boxes will not do the job.
Get in Position
As it's almost impossible to kill reflections entirely, you can consider positioning yourself and the speakers in a position that will be most beneficial for your work.
There is a rule of thumb that says you should form an equilateral triangle between yourself and the two speakers. If you can, set this triangle up 2/5ths of the length of the room away from the front wall. This will help reflective phasing and the dreaded bass null (the spot in the middle of the room where reflections can cause a drop-off in the bass end of your speakers' response). For this reason, you should avoid sitting in the middle of the room.
Although these concepts are universal for any audio recording task, they are especially applicable when mixing!
Speaker Height
People who are on a tight budget often place their speakers over the desk, but this practice is not recommended. Speakers need to be at the same height as your ears.

Higher frequencies are very directional. To perceive your speaker's information and correctly adjust and tweak EQ, correctly place your speakers at the same level as your ears. If you can't buy speaker stands, level them with something (books, boxes, wood, etc.) to make sure they're even.
Speaker Placement is Important
As we previously mentioned, angle the speakers towards your head and form an equilateral triangle. Avoid placing the speakers right against the wall. Also, it is recommended to have a distance of at least 3 or 4 feet between the wall and the speakers.
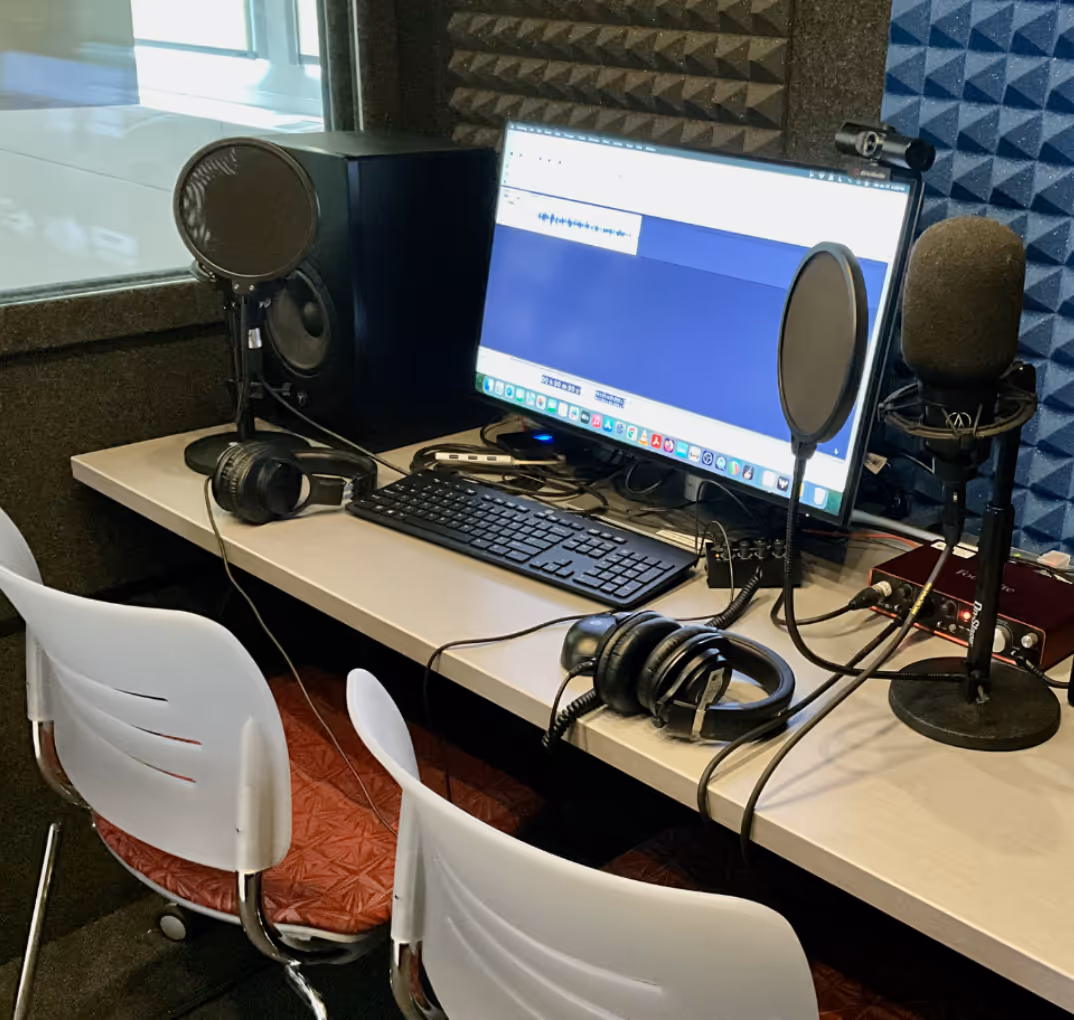
Test the Acoustics of the Room
This can be done by certain apps that use a microphone to record the response of a frequency sweep. One company that will allow you to try this is Room EQ Wizard. The software is free, so all you need is a microphone.
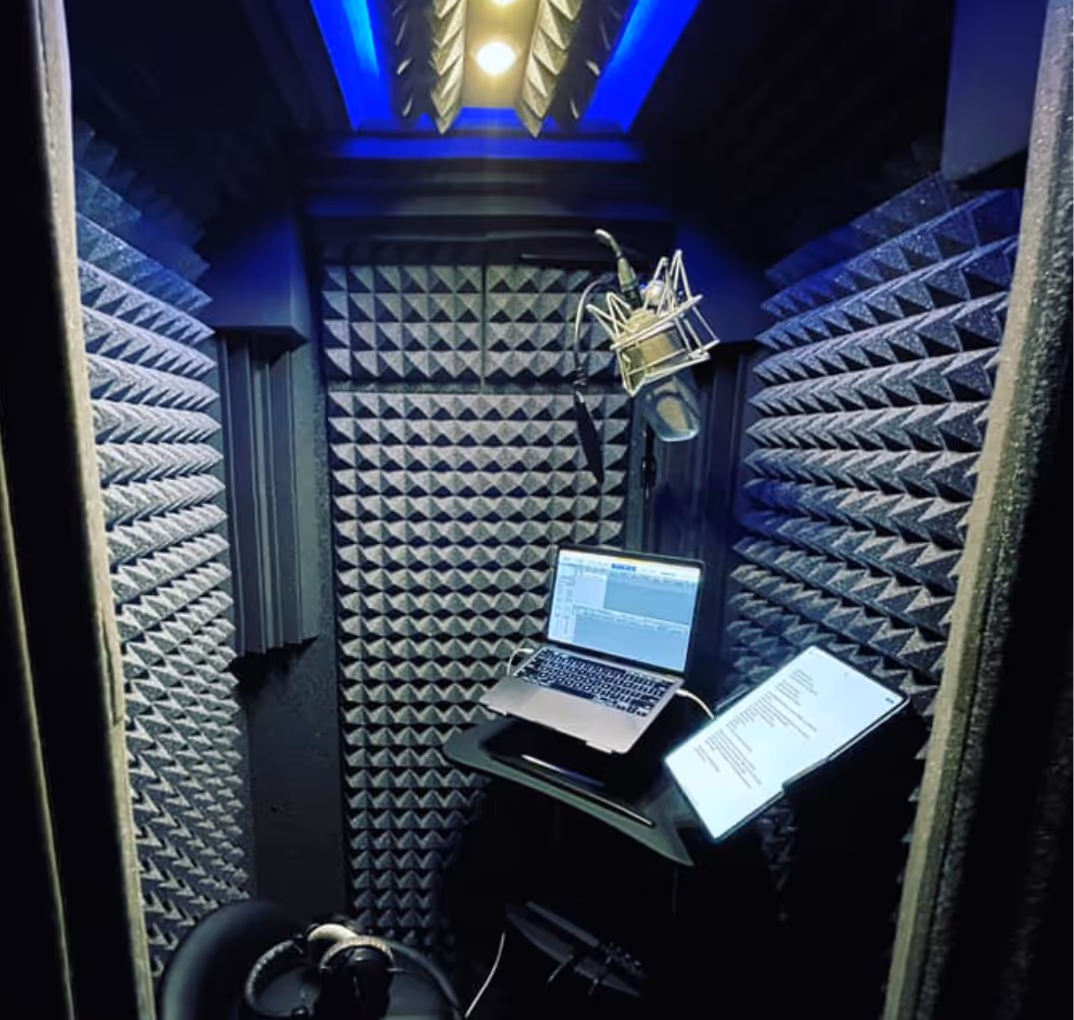
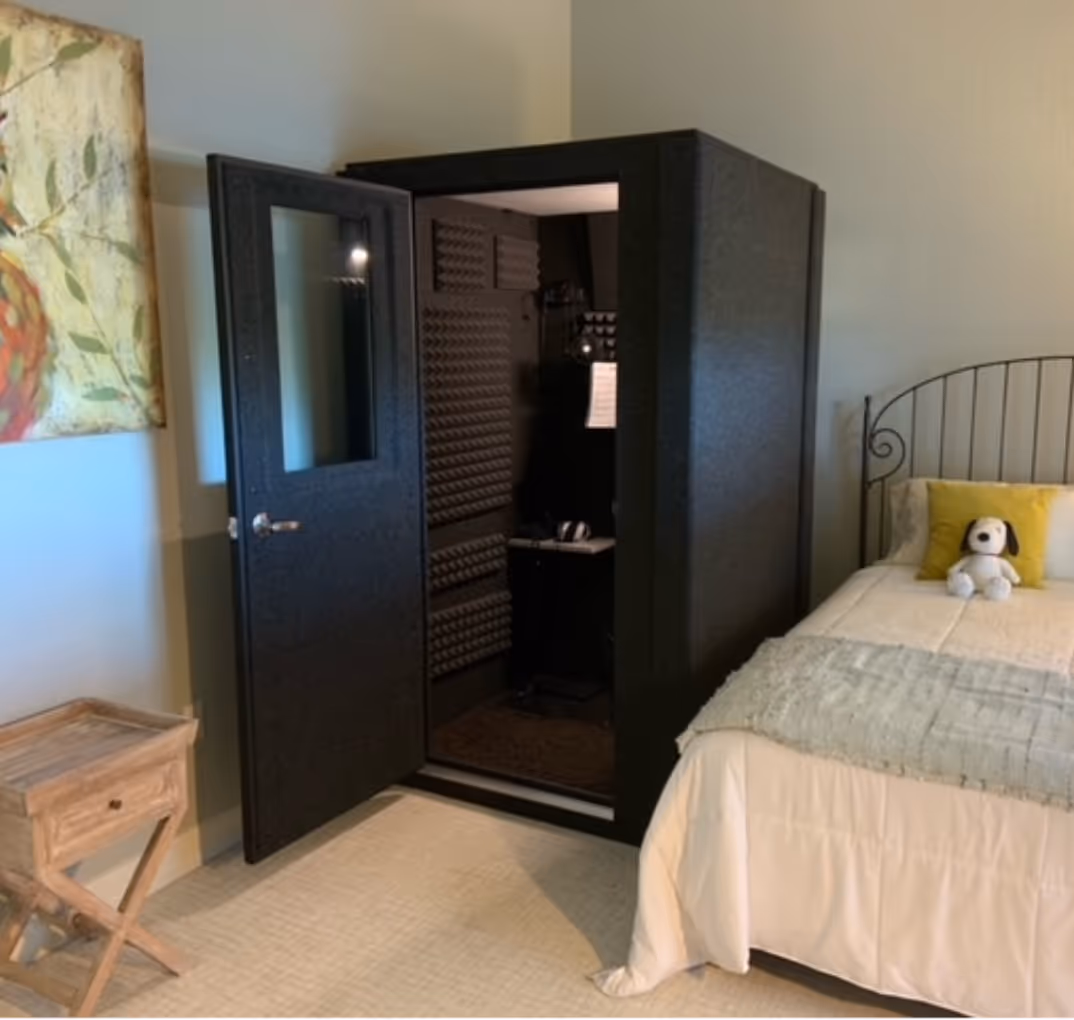
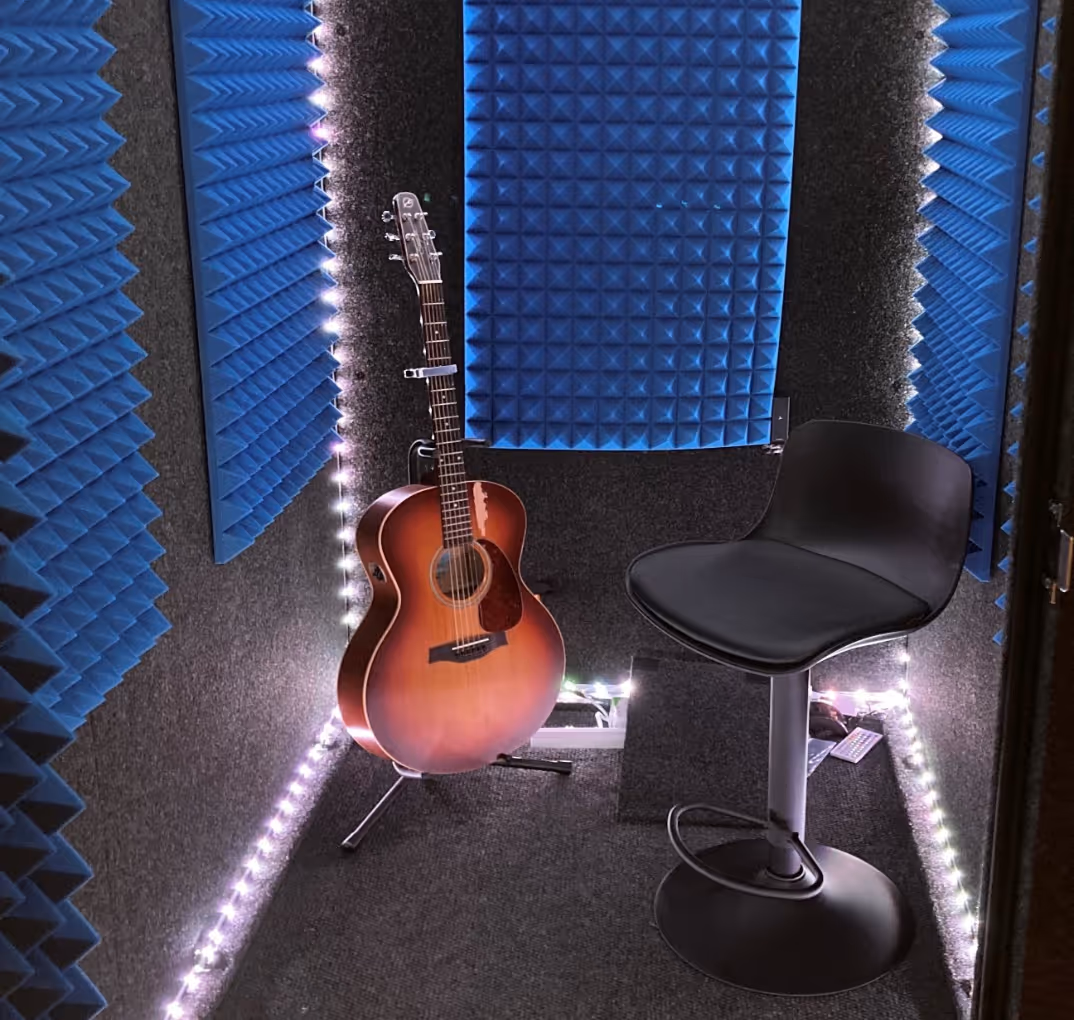
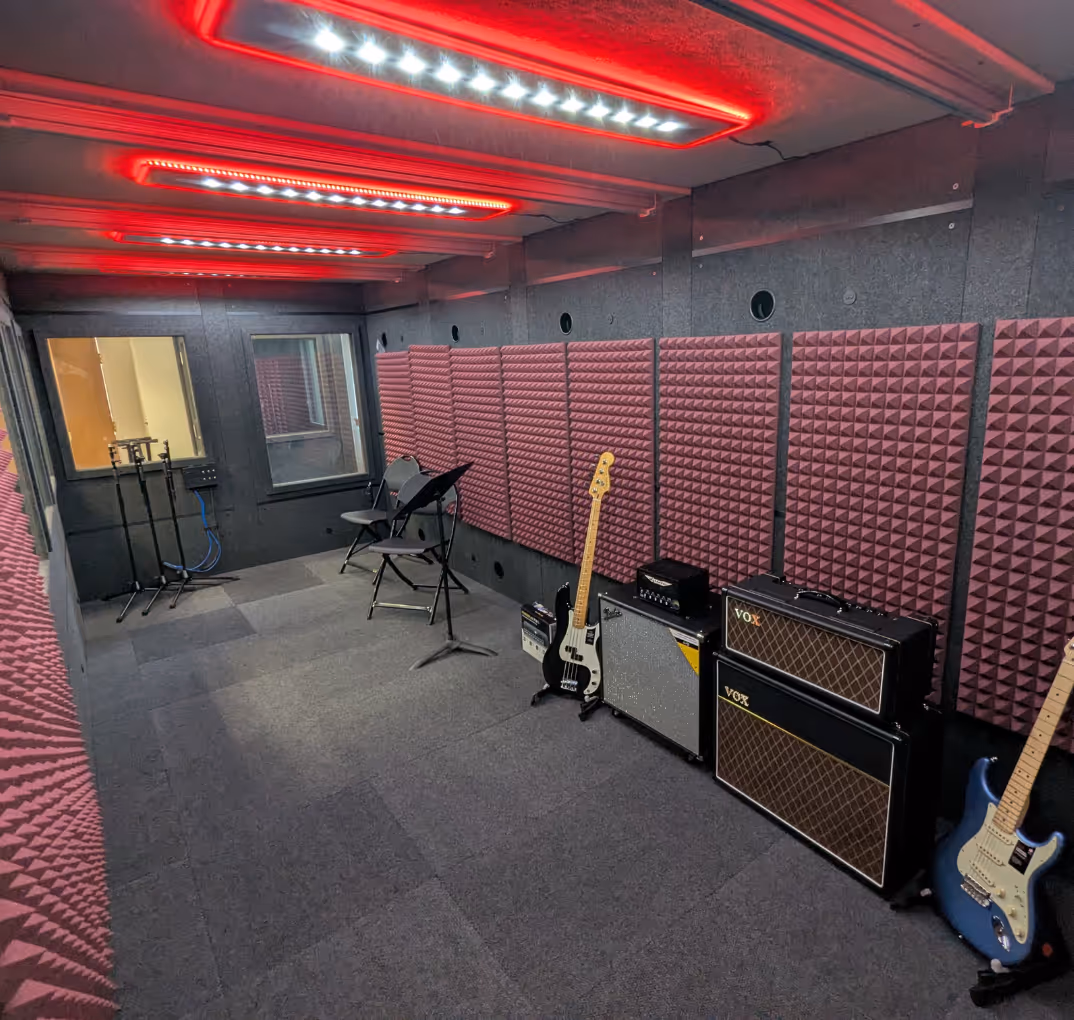
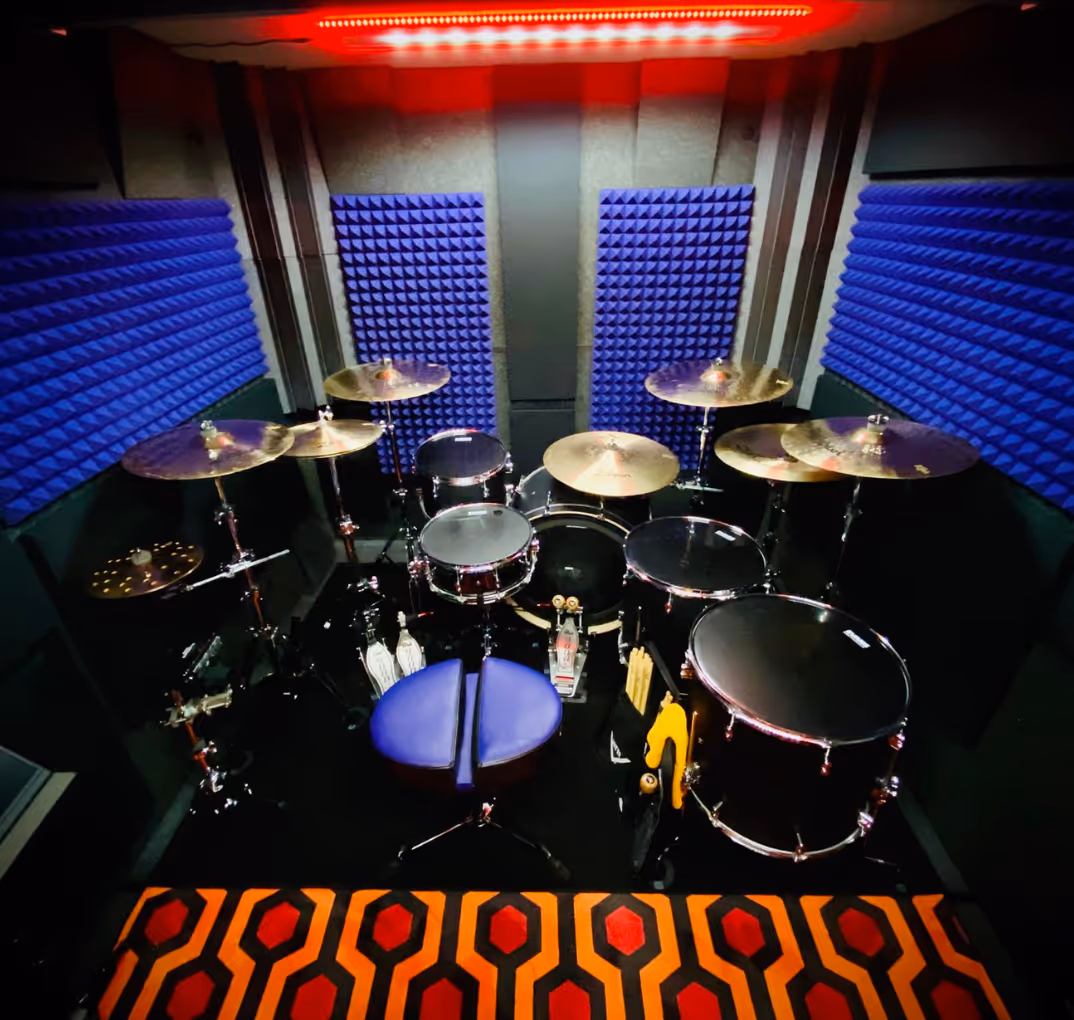
5 - Consider Absorbing Panels, Bass Traps, and Speaker Stands
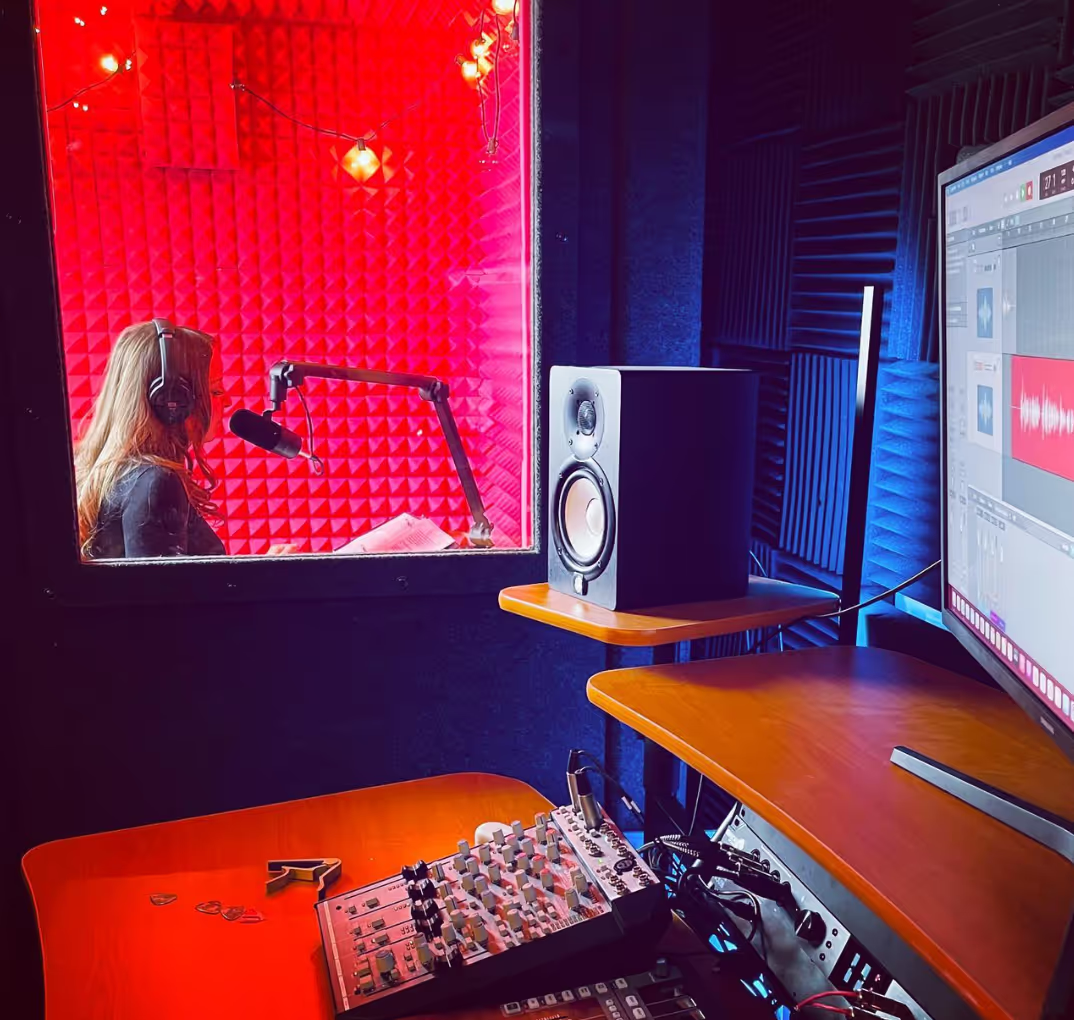
If your room is too "live" you can buy foam panels and place them on the wall. The majority of foam panels absorb higher frequencies than the lower ones, but they still help you out a lot. There is a wide variety of materials, thickness options, and shapes. Plus, you can buy as many panels as you need. Most panels come ready to place on your wall or ceiling (there is a spray/glue specifically for foam and adjustable hooks work great for mounting on the wall).
For the lower frequencies, bass traps are most effective. They are usually placed in the corners of the wall or roof. Typically, they are a little more expensive than foam panels, but they do an excellent job of combatting low frequencies.
The benefit of buying speaker stands is that they have rubber-like feet or special acoustic diffusers that help reduce vibrations.

6 - Top Seven Household Absorbing Materials
If you are looking to save some cash while attempting to improve your studio's acoustics, you can utilize several household items that will help fight off the echoes.
1) Soft Furniture
Keep in mind the material of the cover. Leather covers are more reflective than fabric ones.
2) Thick Carpet and Rugs
Carpets or rugs will help absorb flutter echoes from bouncing off hard flooring. You could also use carpets or rugs on the walls and ceilings! This may sound a little bit crazy, but they can help make a difference.
3) Paintings or Tapestries
If you want to reduce reverberations, you need to take as many surfaces as you can out of the equation. Anything that can cover vast open space in your walls will be your friend.
4) Regular Curtains or Blankets
As you can imagine, the thicker the fabric is, the better!
5) Acoustic Window Film
Due to the properties of vinyl, the film will certainly absorb some of the impact that sound waves have on the glass.
6) Sound Absorbing Curtains
Now we are getting to the good stuff. Soundproof curtains are one of the most attractive soundproofing solutions in the market.
7) Acoustic Partitions
If you've ever been in an open office space, you've probably seen some kind of partition. Some are certainly better at absorbing noise than others.
7 - Summary
There are many ways to improve your studio's acoustics. If you can't spend a lot of money, you will have to get creative and experiment a little. If that is your case, grab as many items as you can from the list described above to avoid sound reflections in your room


.avif)
.avif)
.avif)

.avif)
.avif)

.avif)
.avif)
.avif)
.avif)
.avif)
.avif)
.avif)
.avif)
.avif)
.avif)
.avif)
.avif)
.avif)
.avif)

.avif)
.avif)


.avif)