🎯 Quick Take: Soundproofing and acoustic treatment are often confused—but they serve very different purposes. This guide breaks down the key differences, explains when to use each, and helps you build a space that sounds great and keeps noise where it belongs.
Your Guide to Soundproofing vs. Acoustic Treatment
If you're setting up a recording studio, podcast booth, music room, or home theater, chances are you've heard terms like soundproofing and acoustic treatment tossed around. While they might sound interchangeable, they solve different acoustic problems.
This guide explains how both techniques work, when to use them, and why combining them often delivers the best results.
1. What Is Soundproofing?
Soundproofing is about blocking sound—preventing it from entering or leaving a room. It’s a structural strategy that relies on density, decoupling, and sealing to stop sound transmission.
🔑 Key soundproofing principles:
- Add mass with dense materials like drywall, vinyl, or acoustic panels
- Decouple surfaces to interrupt vibration paths (double framing)
- Create airtight seals around doors, vents, and joints
- Dampen structure-borne vibrations with clips or isolators
💬 Think of soundproofing as “keeping the outside out and the inside in.”
2. What Is Acoustic Treatment?
Acoustic treatment shapes how sound behaves inside a room. It focuses on reducing echo, reverberation, and uneven frequency response using absorptive and diffusive materials.
🔑 Key treatment goals:
- Absorb mids and highs with foam or fabric-wrapped panels
- Control bass buildup with corner-mounted bass traps
- Diffuse sound reflections to create a natural ambiance
💬 While soundproofing stops noise transfer, sound treatment improves sound clarity inside.

🔗 Want to treat large rooms and small rooms? Start with a room assessment and smart placement.
3. Soundproofing vs. Acoustic Treatment: Quick Comparison
👉 Pro Tip: The best setups use both. Soundproofing controls what gets in, while treatment controls what bounces around.
4. Common Misconceptions
❌ Myth: Foam panels soundproof a room
✔ Fact: Foam only reduces reflections—it doesn’t block noise through walls.
❌ Myth: Carpeted rooms are acoustically treated
✔ Fact: Carpet absorbs high frequencies only and won’t treat the room effectively.
❌ Myth: A heavy door makes a room soundproof
✔ Fact: Without seals and wall isolation, sound leaks through the tiniest gaps.

5. Do You Need Soundproofing, Acoustic Treatment, or Both?
✅ Choose soundproofing if:
- You're surrounded by outside noise (traffic, neighbors, HVAC)
- You want to keep your recordings free from interruptions
- You need privacy from other rooms or floors
✅ Choose acoustic treatment if:
- You're recording, mixing, or editing audio
- You need clear, reflection-free sound
- You want accurate sound reproduction in your monitors or headphones
💡 Most serious users need both—and that’s why many WhisperRoom customers begin with isolation and customize their acoustic treatment over time.
🔗 The most common method of sound treatment that people use starts with absorption, but don’t stop there.
6. Key Definition to Know
Soundproofing – Prevents sound from entering or leaving a space
Example: Adding double-drywall and mass-loaded vinyl to a wall helps keep traffic noise from bleeding into a recording session.
Acoustic Treatment – Improves internal sound behavior
Example: Mounting foam panels behind a microphone setup reduces slap-back echo for podcast recordings.
Reverberation – Echo-like sound buildup that muddies audio
Example: When piano keys are released after striking a chord, the sound waves continue bouncing off the walls and ceiling until they die out—unless absorbed.

Diffusion – Scatter of sound to create even reflections
Example: A diffuser placed on the back wall of a mixing room spreads reflections so that no single frequency dominates or bounces back too strongly.

Decoupling – Separating contact points to reduce vibration transfer
Example: Enhanced WhisperRoom booths use floating floors, isolated wall panels, and air gaps between layered components to prevent floor vibrations (like footsteps or subwoofers) from entering the space.

Frequency - The number of sound wave cycles per second, measured in hertz (Hz) that determines how “high” or “low” a sound is
Example: A soprano singer’s voice might reach 1,000 Hz (high frequency), while a bass guitar rumbles at 60 Hz (low frequency).

Bass Trap – A device or panel that absorbs low frequencies
Example: Thick corner-mounted traps soak up the rumble and boom from kick drums or bass guitars that accumulate in untreated spaces.

7. Room Assessment + Listening Position (Don't Skip This!)
Great sound starts with strategic setup. Here's how to optimize your room:
- ✅ Listening position: Sit 38% into the room from the front wall
- ✅Speaker placement: Use the equilateral triangle rule for even stereo imaging
- ✅ Reflection control: Use a mirror on the wall to find first-reflection points
- ✅ Avoid symmetry: Don't place speakers or seating equal distance from walls
- ✅ Ceiling and back wall: Use diffusers or ceiling clouds for vertical reflection control

🔗 To spread out the acoustic treatment, focus on coverage across surfaces—not just behind speakers.
8. Combine Soundproofing + Treatment for Pro Results
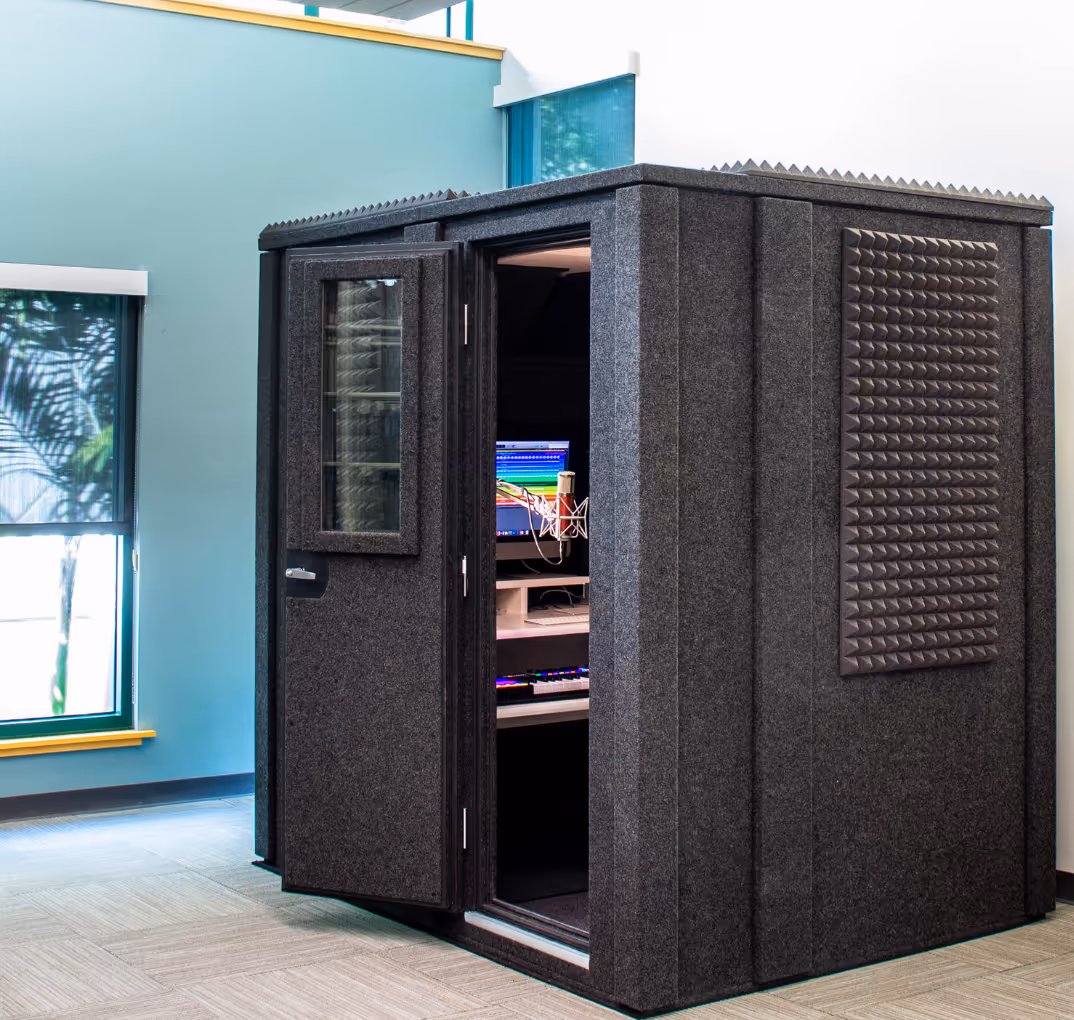
WhisperRoom™ booths are engineered to do more than block noise——they’re precision-engineered isolation environments that solve both noise intrusion and sound clarity challenges.
Soundproofing Outside the Box:
Each WhisperRoom includes:
- Modular panels for air tight sound isolation
- Sealed door systems and dampened ventilation systems to minimize leaks
- The option to transform a single-wall booth into an Enhanced double-walled unit with decoupled isolation levels
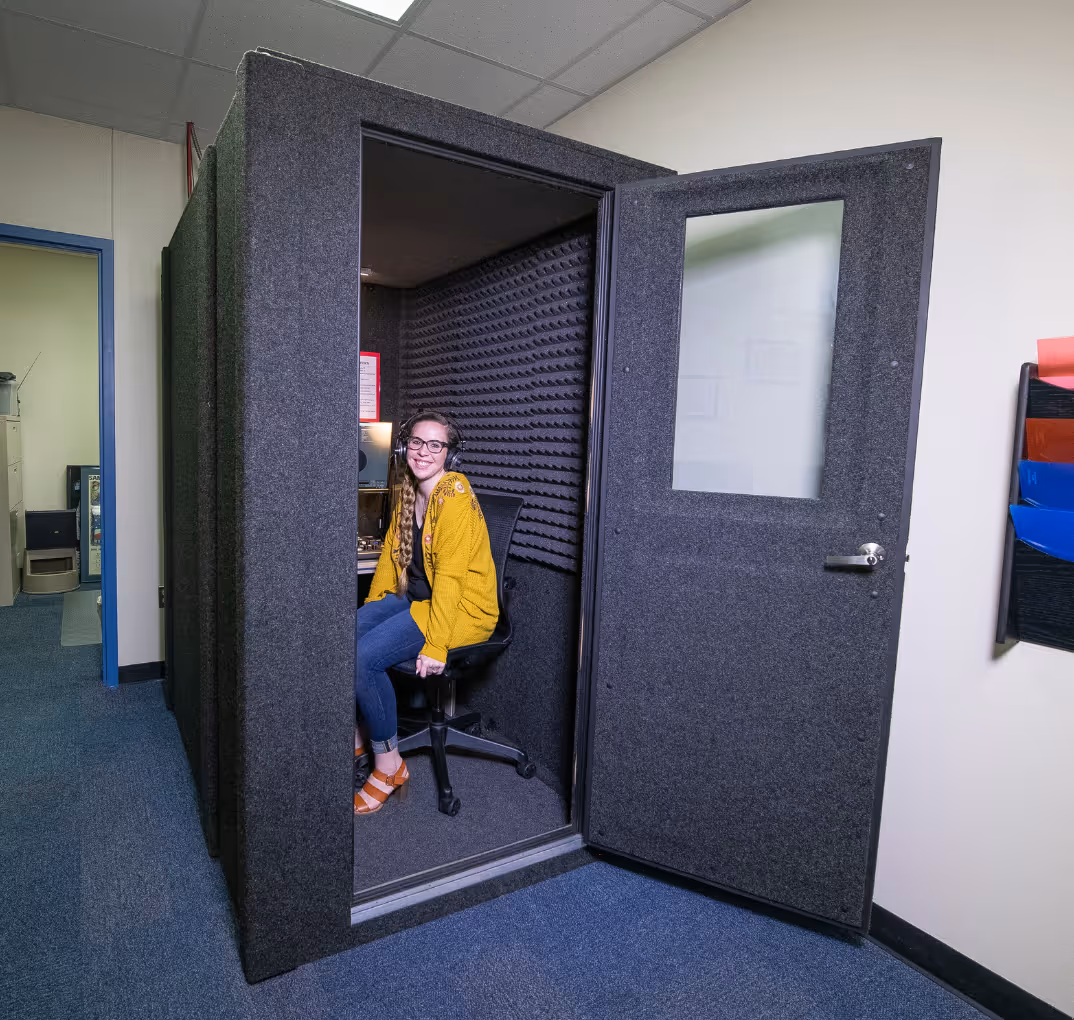
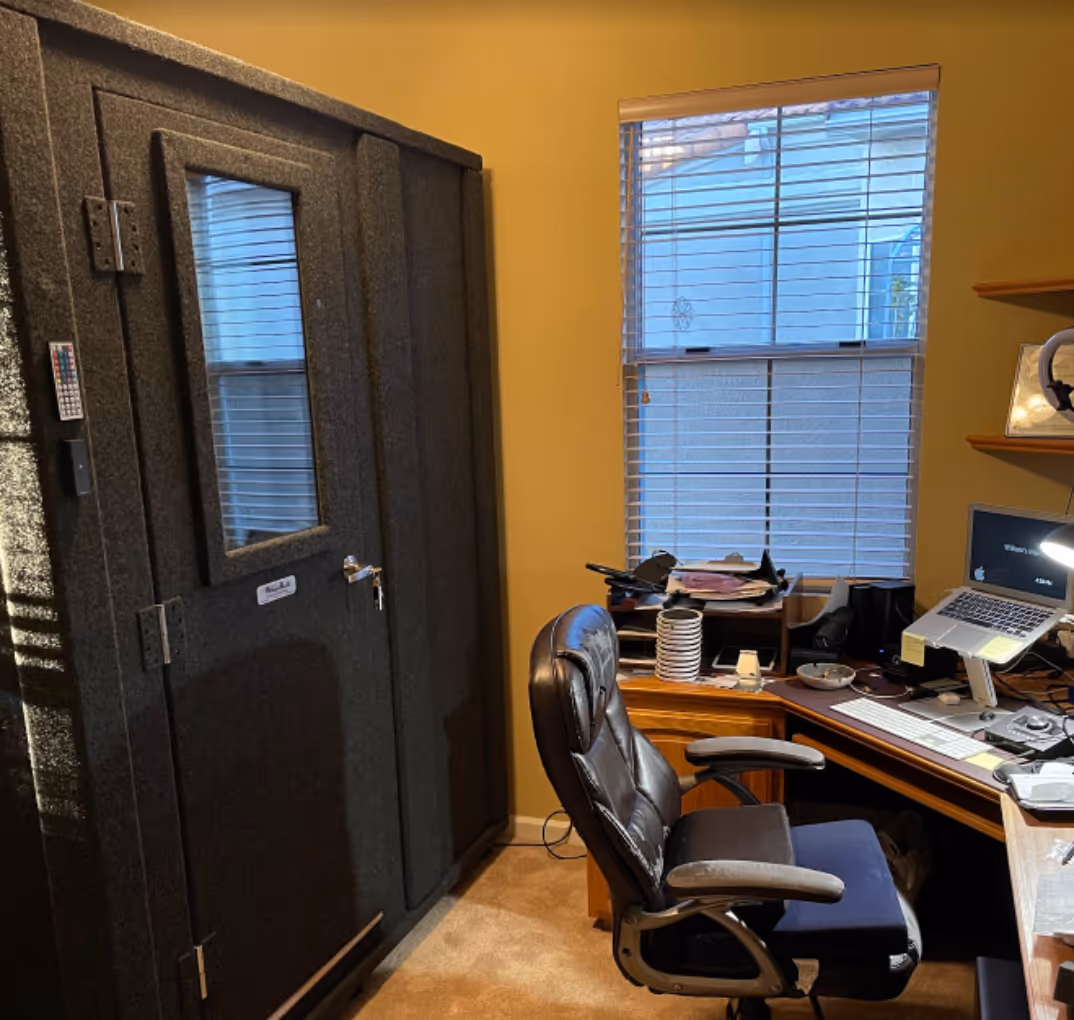
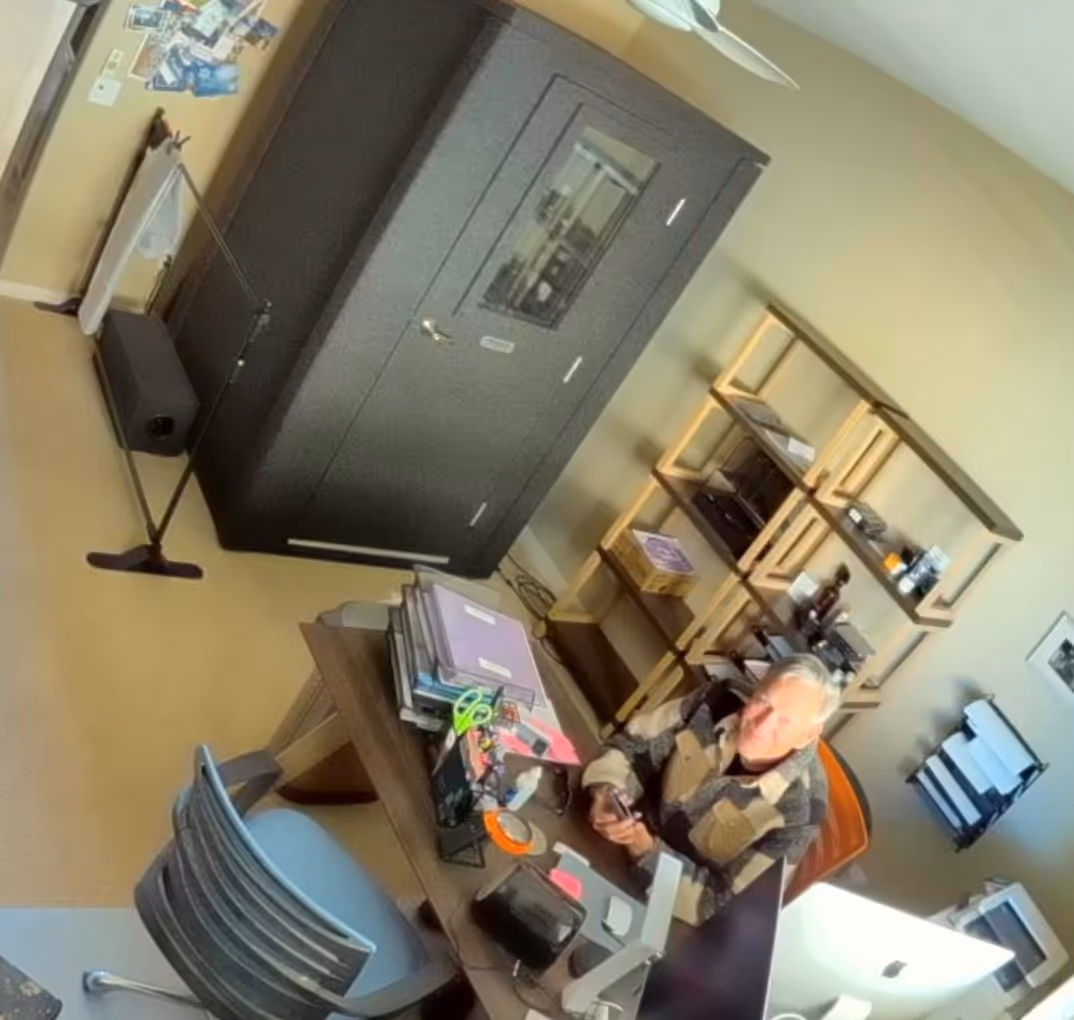
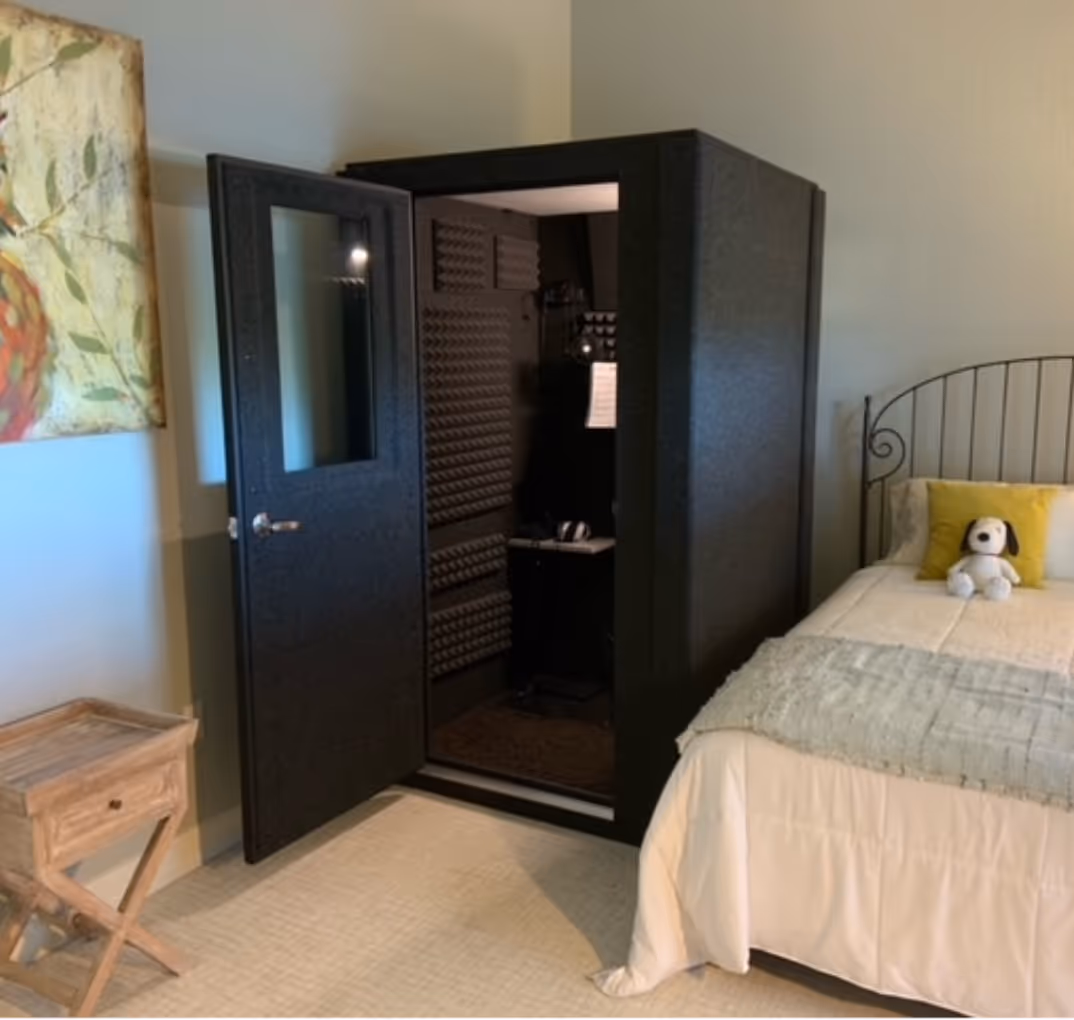
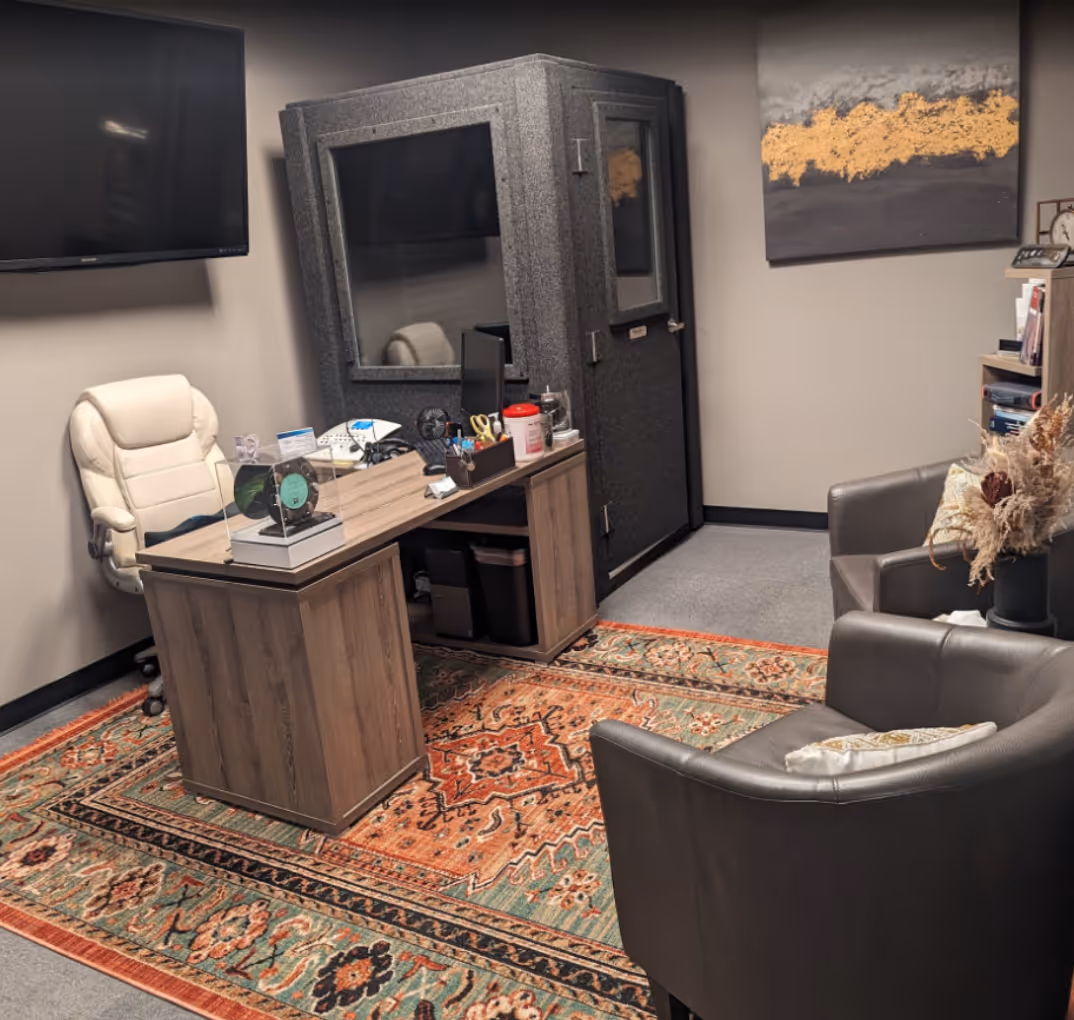
This means you can place your booth anywhere—from apartments to classrooms—and still enjoy consistent silence inside.
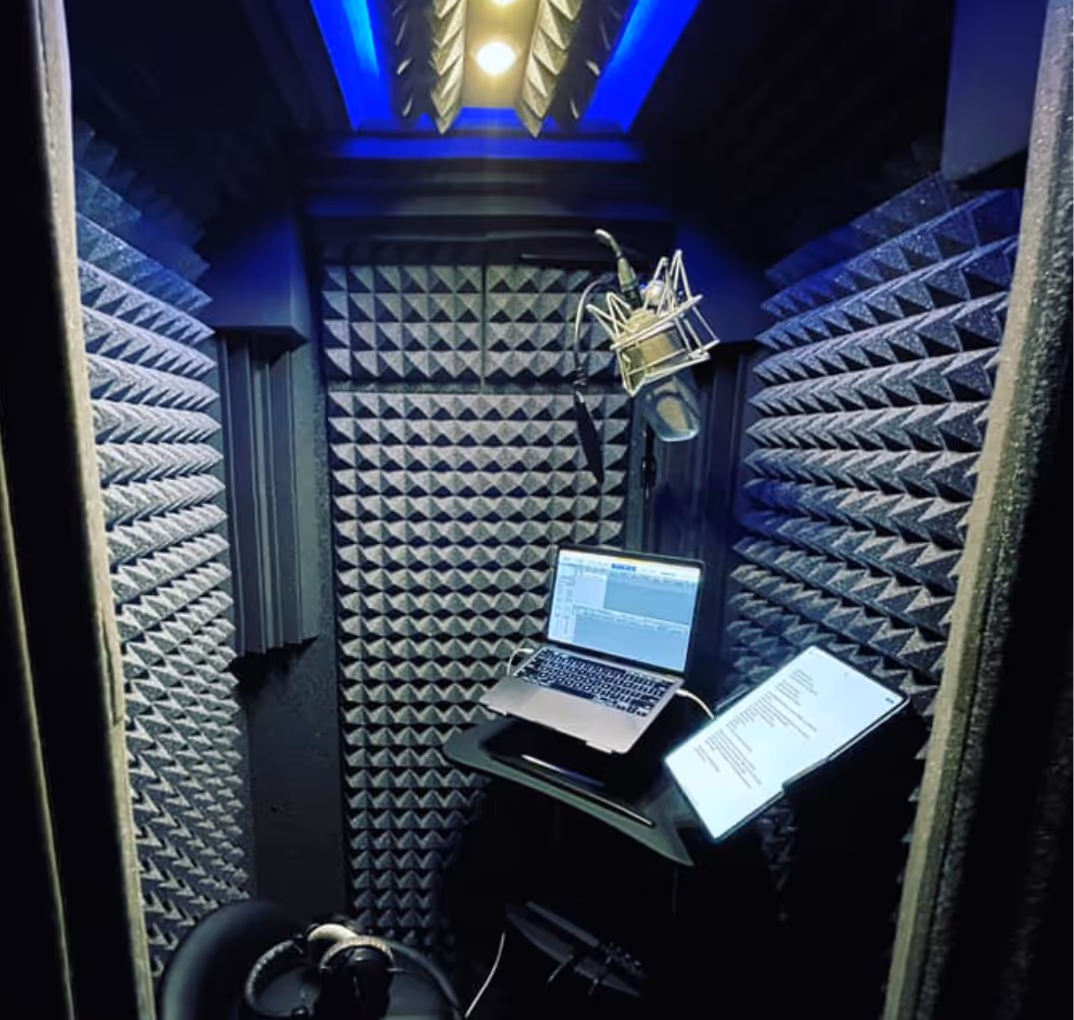
Acoustic Treatment Inside the Box:
Once you're inside, you can transform the booth into a pro-level space by adding:
- Acoustic panels and foam treatment to tame reflection
- Bass traps to fix low-end buildup
- Diffusers or ceiling clouds to create natural warmth
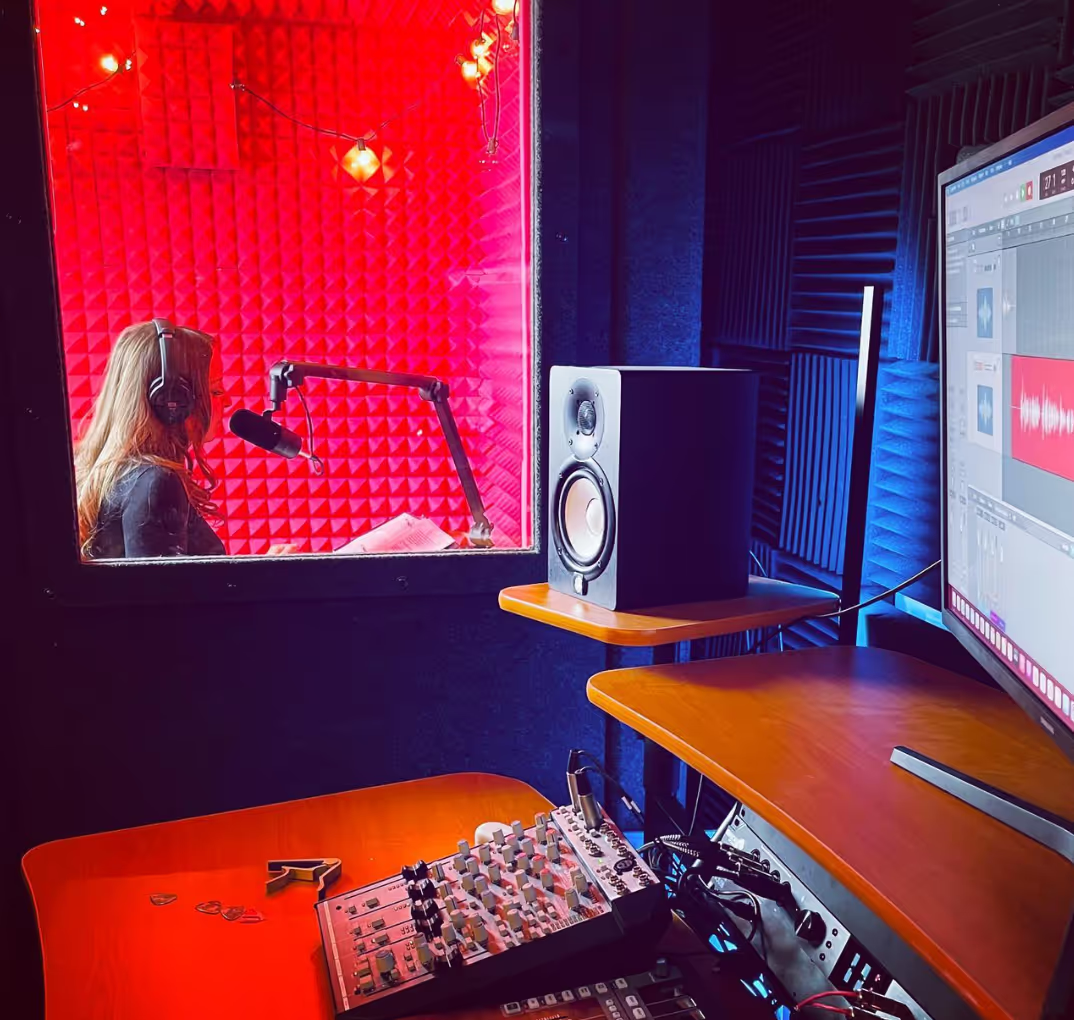
Some WhisperRoom users treat the booth like a vocal chamber. Others set it up as a full control room, isolating both the speaker and microphone for cleaner mixes.
How They Work Together:
Think of WhisperRoom as the soundproofing solution that gives you the blank slate. Then, acoustic treatment becomes the creative paintbrush that shapes the sound inside.
💬 Example Use Cases:
- 🎤 Voice actors can record whisper-quiet takes, than tailor the booth with acoustic to match their mic tone.
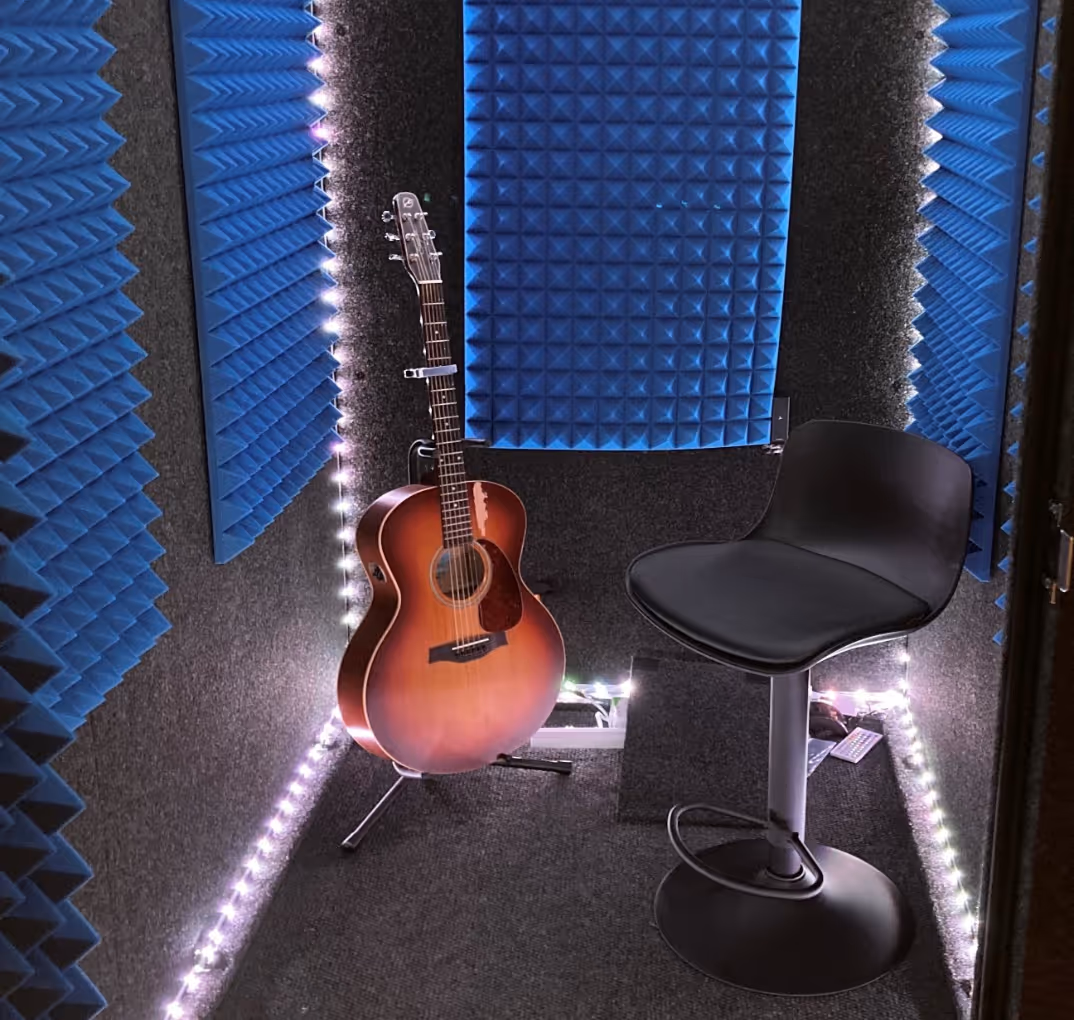
- 🎧 Musicians can sing late at night with zero neighbor complaint, while capturing vocals that sound "studio-polished".
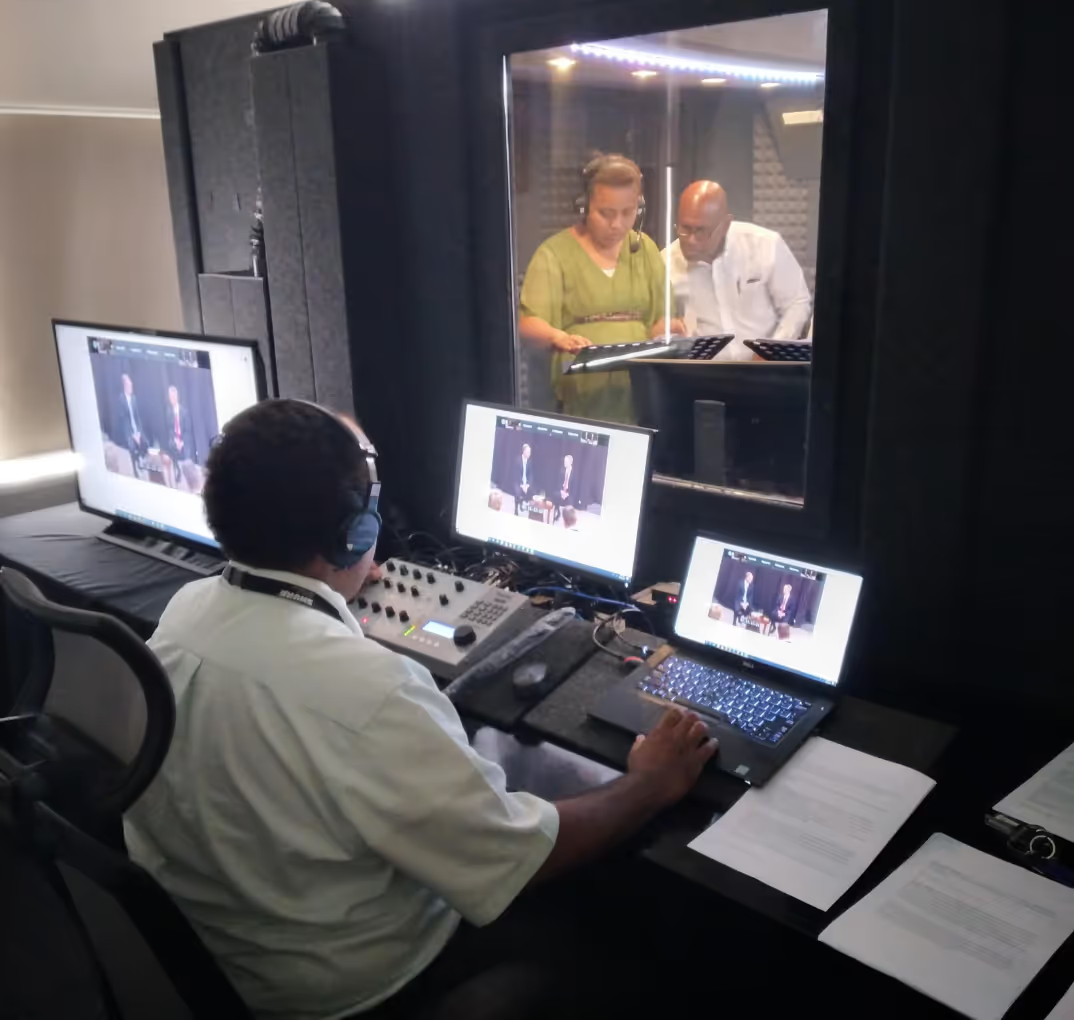
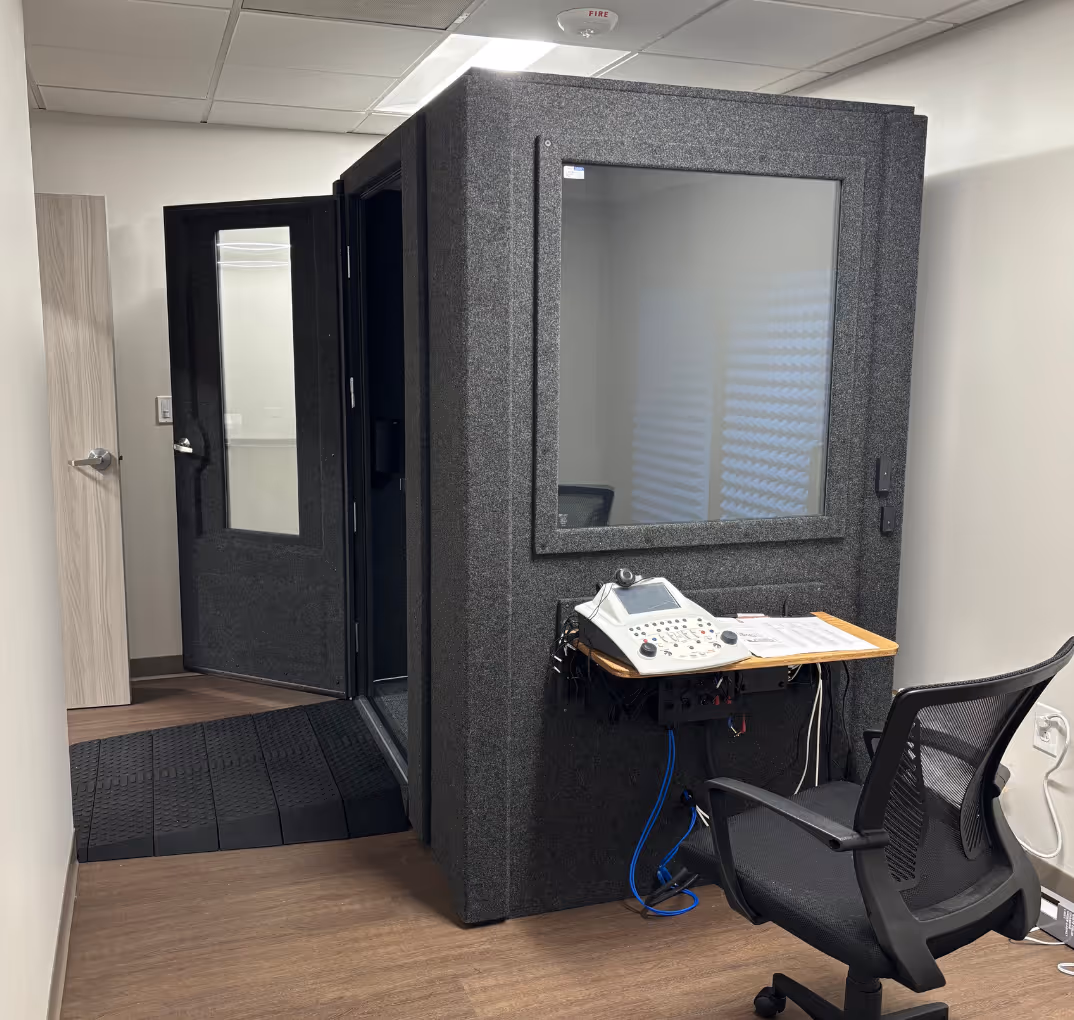
- 👂 Audiology clinics can test hearing thresholds in near-silent conditions and still tune interior reflections for accurate results
- 🏫 Educators & content creators can build distraction-free booths inside schools or open offices—and customize the inside for clarity on every recording.
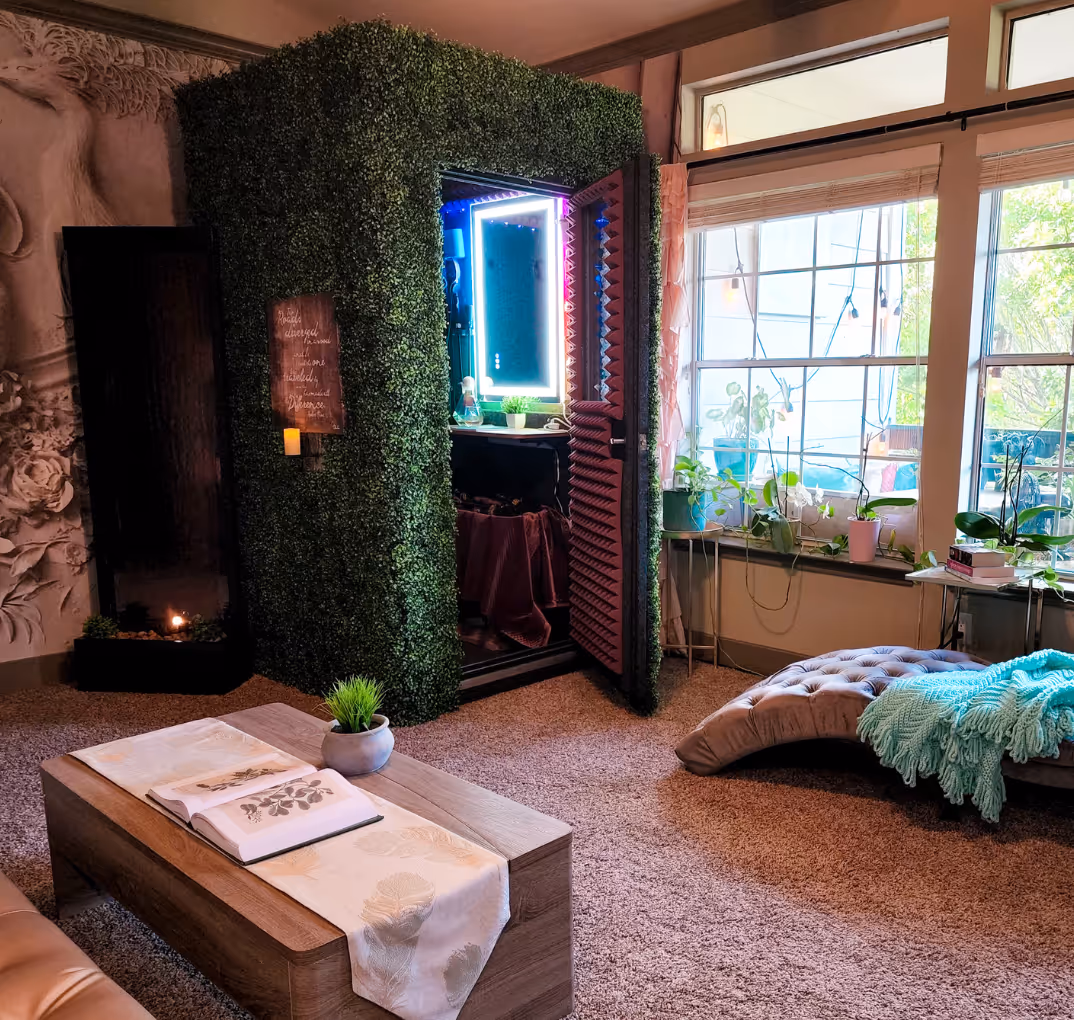
👉 Ready to see how others are using WhisperRoom in real life? Explore our client gallery
❓ FAQs: Soundproofing vs. Acoustic Treatment
Q: What's the main difference between soundproofing and acoustic treatment?
A: Soundproofing blocks external noise. Acoustic treatment improves internal sound quality.
Q: Can I use acoustic foam to soundproof my room?
A: No. Foam reduces reflections but doesn't block airborne sound.
Q: Do I need both soundproofing and treatment?
A: Yes—in most cases. Especially if you want avoid both noise leaks and echo problems.
Q: What materials are best for soundproofing?
A: Mass-loaded vinyl, double-drywall layers, and WhisperRooms are all excellent and can help serve different soundproofing goals.
Q: What's the best way to treat a room acoustically?
A: Use a combo of absorbers (for reflections), bass traps (for low-end), and diffusers (for ambience).
Q: Do vocal isolation booths really work?
A: The cheapest option is usually a DIY setup—think moving blankets, PVC frames, or a repurposed closet with some foam. These can help reduce echo, but they don’t block much sound and often need constant adjustments. WhisperRoom booths cost more upfront, but they offer real isolation, long-term reliability, and portability that saves you money over time—especially if your setup moves or grows with you.
📌 Final Thoughts
Soundproofing and acoustic treatment solve different problems—but together, they give you a pro-grade environment that works for music, voice, or testing.
Start by asking yourself:
- Do I need to block noise from outside? → Soundproof
- Do I need to clean up echo and balance tone? → Treat
- Want studio-quality control? → Combine both
🔗 Want to learn more? See the WhisperRoom difference


.avif)
.avif)
.avif)

.avif)
.avif)

.avif)
.avif)
.avif)
.avif)
.avif)
.avif)
.avif)
.avif)
.avif)
.avif)
.avif)
.avif)
.avif)
.avif)

.avif)
.avif)


.avif)