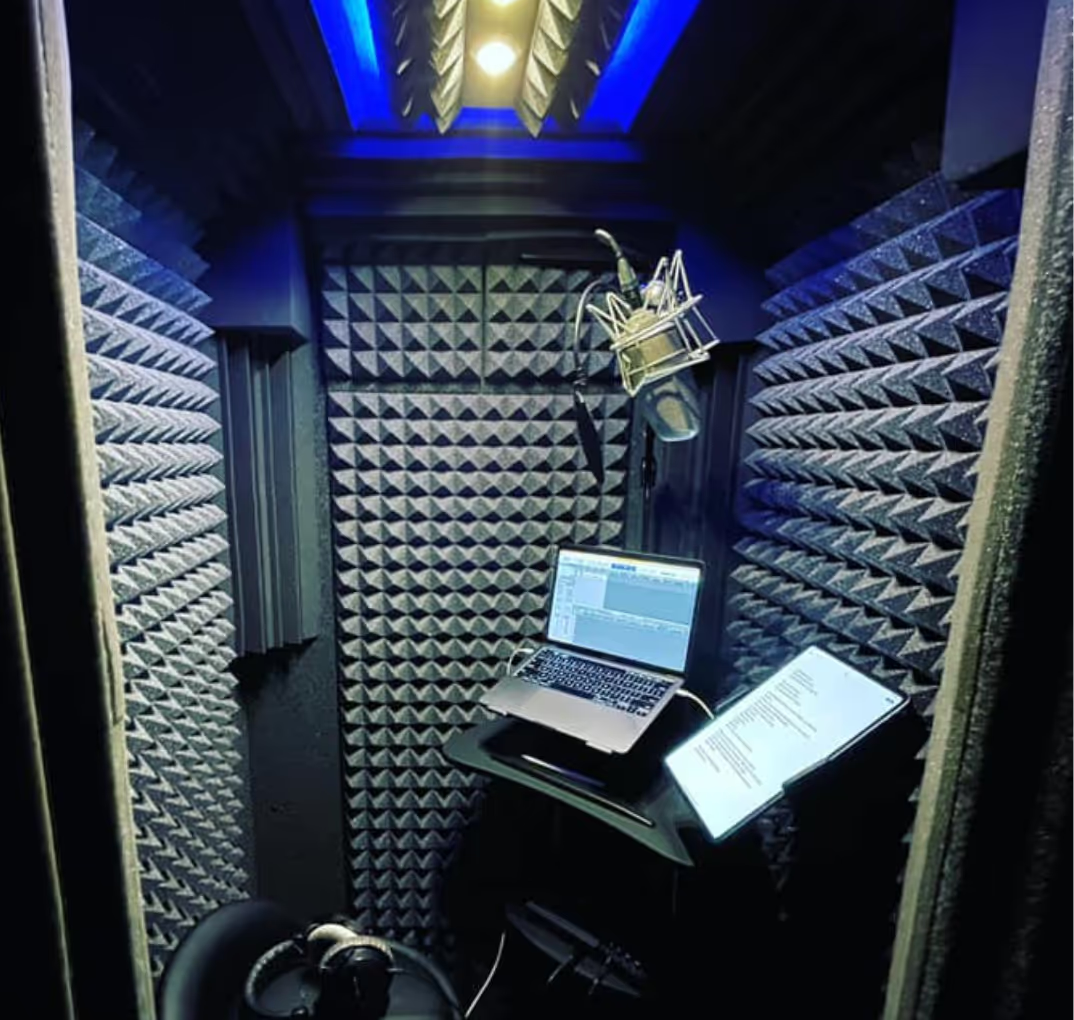
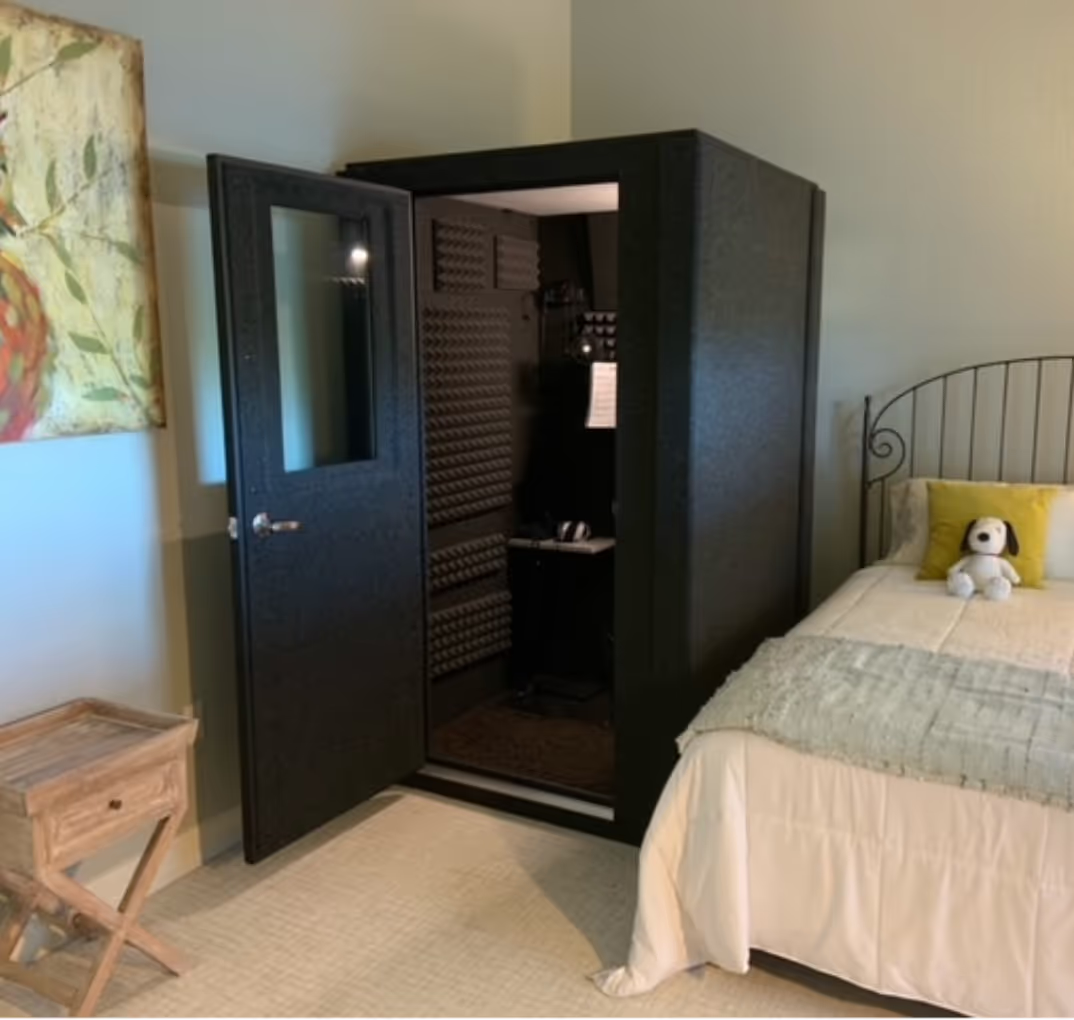
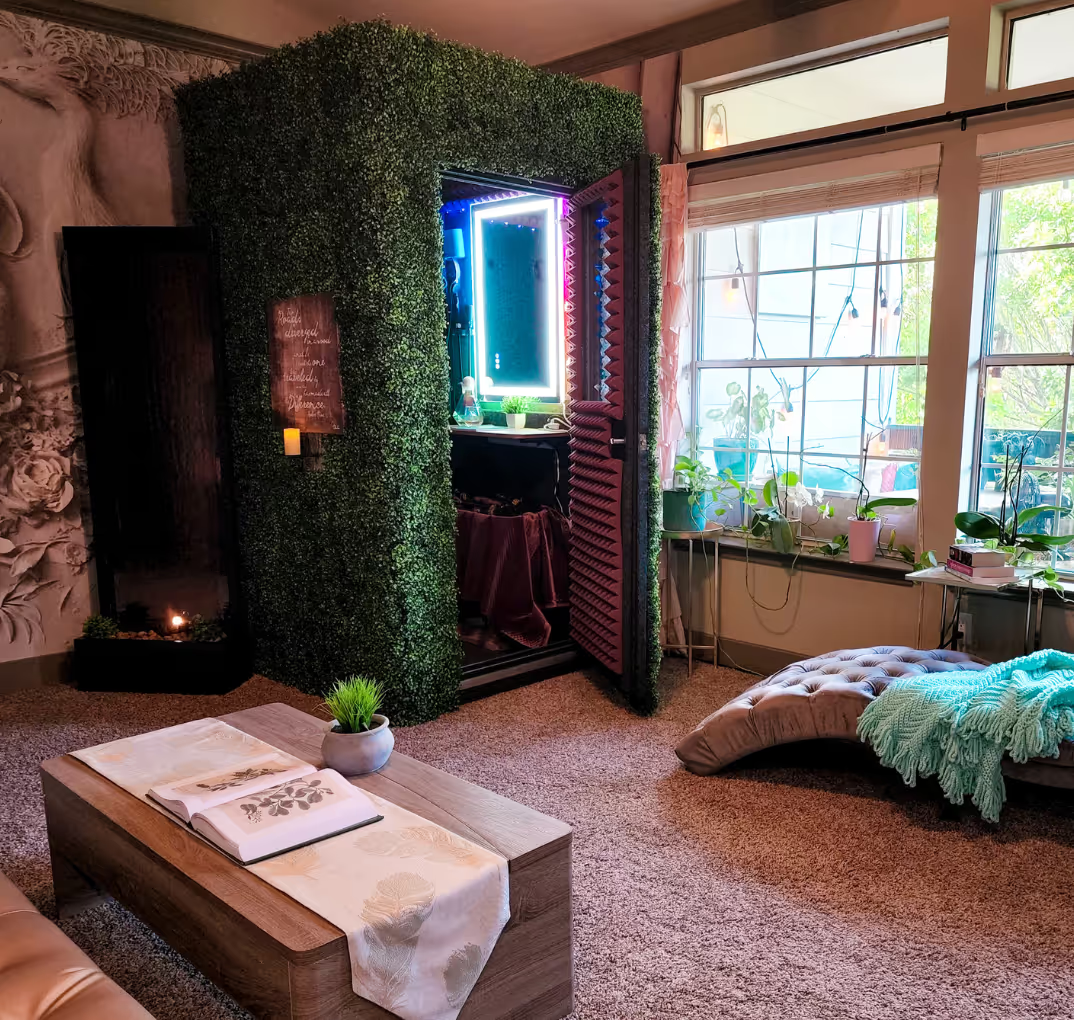
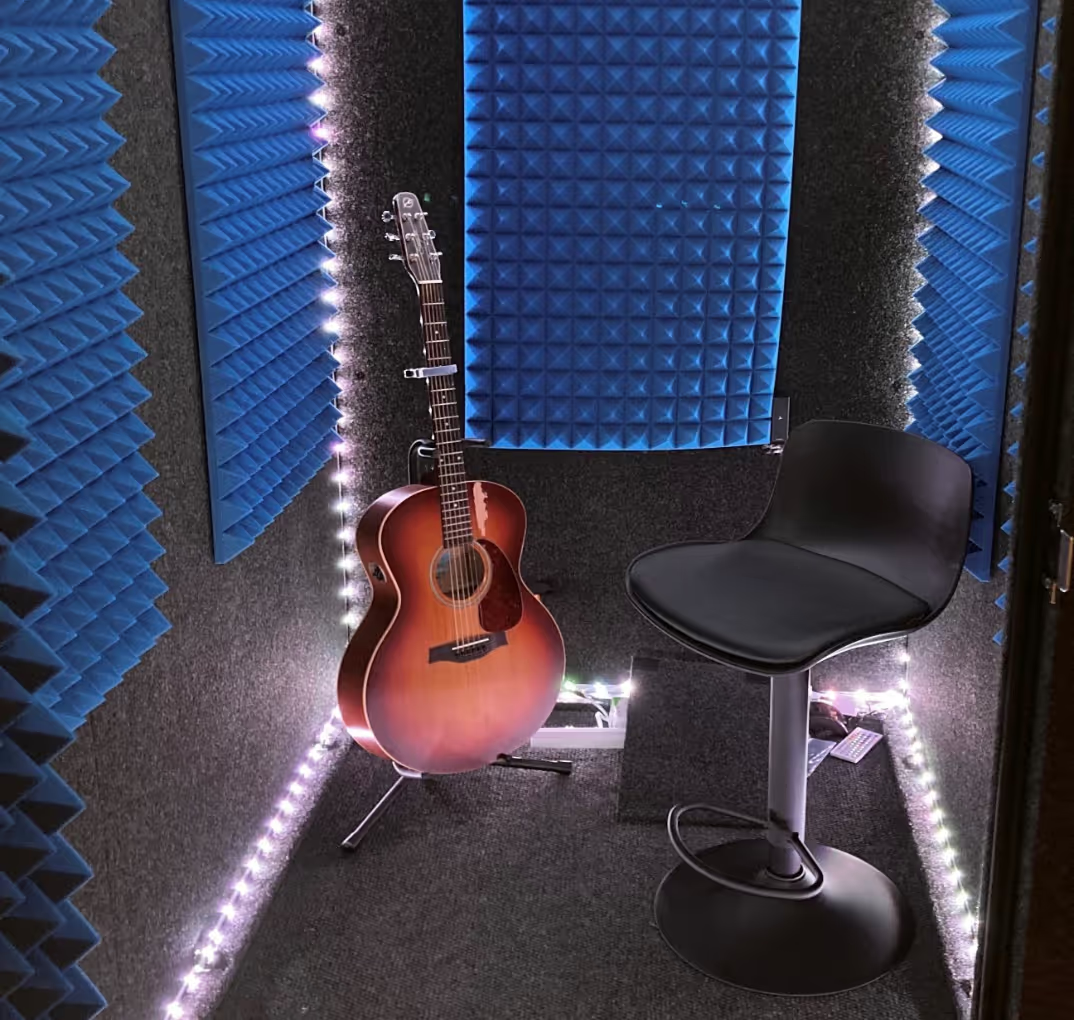
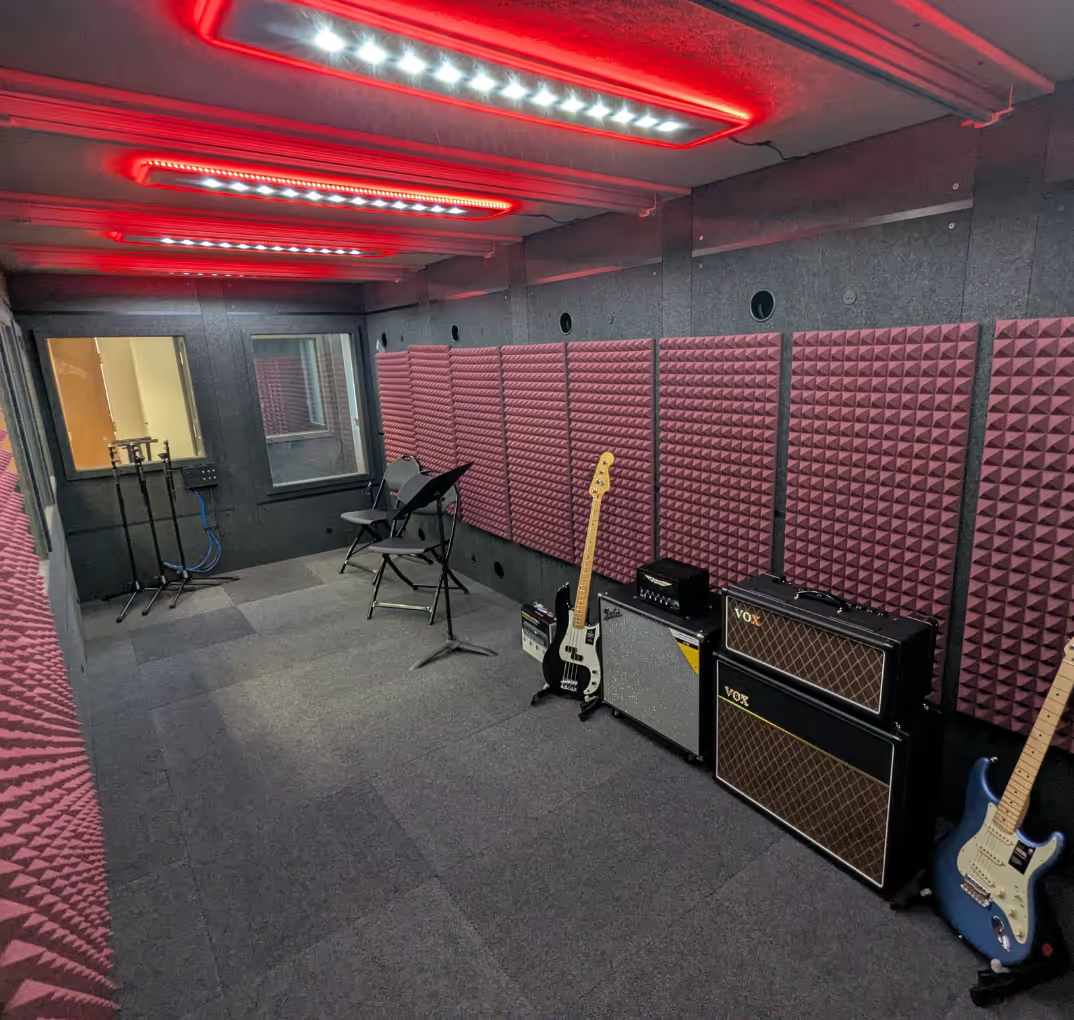
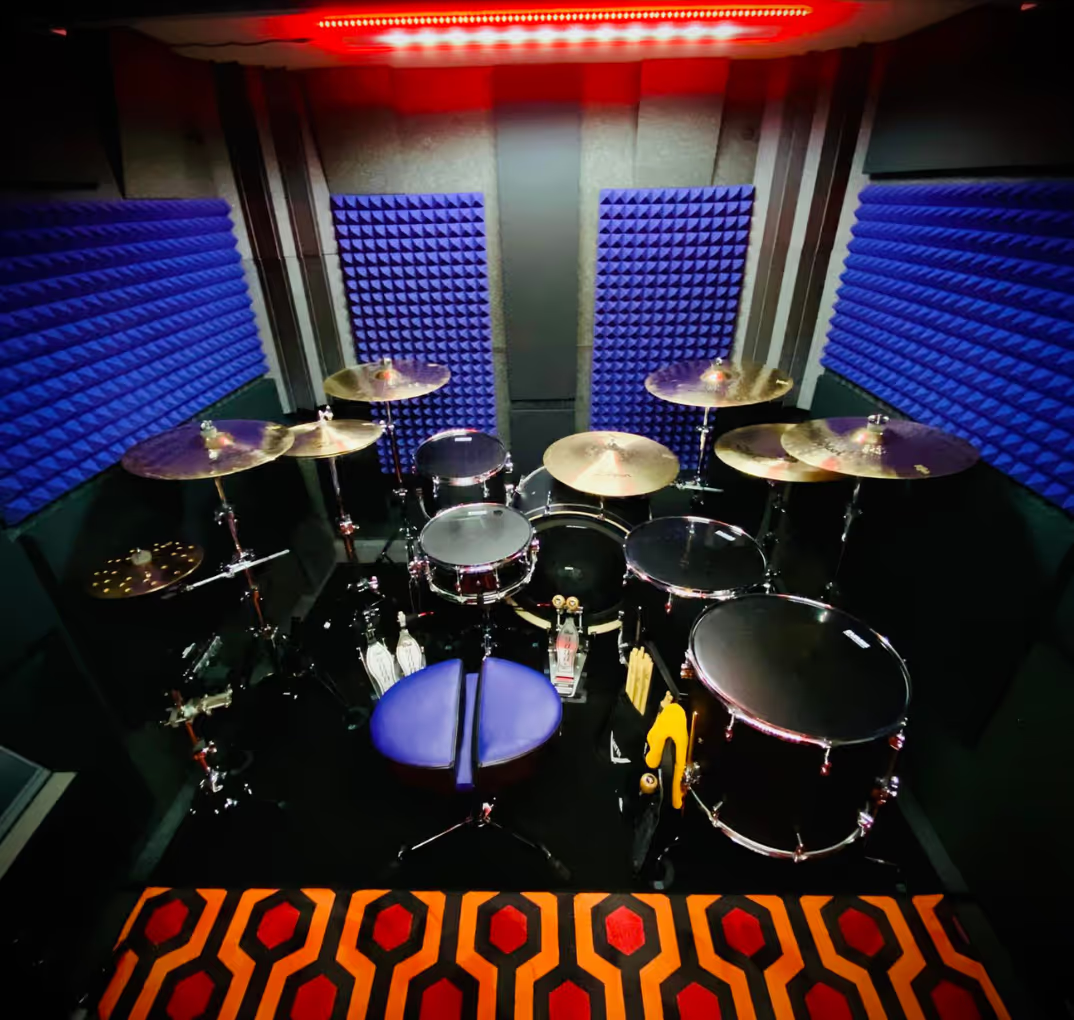
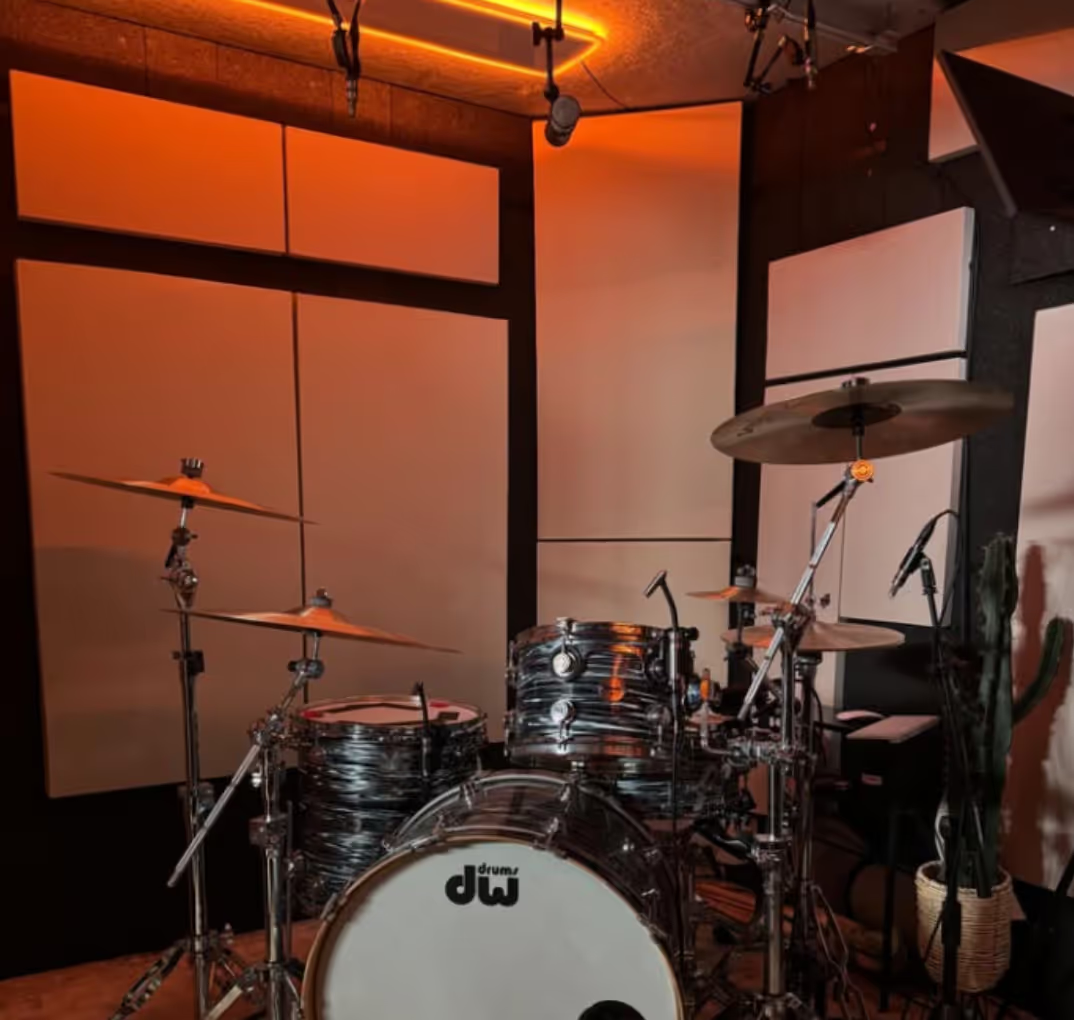
Setting up a recording studio can be an exciting journey, whether you're a beginner looking to explore your passion for audio production or a seasoned professional seeking to elevate your craft. This guide covers everything you need to know about essential recording studio equipment, offering expert advice and insights to help you make informed decisions for your unique needs.
1. Choosing the Right Space for Your Studio
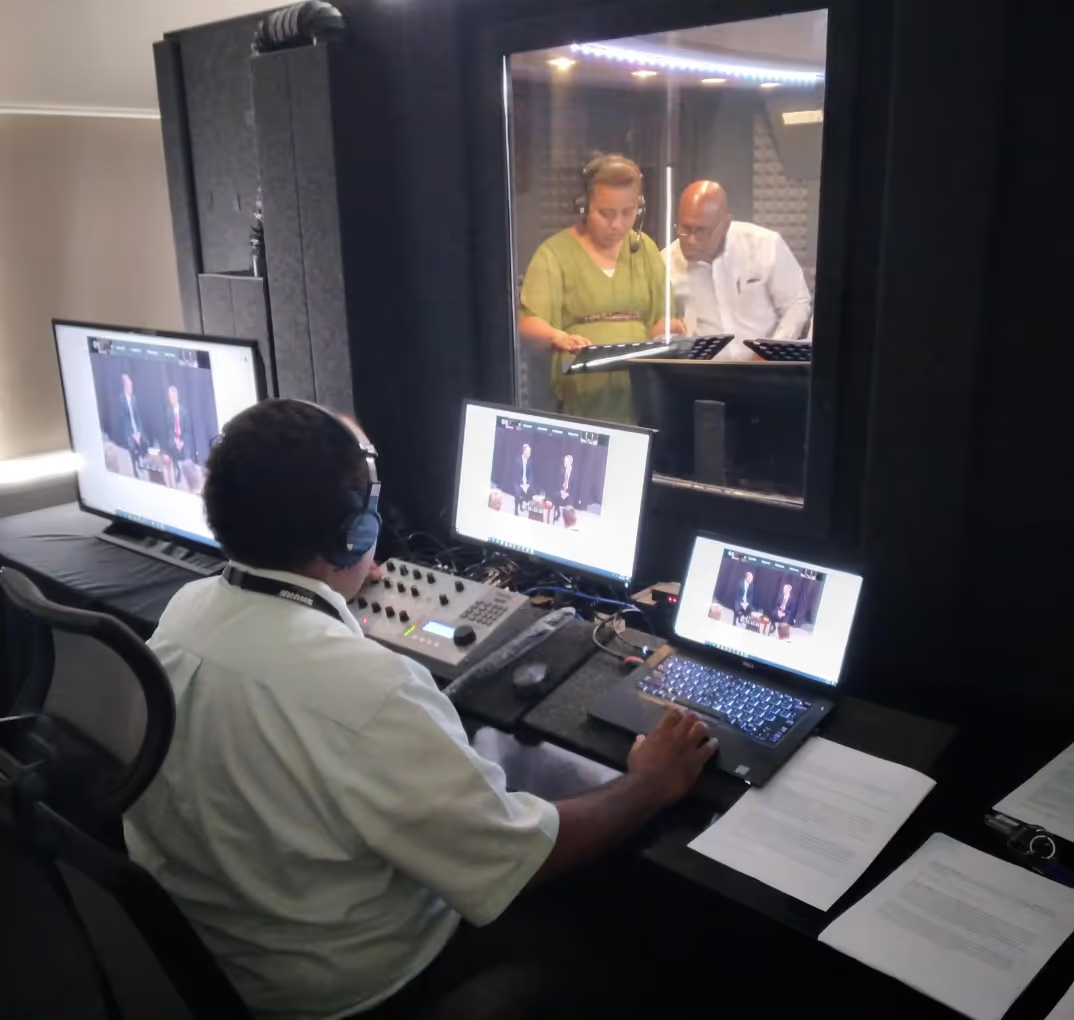
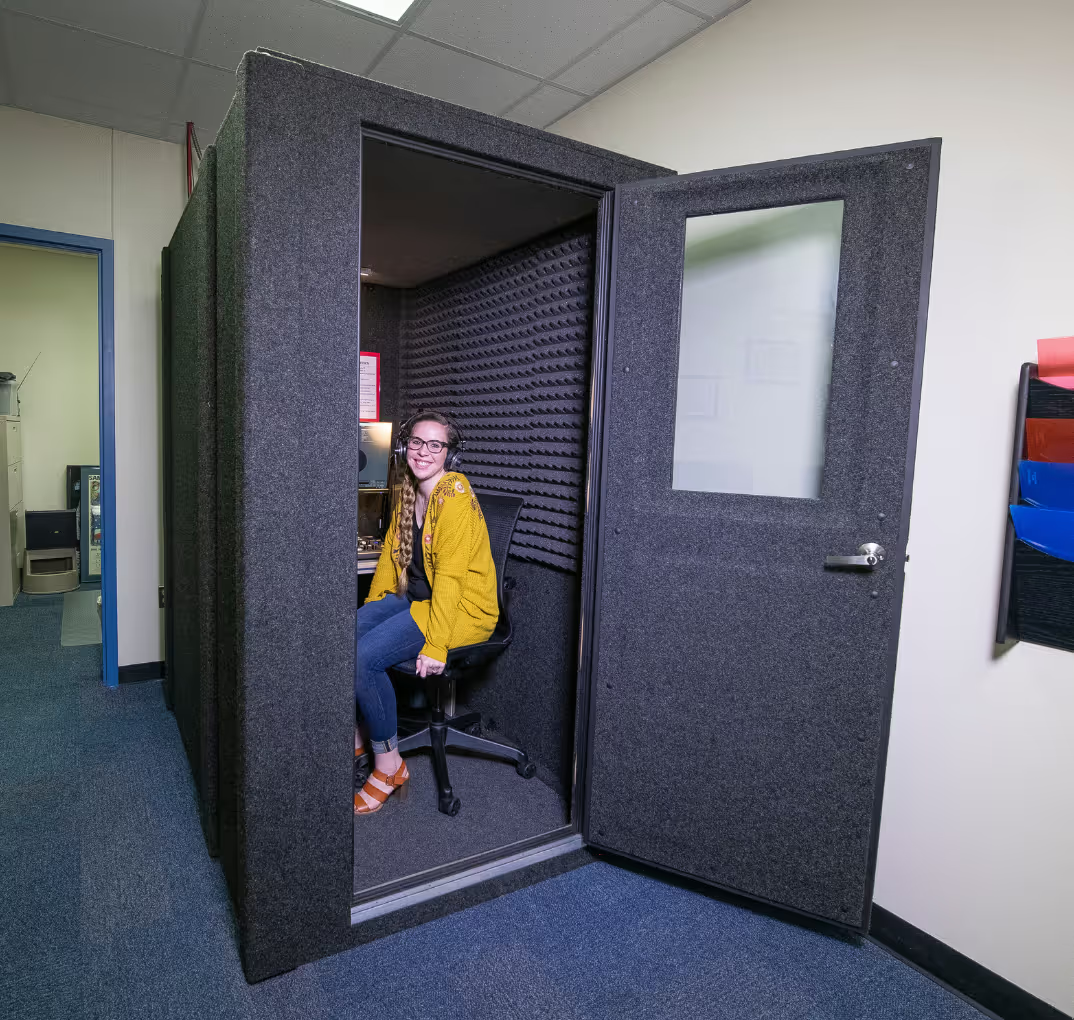
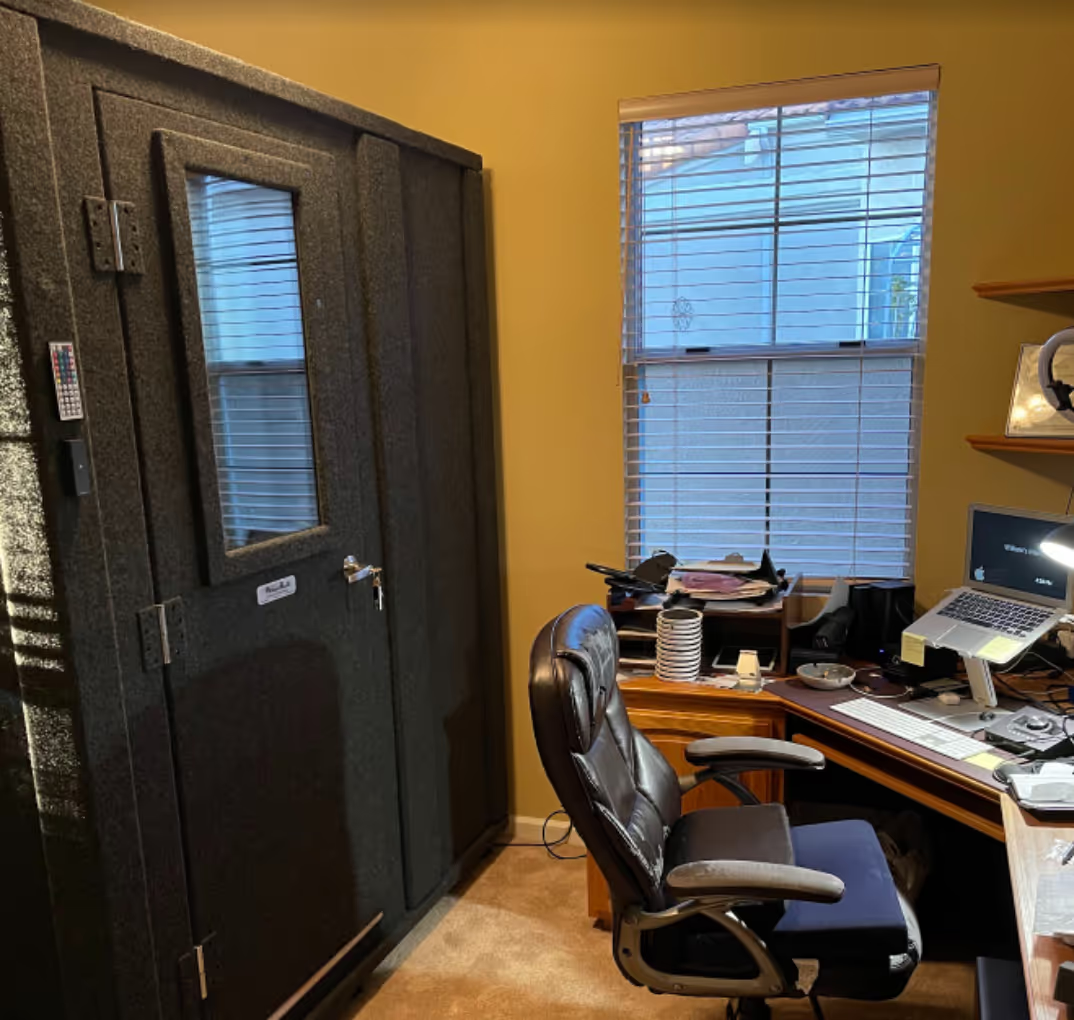
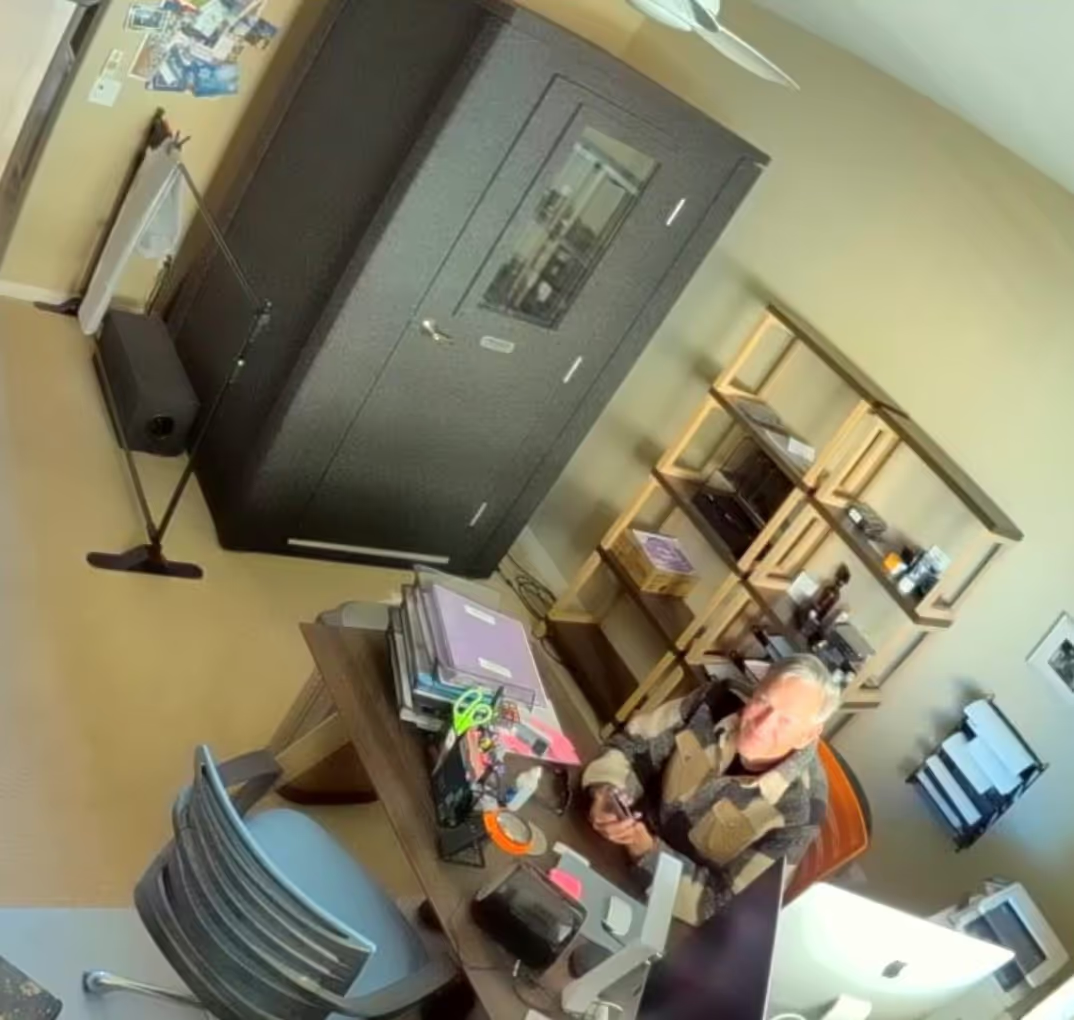
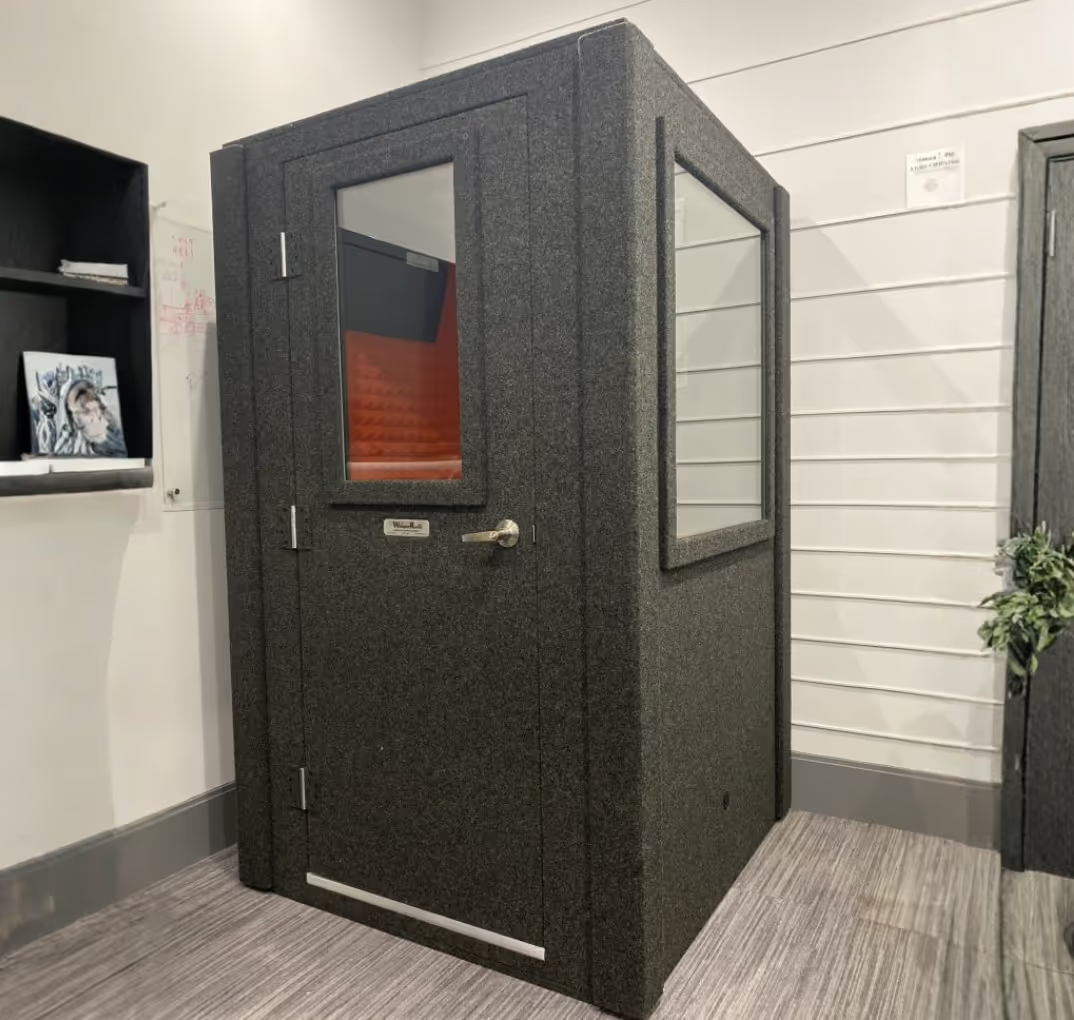
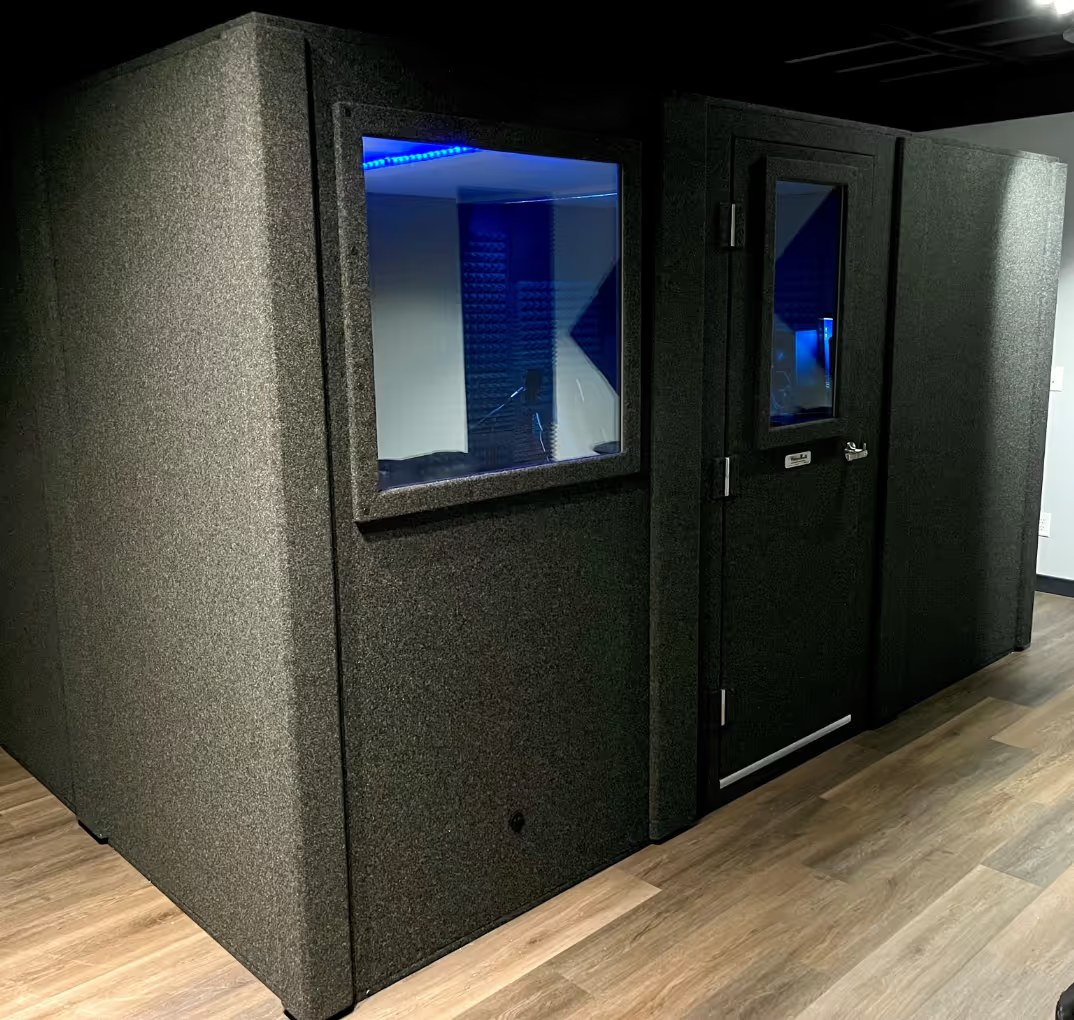
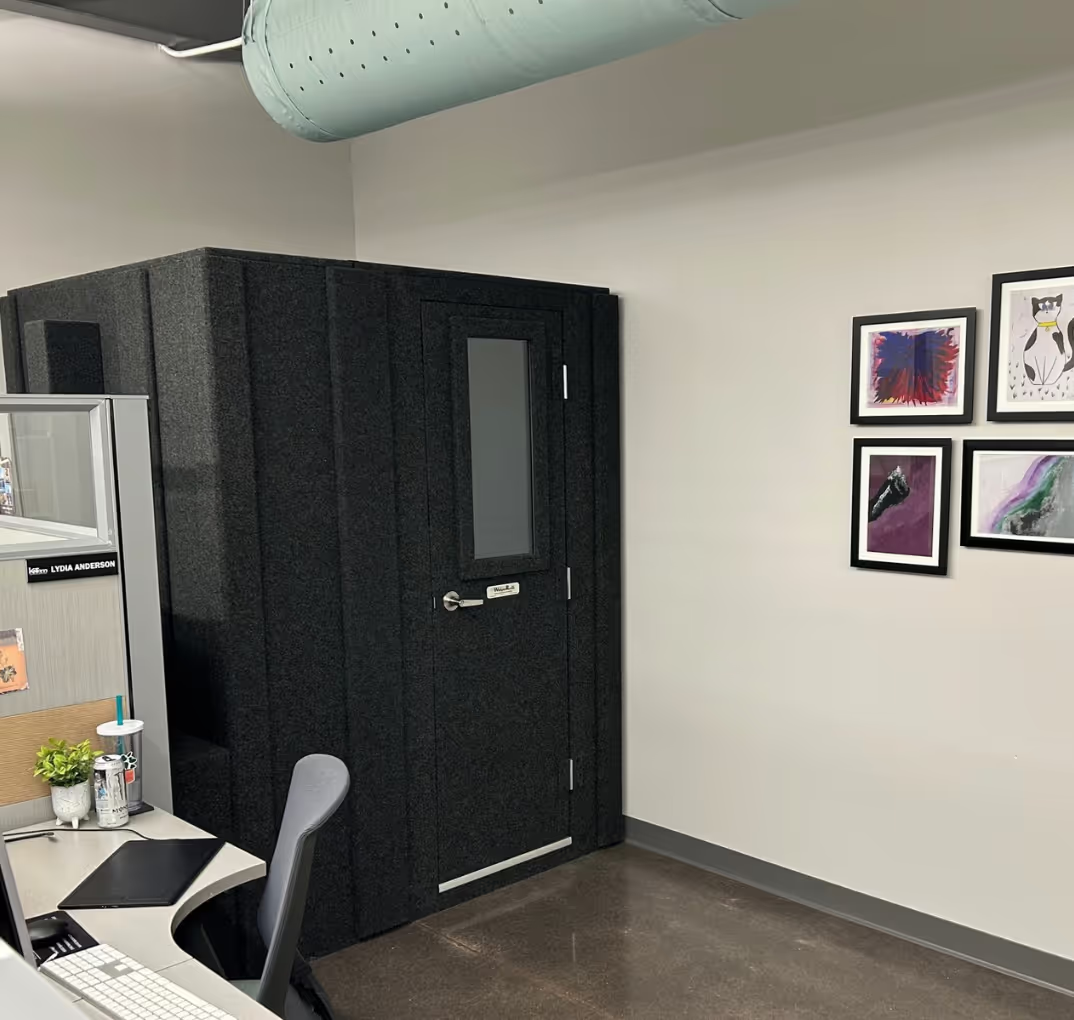
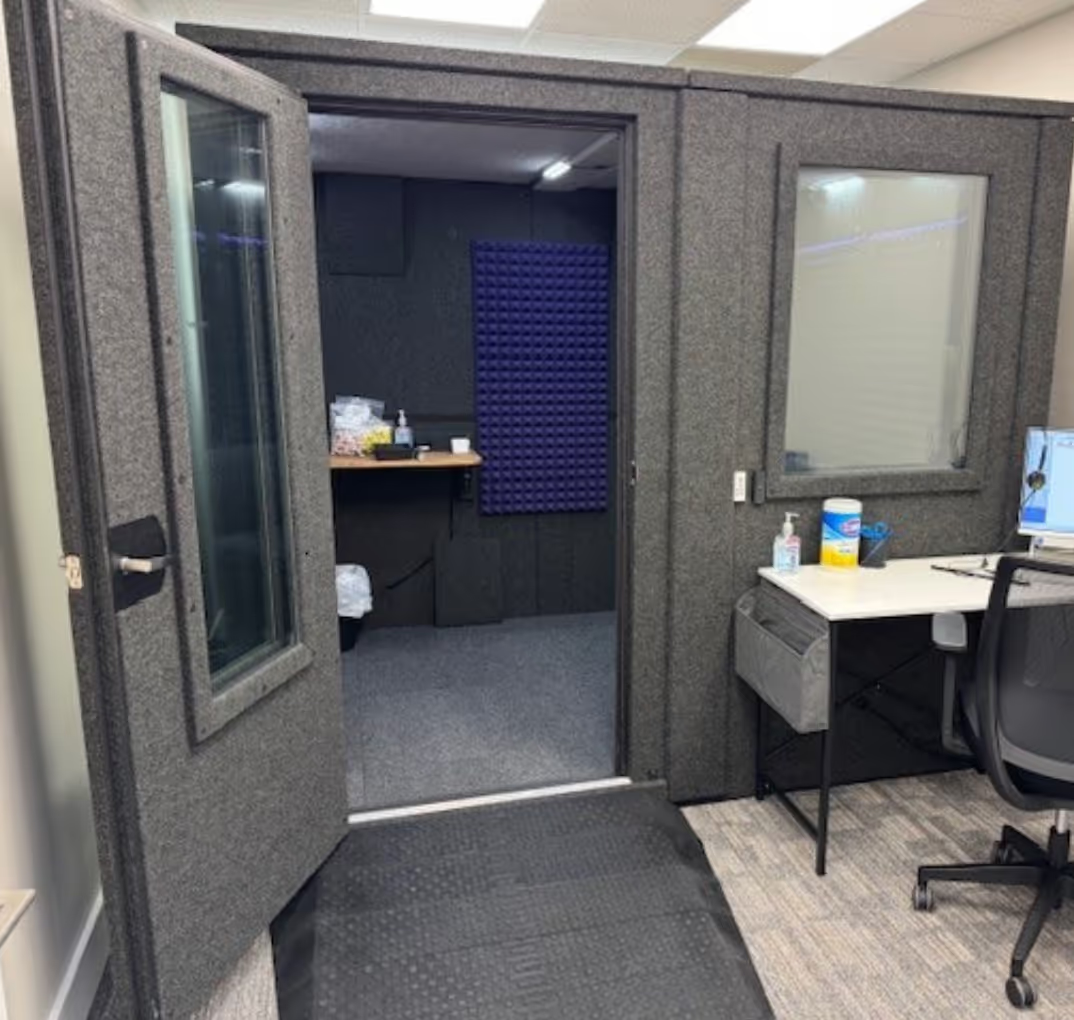
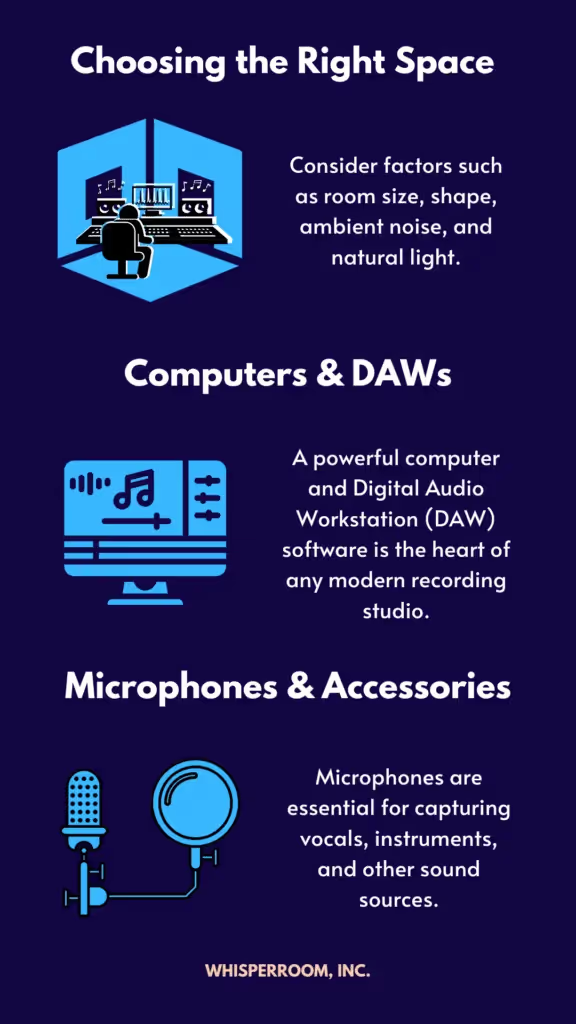
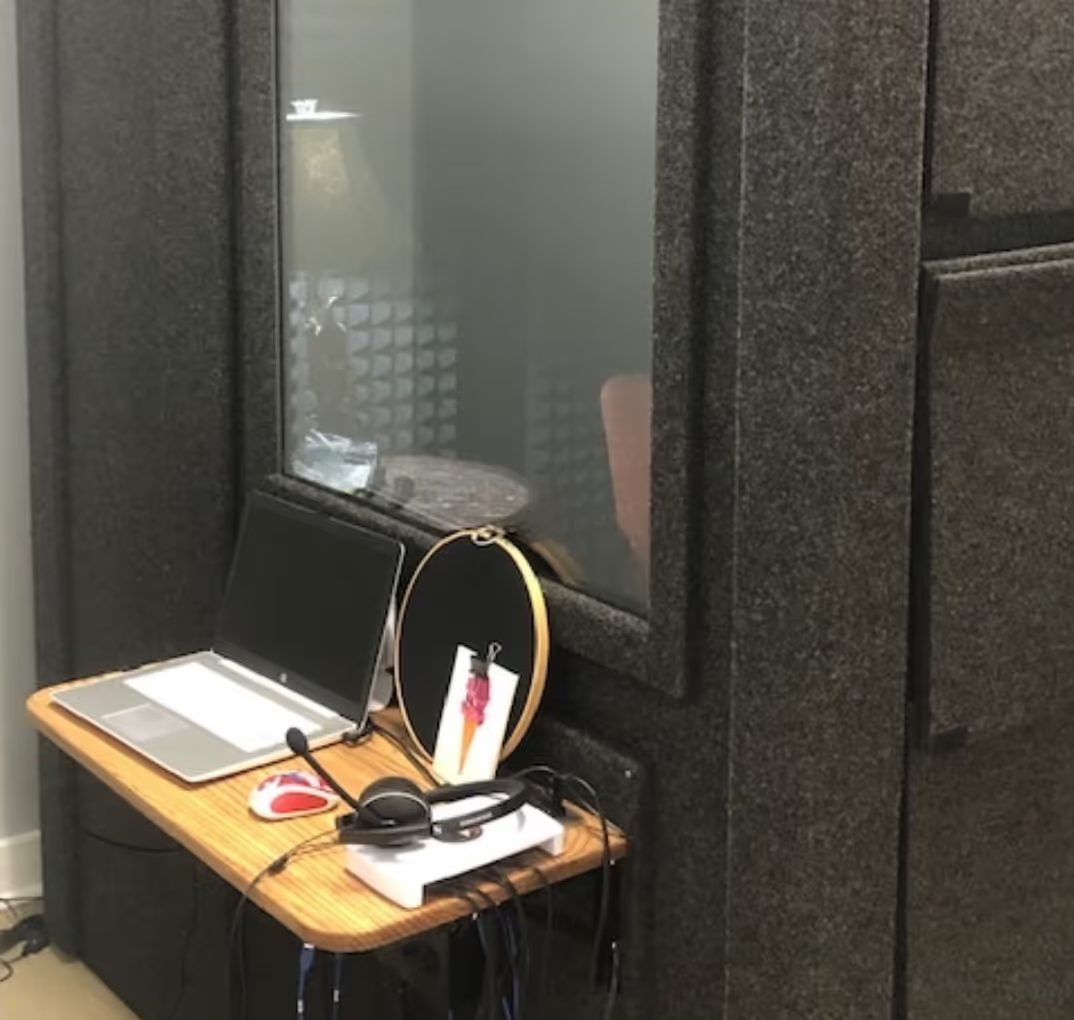
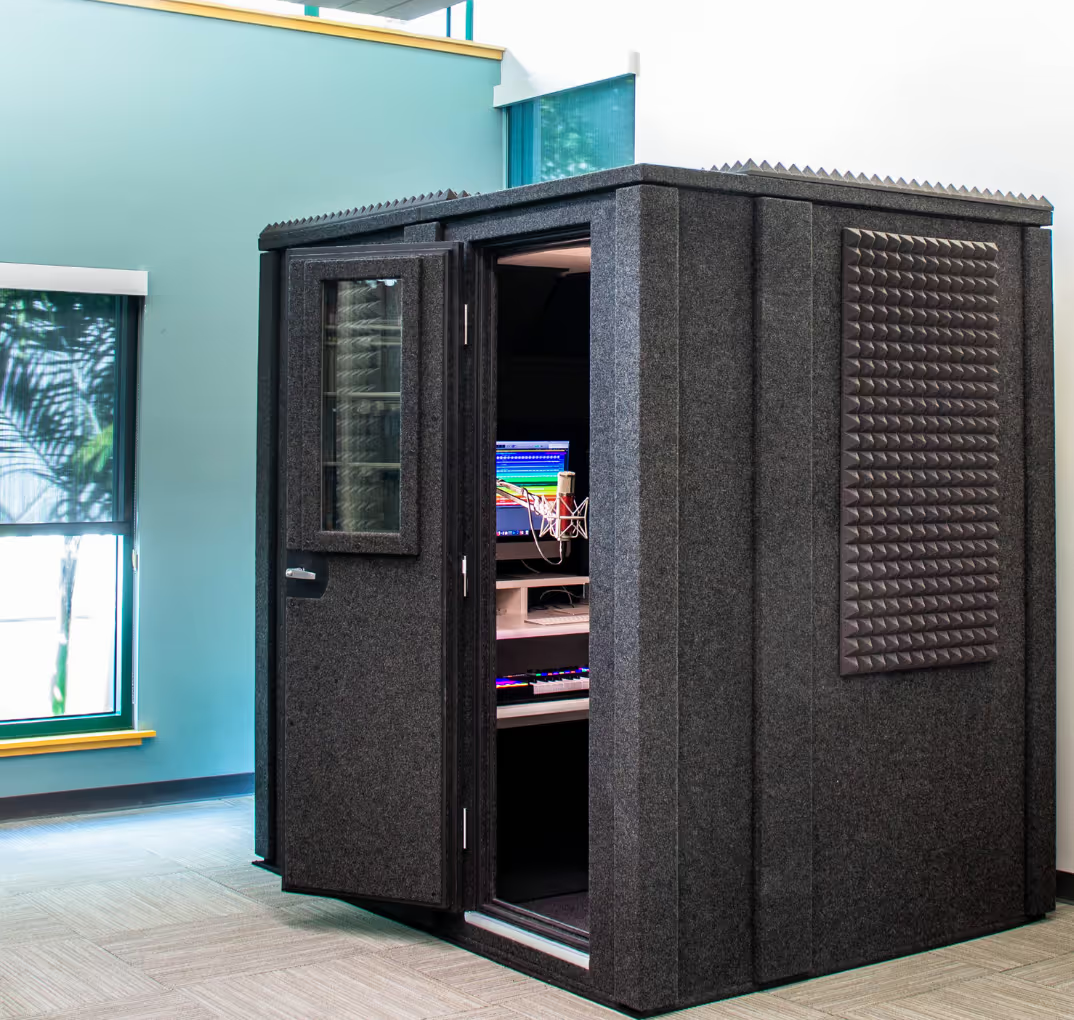
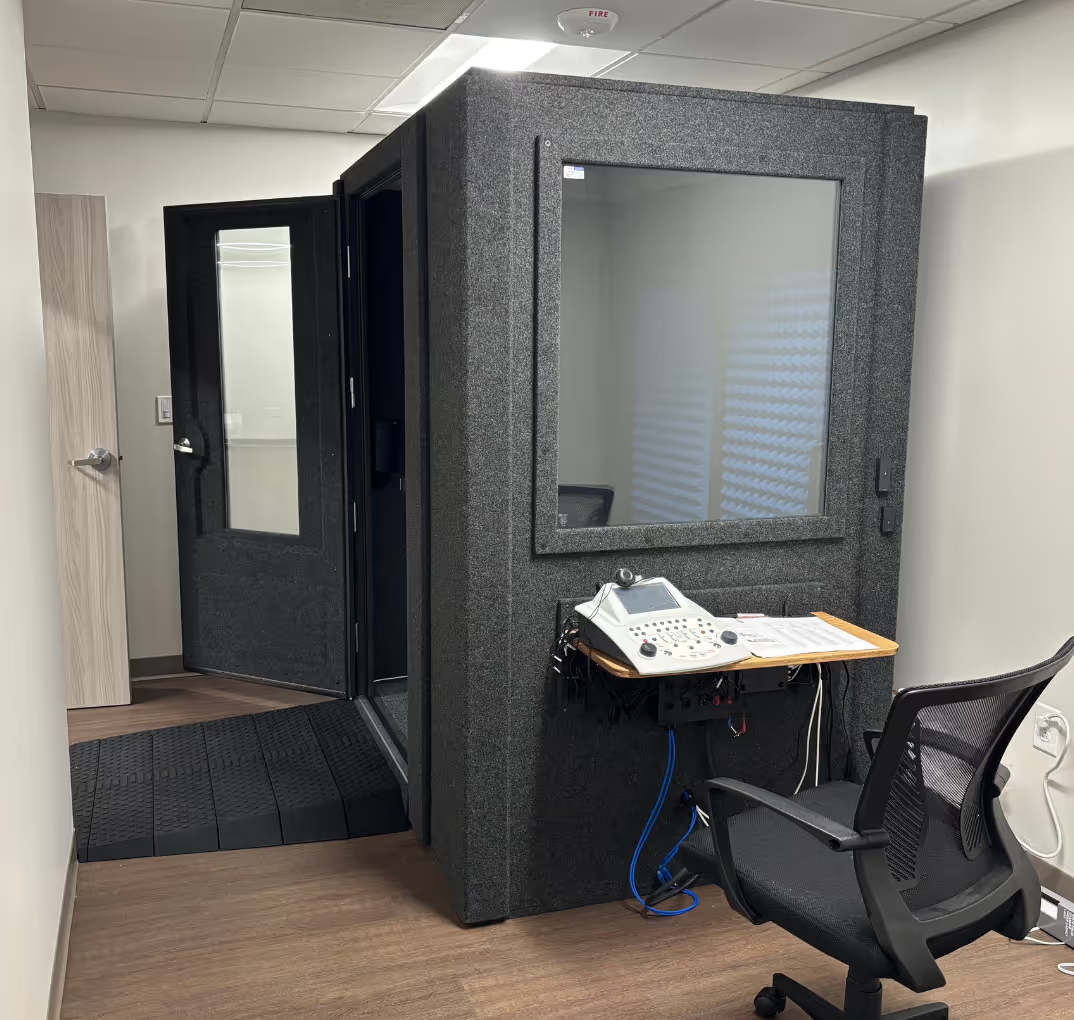
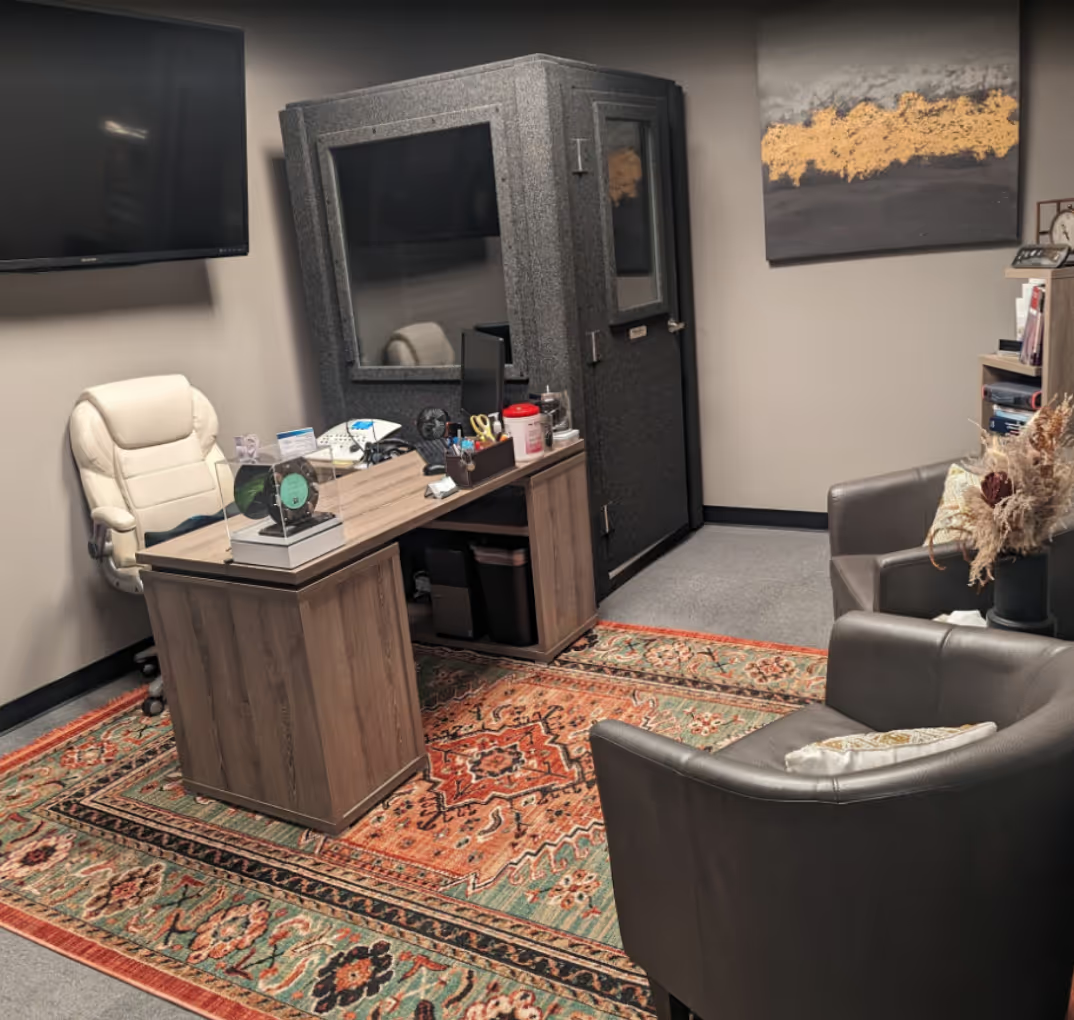
Before diving into equipment, choosing an appropriate space for your recording studio is crucial. Consider factors such as room size, shape, ambient noise, and natural light. Ideally, the space should be large enough to accommodate your equipment, and the room's shape should minimize sound reflections.
Avoid spaces with excessive ambient noise, and ensure enough natural light creates a comfortable working environment. The principles of setting up an effective studio not only cater to audio production but also create a versatile environment suitable for various content creation needs.
2. The Foundation: Computers and DAWs
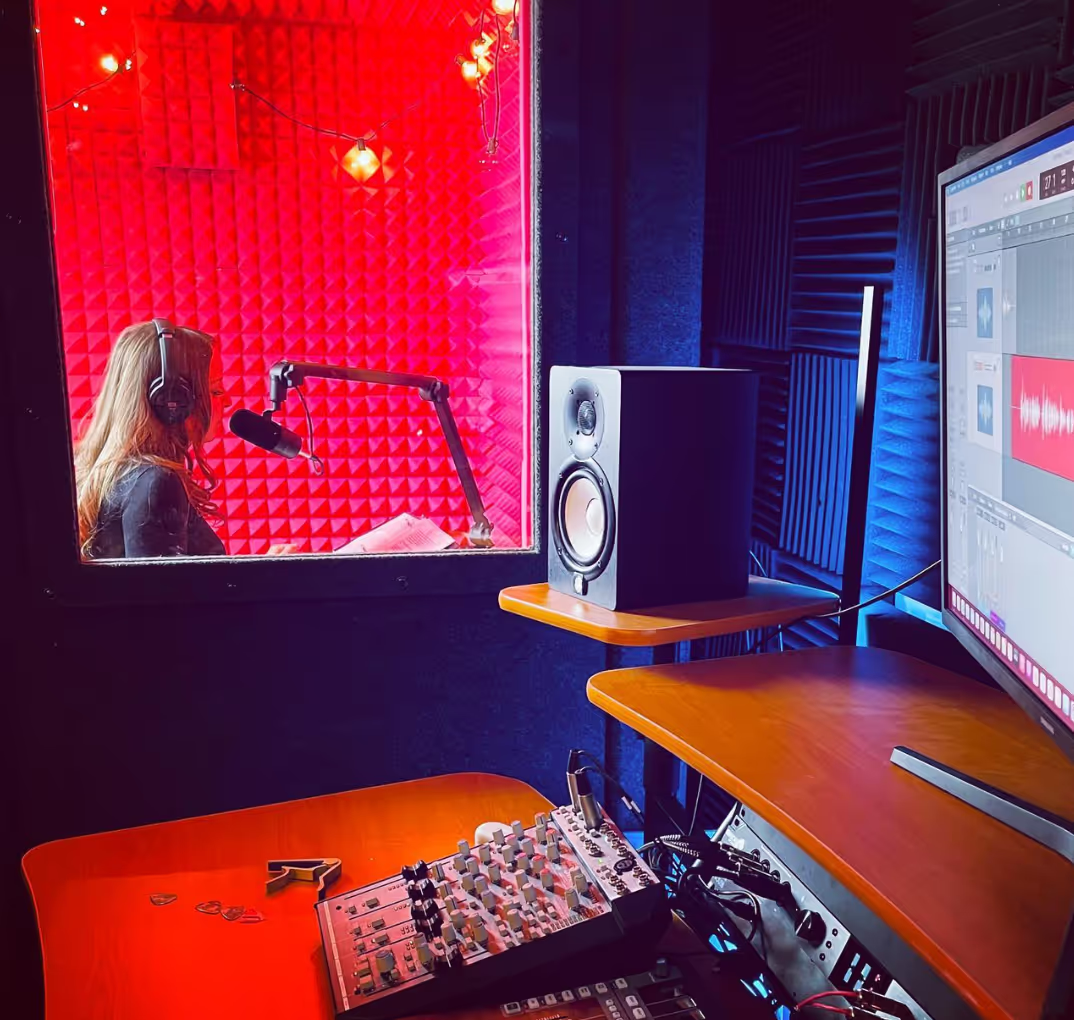
A powerful computer and Digital Audio Workstation (DAW) software is the heart of any modern recording studio. Choose a computer with enough processing power, RAM, and storage to handle your audio projects. Mac and Windows-based systems are both suitable for audio production, so choose one that best fits your preferences and budget.
Popular DAWs include Pro Tools, Logic Pro, Ableton Live, and FL Studio. Each has its strengths and weaknesses, so research and test different options before deciding on the one that suits your workflow and production style.
3. Capturing Your Sound: Microphones and Accessories
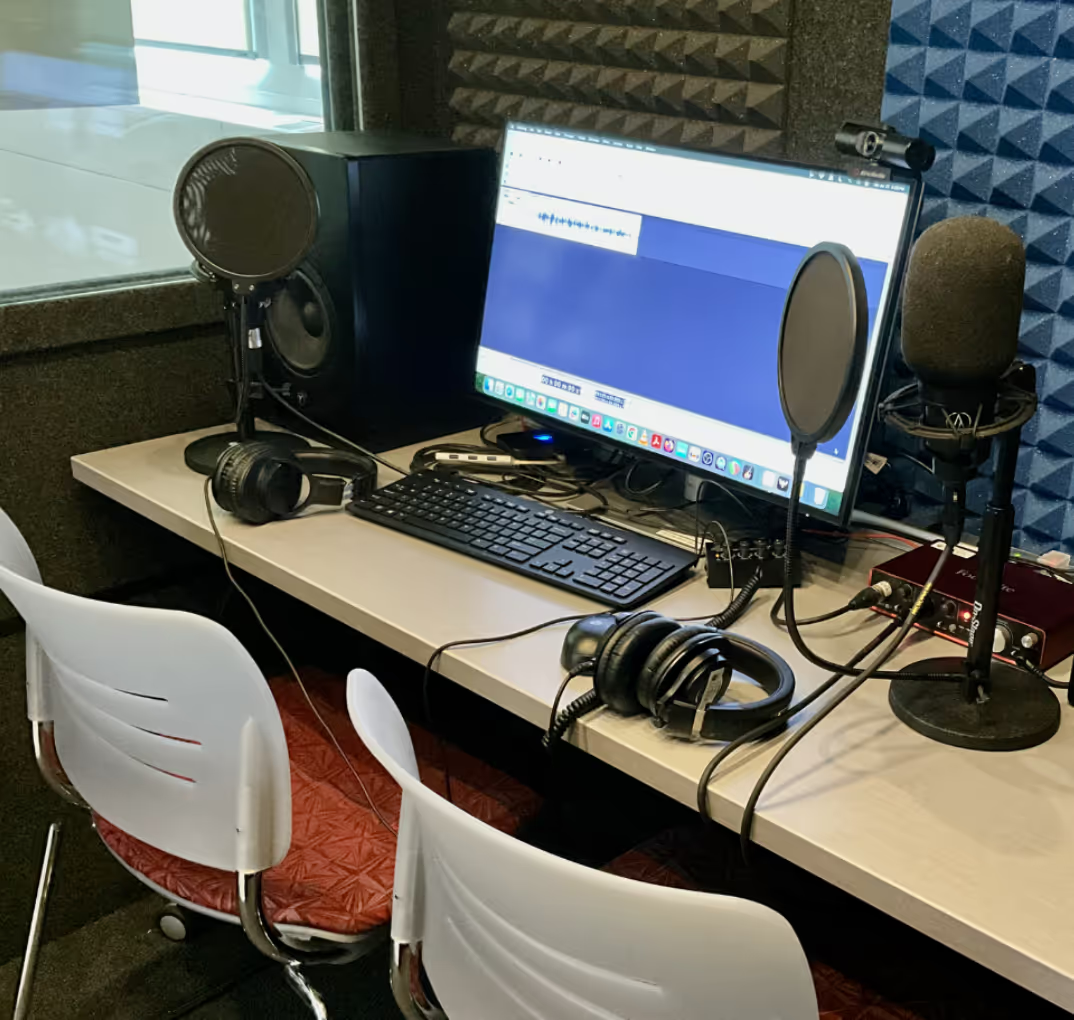
Microphones are essential for capturing vocals, instruments, and other sound sources. There are two primary types of microphones: dynamic and condenser. Dynamic microphones are more rugged and suitable for recording loud sources, while condenser microphones are more sensitive and ideal for capturing delicate nuances in vocals and acoustic instruments.
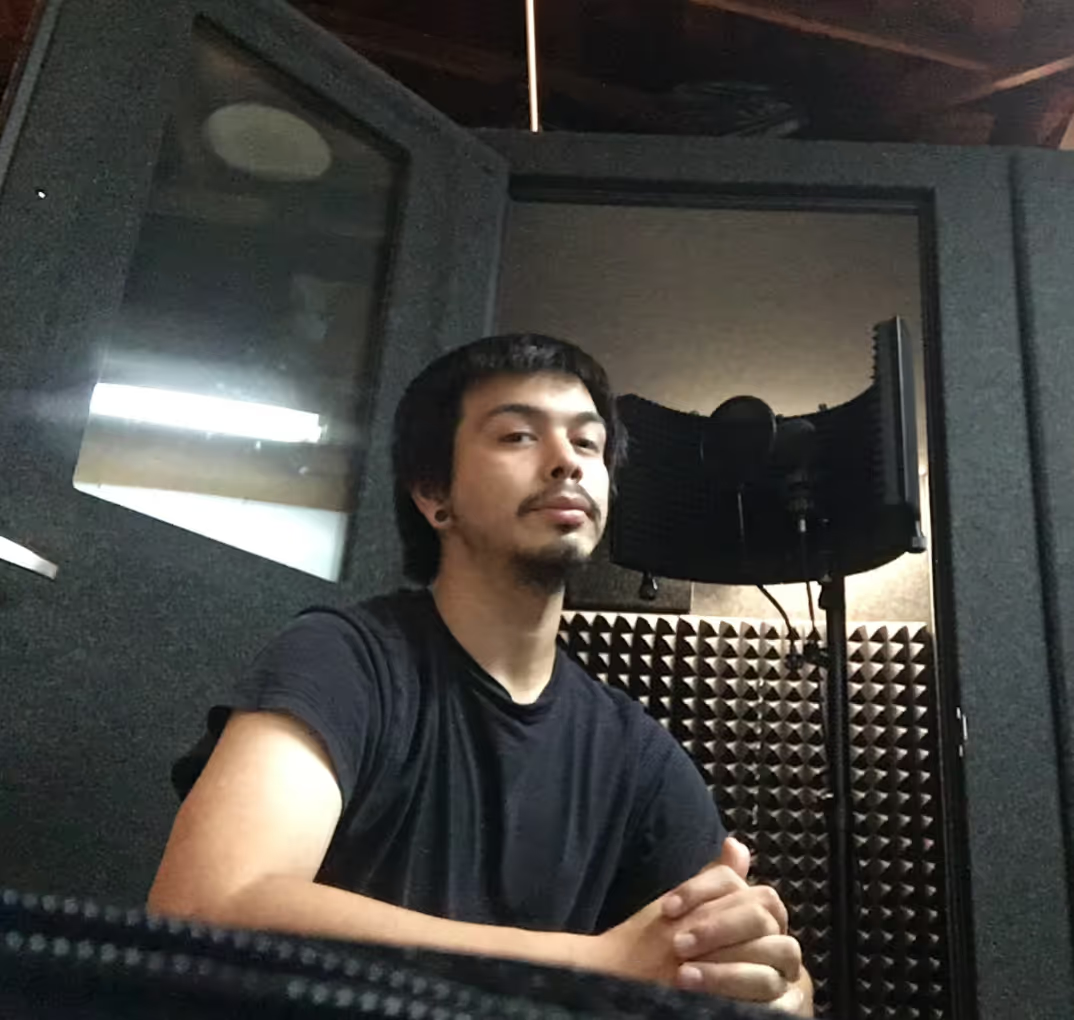
Invest in a variety of microphones to handle different recording situations. Essential accessories include microphone stands, pop filters, and shock mounts to ensure proper positioning and minimize unwanted noise.
4. Audio Interfaces: Connecting the Pieces
An audio interface is a bridge between your microphones, instruments, and computer. It converts analog signals to digital, allowing you to record and process audio within your DAW. When choosing an audio interface, consider factors such as the number of inputs and outputs, preamp quality, and compatibility with your computer's connections.

Popular audio interface options include the Focusrite Scarlett, Universal Audio Apollo, and Audient iD. Make sure to choose an interface that meets your needs and fits within your budget.


5. Monitoring Your Sound: Studio Monitors and Headphones
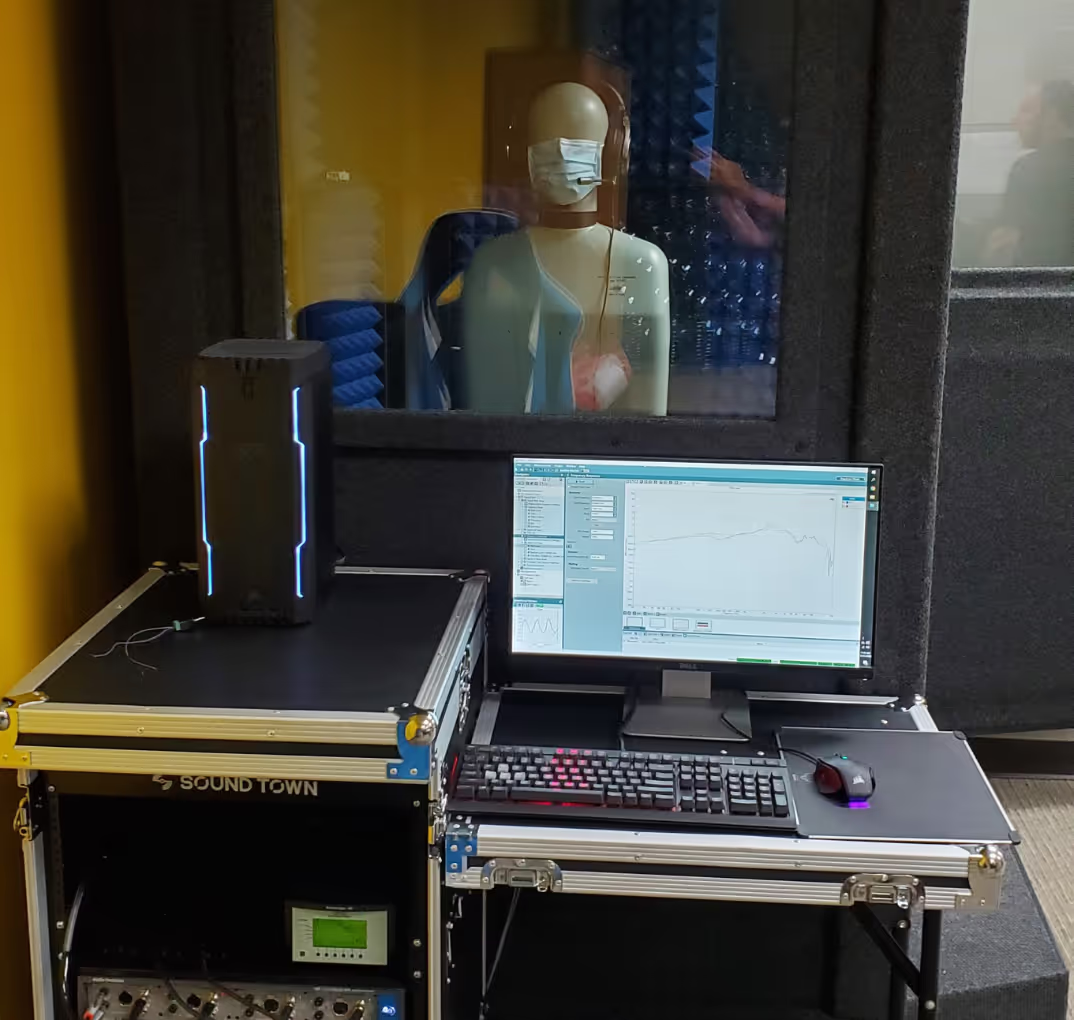
Accurate monitoring is essential for making informed decisions about your recordings and mixes. Invest in a pair of high-quality monitors to clearly represent your audio. Look for monitors with a flat frequency response, ensuring all frequencies are represented accurately.
Additionally, invest in a good pair of studio headphones for critical listening and tracking. Closed-back headphones are recommended for tracking, as they provide better isolation, while open-back headphones are suitable for mixing and offer a more natural soundstage.
6. Control Surfaces: Mastering Your Workflow
Control surfaces can enhance workflow by providing tactile control over your DAW's functions. These devices often feature faders, knobs, and buttons that allow you to adjust levels, pan, and other parameters without relying solely on your mouse and keyboard.
While not strictly necessary, control surfaces can significantly improve your efficiency and make your recording process more enjoyable. Popular options include the PreSonus FaderPort series, the Avid Artist series, and the Behringer X-Touch series.

Audio University shares tips on how to set up a home music production studio.
7. Outboard Gear: Enhancing Your Sound
Outboard gear, such as preamps, compressors, and equalizers, can further shape and enhance your audio. While many of these functions can be performed within your DAW using plugins, there's often a unique character and warmth imparted by hardware that's difficult to replicate with software alone.
When building your collection of outboard gear, start with essentials like a high-quality preamp for clean and transparent amplification of your microphones and a versatile compressor to control dynamics and add character to your recordings. As you expand your studio, add additional processors such as equalizers, reverb units, and other effects to broaden your sonic palette.
Some popular outboard gear options include the Universal Audio LA-610 MkII, the DBX 266xs, and the Warm Audio WA-2A.


8. Acoustic Treatment: Perfecting Your Listening Environment
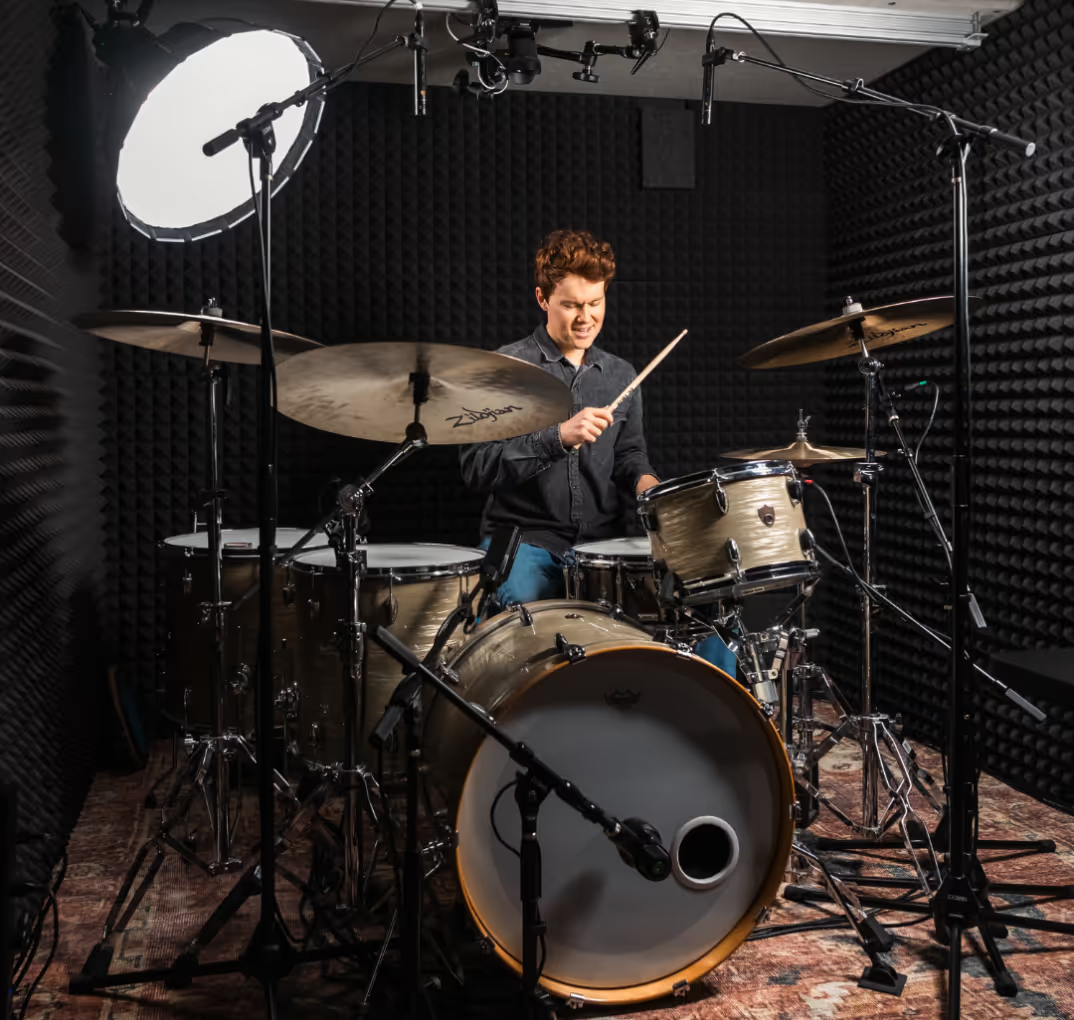
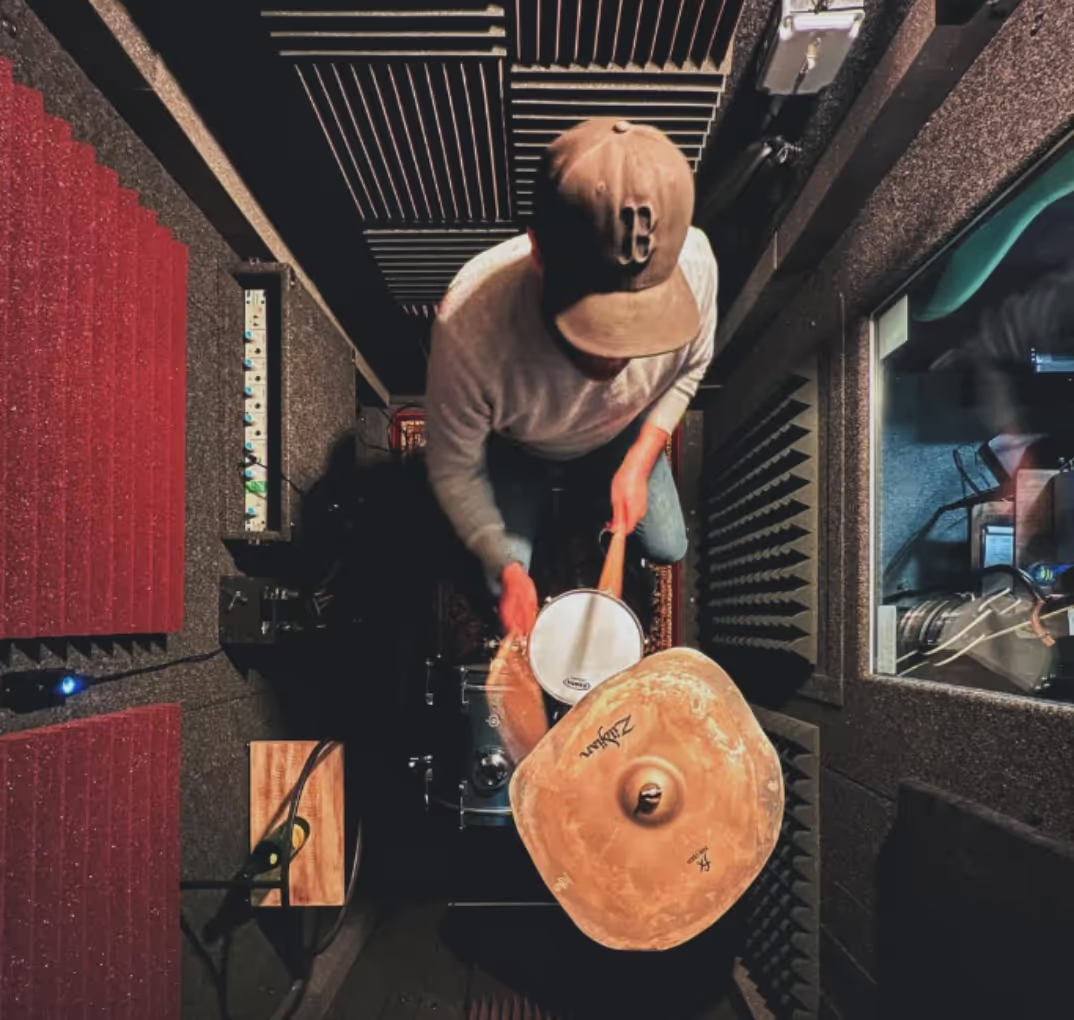
To ensure accurate monitoring and achieve professional-sounding recordings, it's crucial to acoustically treat your studio space. Acoustic treatment helps control reflections, standing waves, and resonances that can negatively impact your audio.
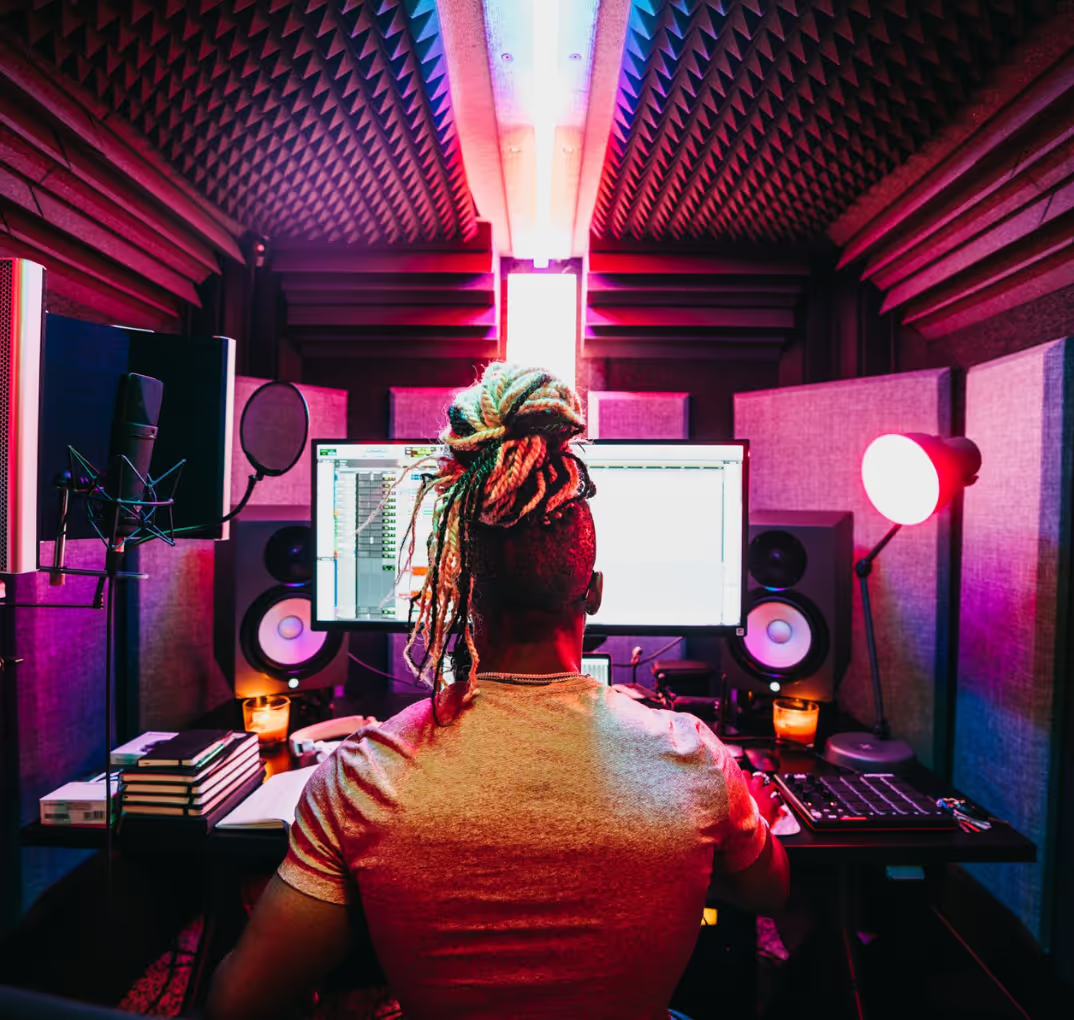
Start by treating early reflection points with absorption panels. These are typically placed on walls and ceilings where sound bounces directly between your monitors and your listening position. Bass traps are essential for controlling low-frequency build-up in corners, while diffusers can help to scatter and disperse sound energy, creating a more balanced listening environment.
DIY solutions can be effective and budget-friendly, or you can invest in professionally designed acoustic treatment products from companies like GIK Acoustics, Auralex, Primacoustic, and Audimute.
9. Cables, Stands, and Other Accessories
Don't overlook the importance of quality cables, stands, and other accessories in your recording studio. Investing in high-quality cables can minimize signal loss and interference, ensuring the best possible audio quality.
Ensure you have a variety of cable types and lengths to accommodate different connections, such as XLR, TRS, and instrument cables. Cable management tools, like cable ties and organizers, can help keep your studio tidy and clutter-free.
Additionally, invest in sturdy and adjustable stands for your microphones, monitors, and instruments. A comfortable studio chair and ergonomic workstation setup will also create a more enjoyable and productive recording experience.

Putting It All Together
Equipping your recording studio with essential gear is important to realizing your creative vision and producing high-quality audio. By carefully selecting the right equipment and optimizing your workspace, you'll be well on your way to achieving professional results and making your mark in the world of audio production. Remember that your studio can always grow and evolve with you, so stay curious, keep learning, and continue to invest in your craft.


.avif)
.avif)
.avif)

.avif)
.avif)

.avif)
.avif)
.avif)
.avif)
.avif)
.avif)
.avif)
.avif)
.avif)
.avif)
.avif)
.avif)
.avif)
.avif)
.avif)
.avif)


.avif)

