“If you fail to plan, you’re planning to fail!” This old adage from American founding father and polymath Benjamin Franklin sums up the ideal attitude and outlook for anyone who wants to record vocals for whatever purpose. So before you accidentally plan to fail at this endeavor, here are some of the most common vocal recording mistakes that your initial recording plan should take into account.
Not Using the Right Mic
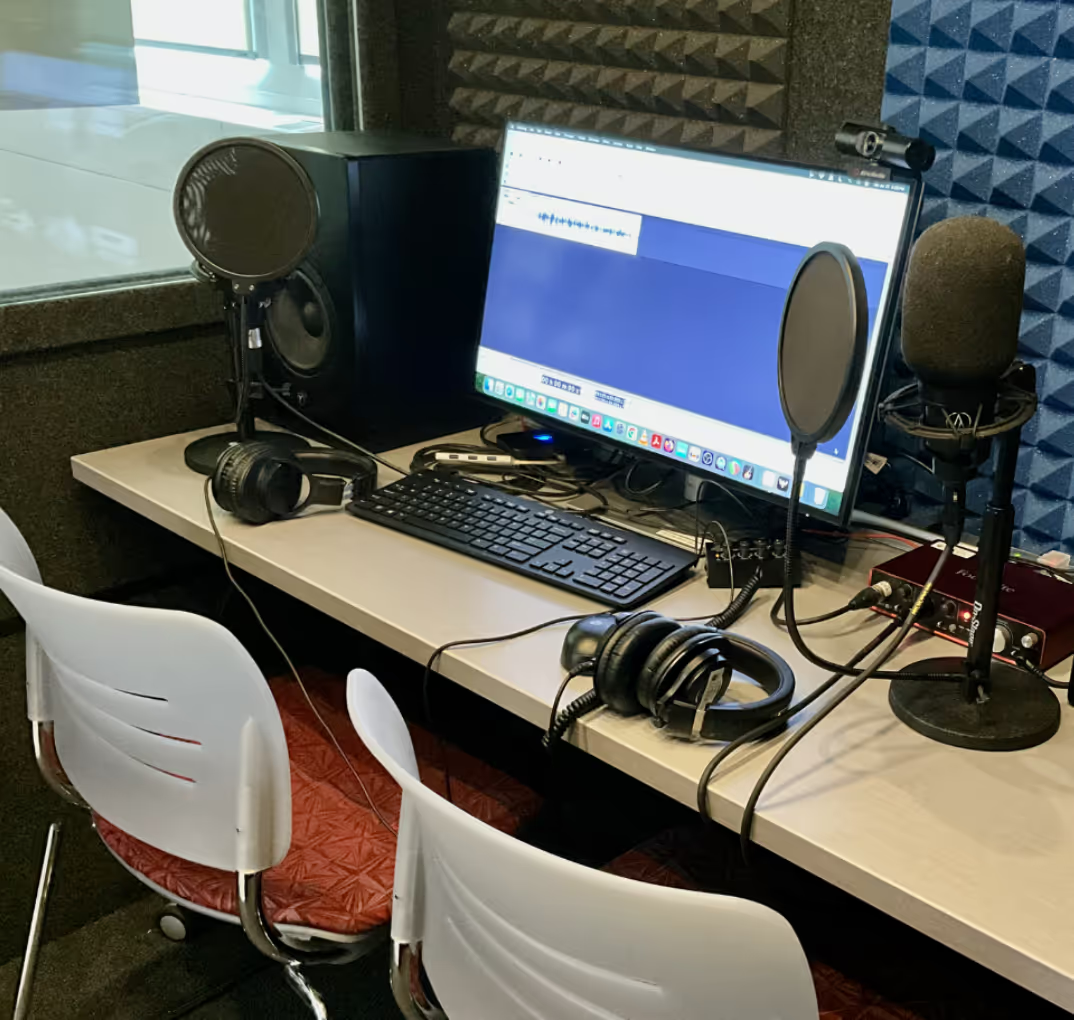
If you’re familiar with online meetings and video calls, then you already know that built-in laptop and smartphone microphones are simply not that suited for capturing crisp vocals. Recording vocals for posterity entails real studio mics, many of which have become more affordable for home studio enthusiasts. Shout4Music rates the Rode NT2-A as a top-tier mic for its price, able to capture the rich subtleties of different voices without artificial coloration. Because of their ability to catch sound with increased richness and depth, highly sensitive condenser mics like this are more suited to podcasters, folk singers, or voice actors.
However, if you’re looking to record loud instruments alongside your vocals, you might have better luck with a dynamic microphone like the notoriously durable Shure SM58, an onstage favorite used by pop divas and rock bands. Using the right mic will result in a recording that’s closer to your intended sound from the start. In turn, this will make it easier to add effects or master the audio track later on, which brings us to our next common mistake.

Recording Wet
This is studio jargon for recording with effects. You should only record wet if you’re a studio vet who knows what you’re doing and is trying to achieve a certain style or vocal sound. Otherwise, it’s best to stick to recording dry or without any effects.
This is mainly because when it comes to audio editing or mastering, it’s more prudent to record vocals raw. With a raw or dry vocal track, it’s much easier to layer on effects however you want to or tweak levels to achieve your ideal sound – much harder to do if you record vocals wet or with effects. The cleaner or ‘drier’ the original recording, the easier the process of mastering will be. This is also why it’s important to take into account how your chosen recording space will affect the quality of the audio, which brings us to our next key consideration.
Recording in Terrible Conditions
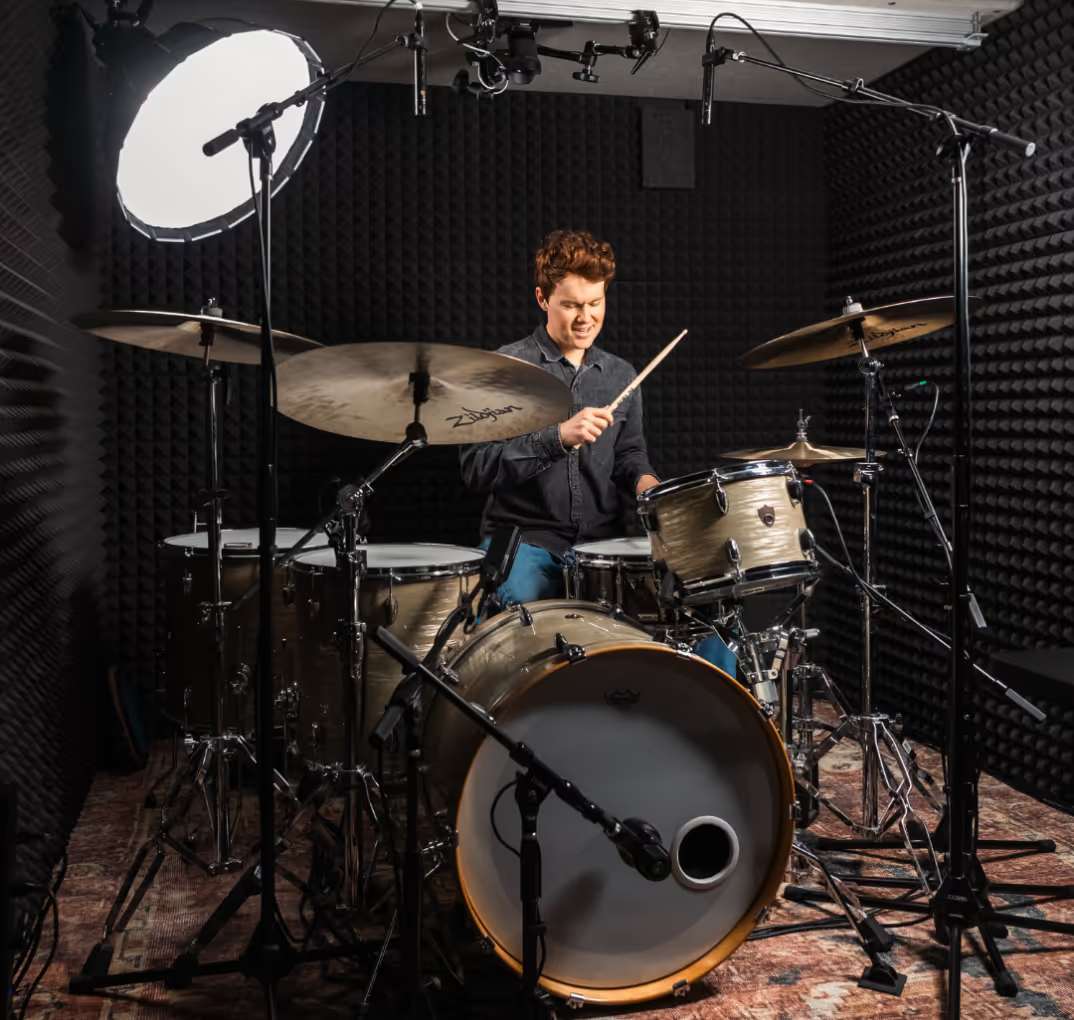
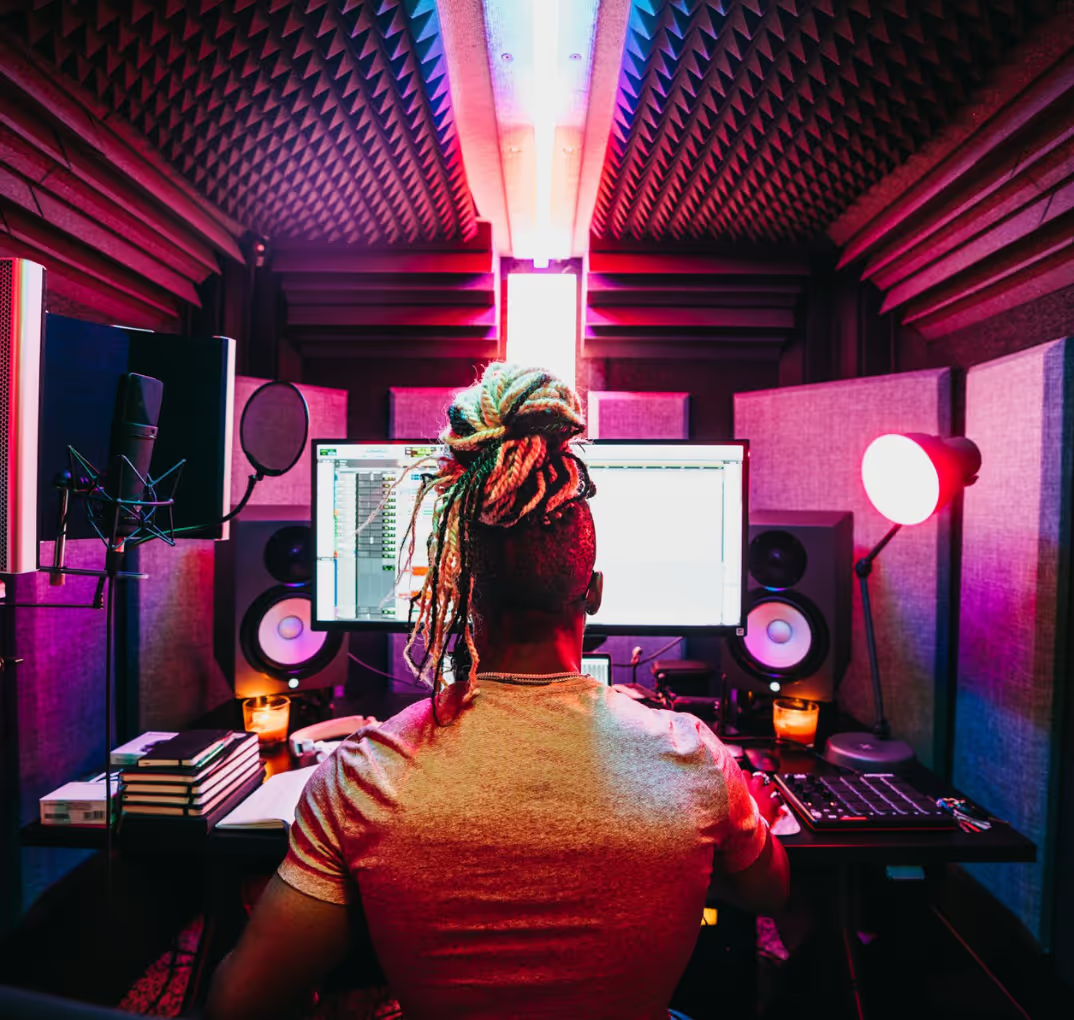
For beginners to record, it’s not always easy to tell whether or not the available recording space is ideal for the purpose. The key to optimizing any space for recording is a basic understanding of acoustic principles. In a nutshell, hard and smooth surfaces reflect sound, while softer and more textured surfaces absorb it. This is why DIY home studio beginners who record in tight storage spaces or repurposed bathrooms with tiles and hard, reflective surfaces end up with a lot of natural echo and reverb, which can be typically fixed by hanging well-positioned thick curtains or blankets.
Meanwhile, recording in medium-sized carpeted rooms like living rooms or bedrooms will typically result in warmer vocals, although these spaces make the mic more vulnerable to capturing unwanted noises. Even the decision of where to place your mic in the room will affect the way it can capture sound.
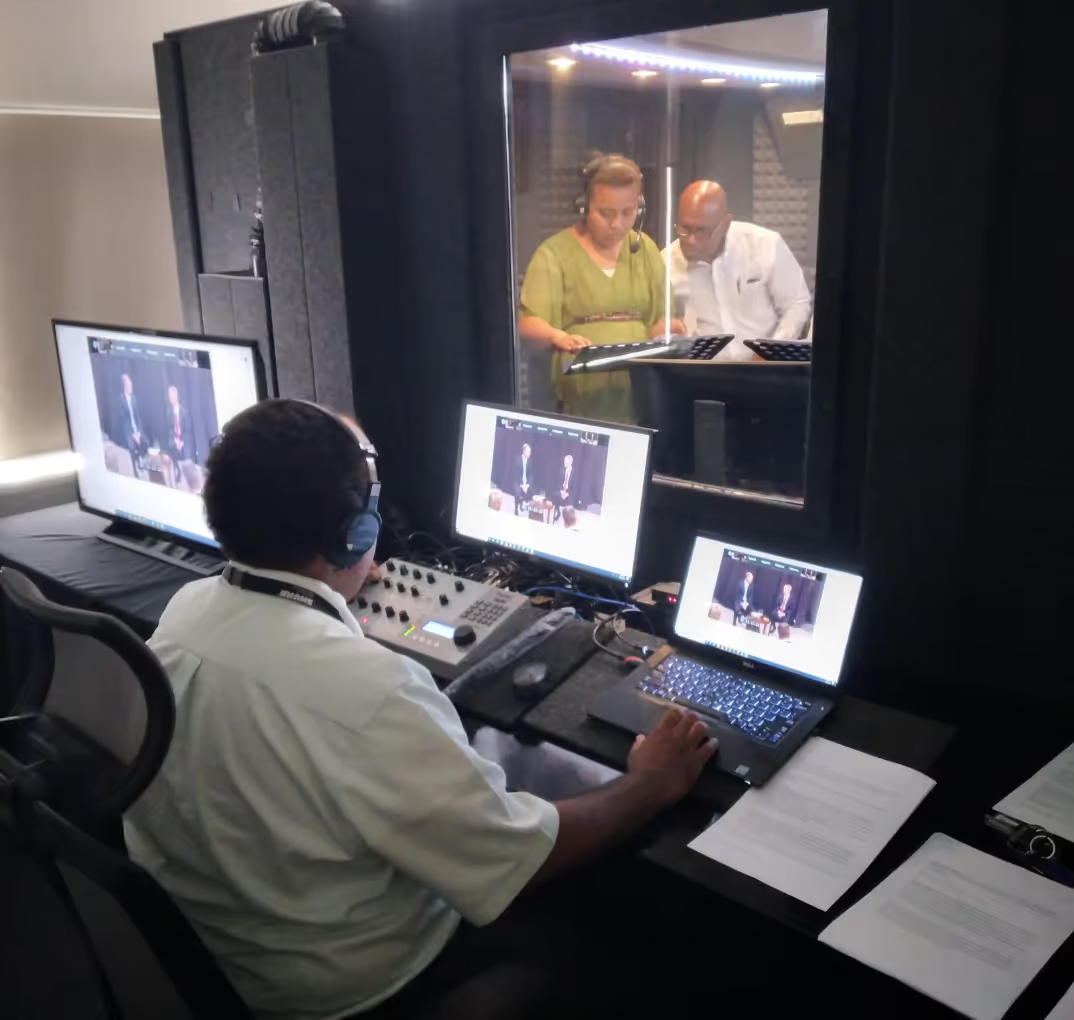
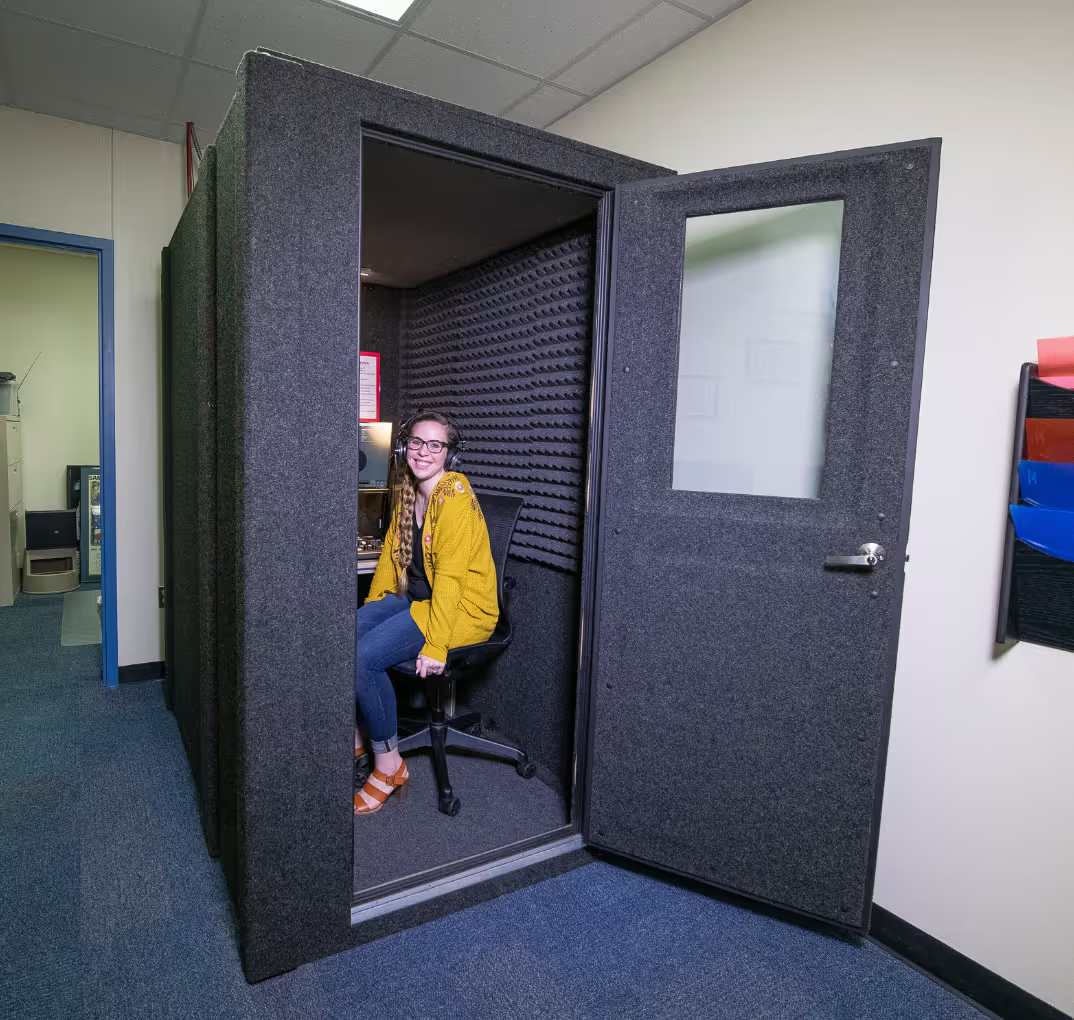
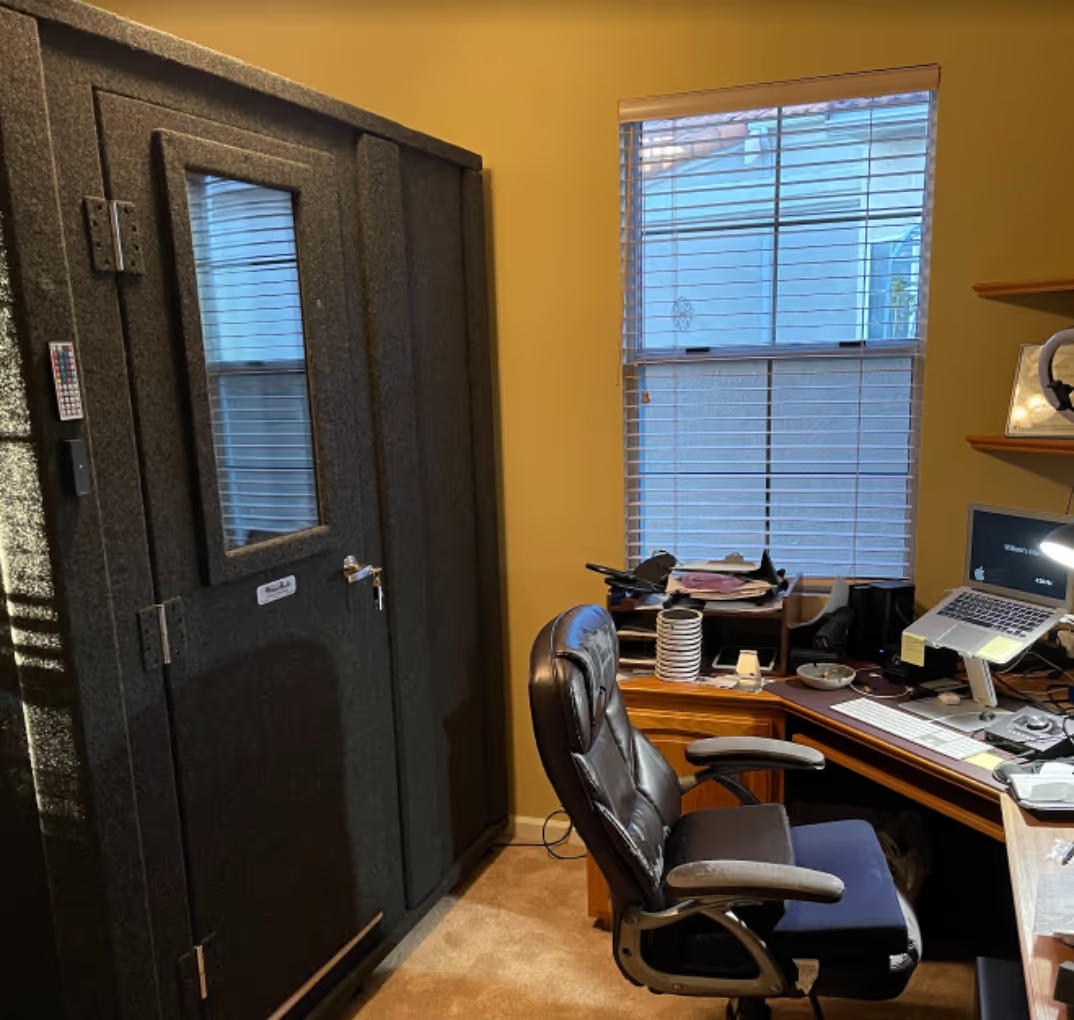
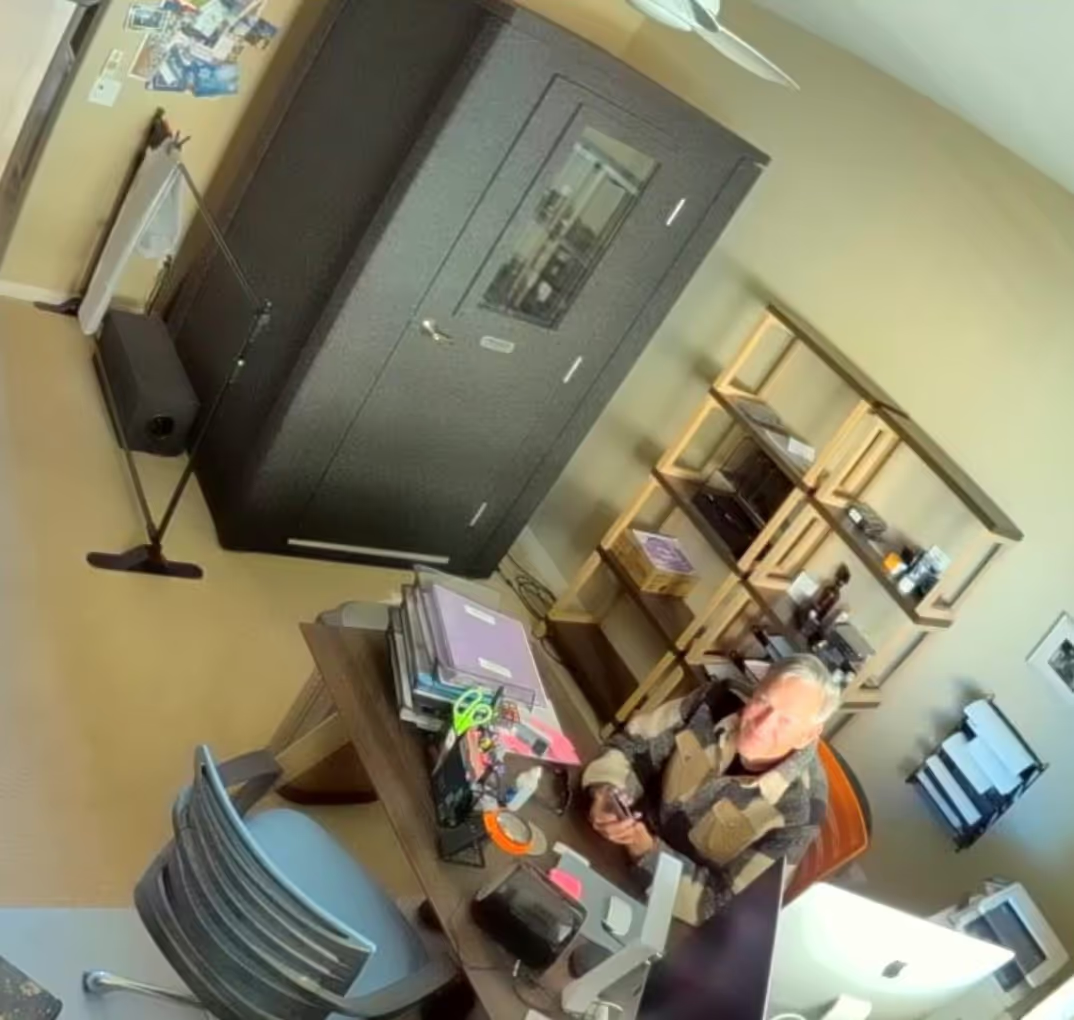
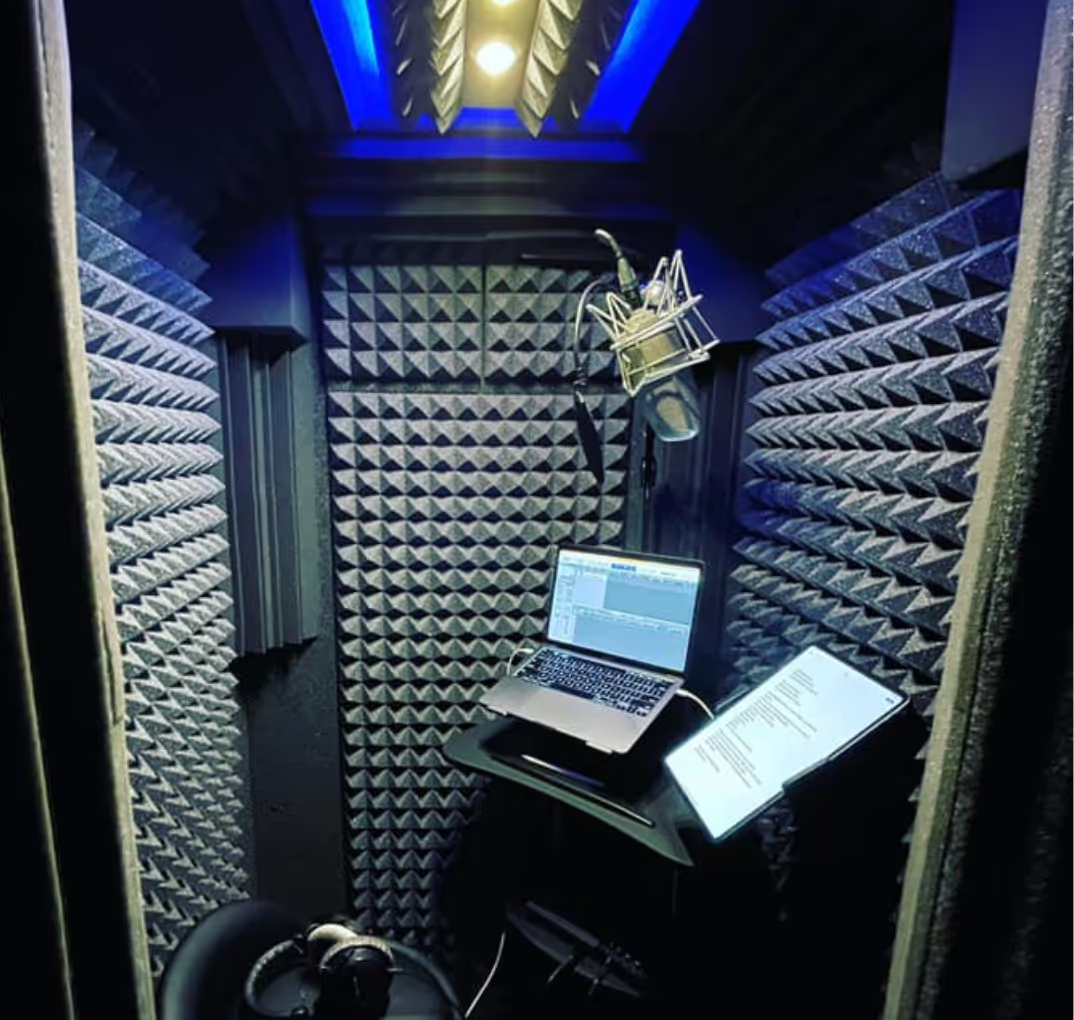
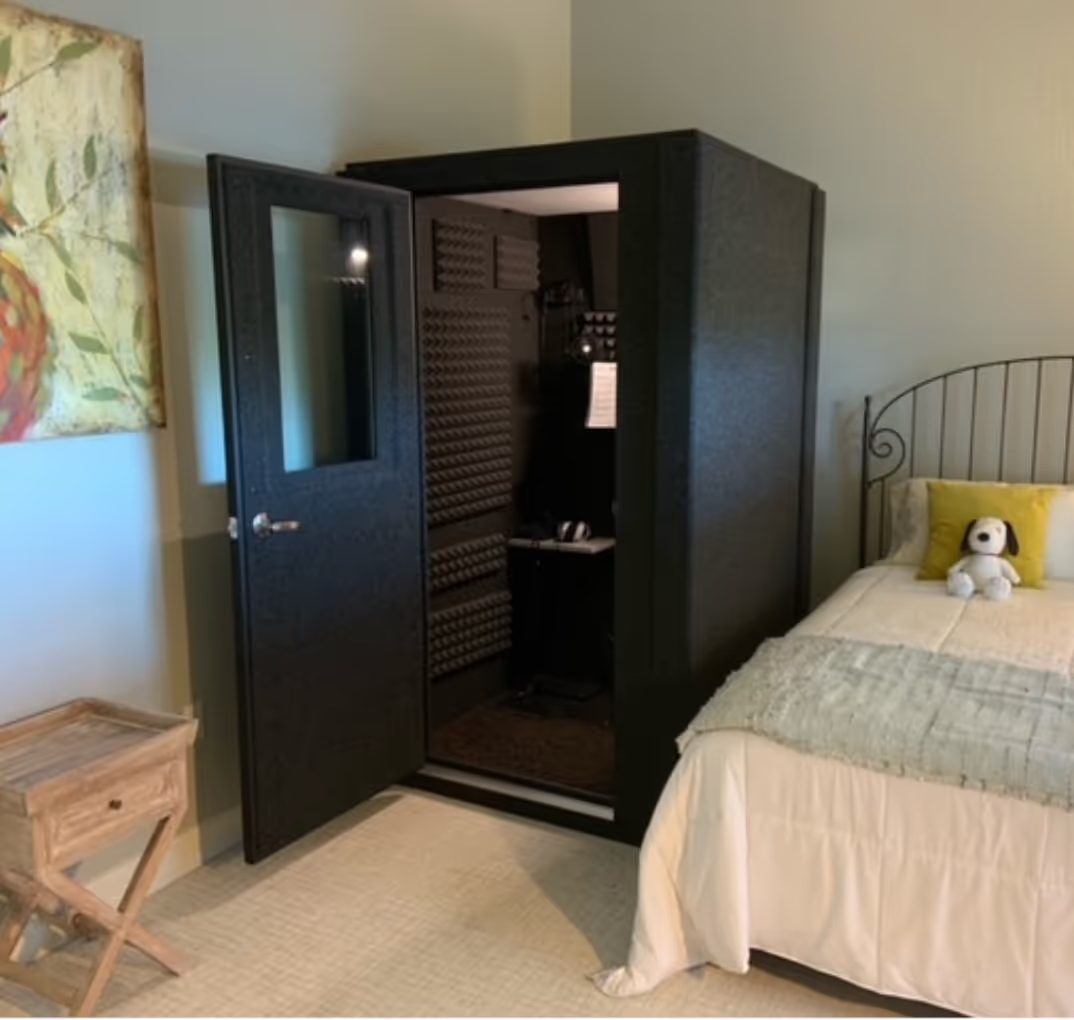
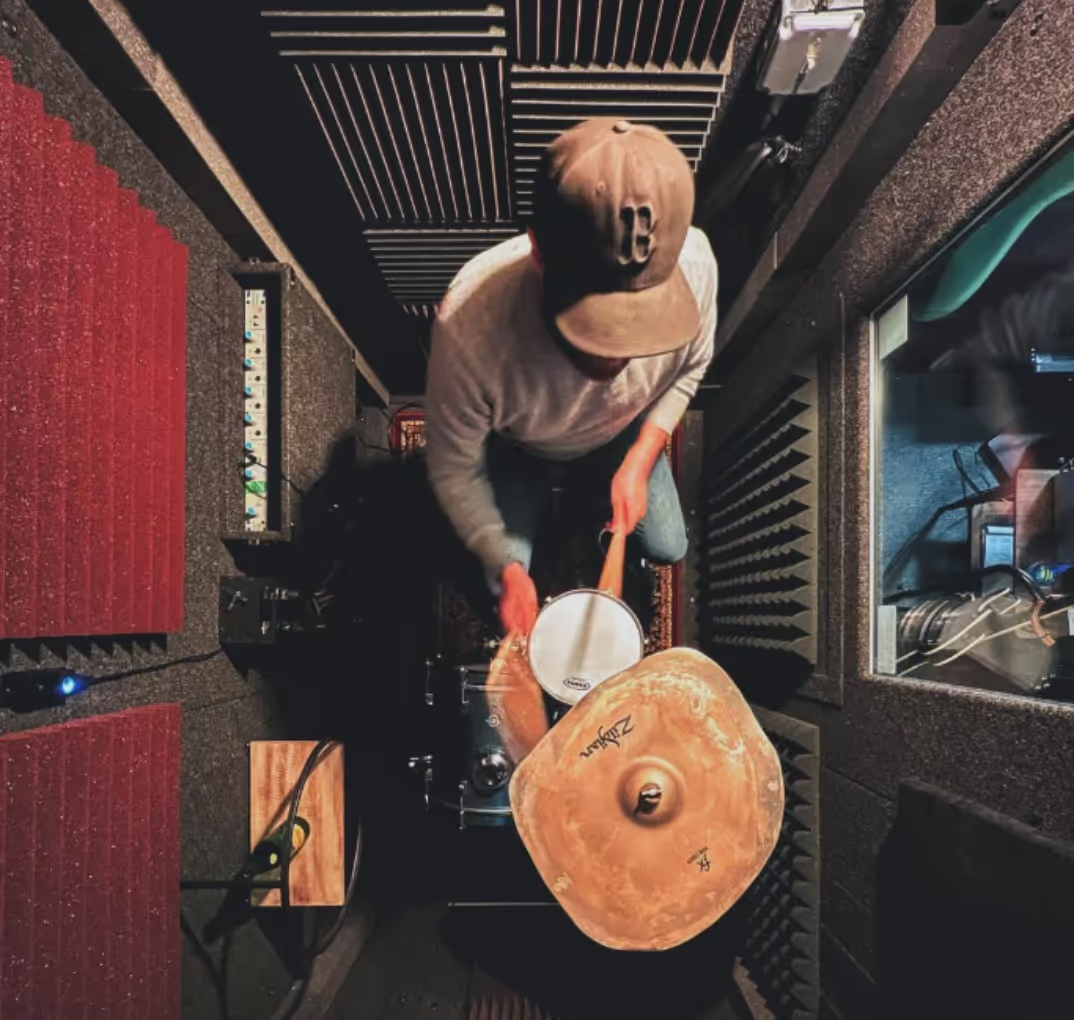
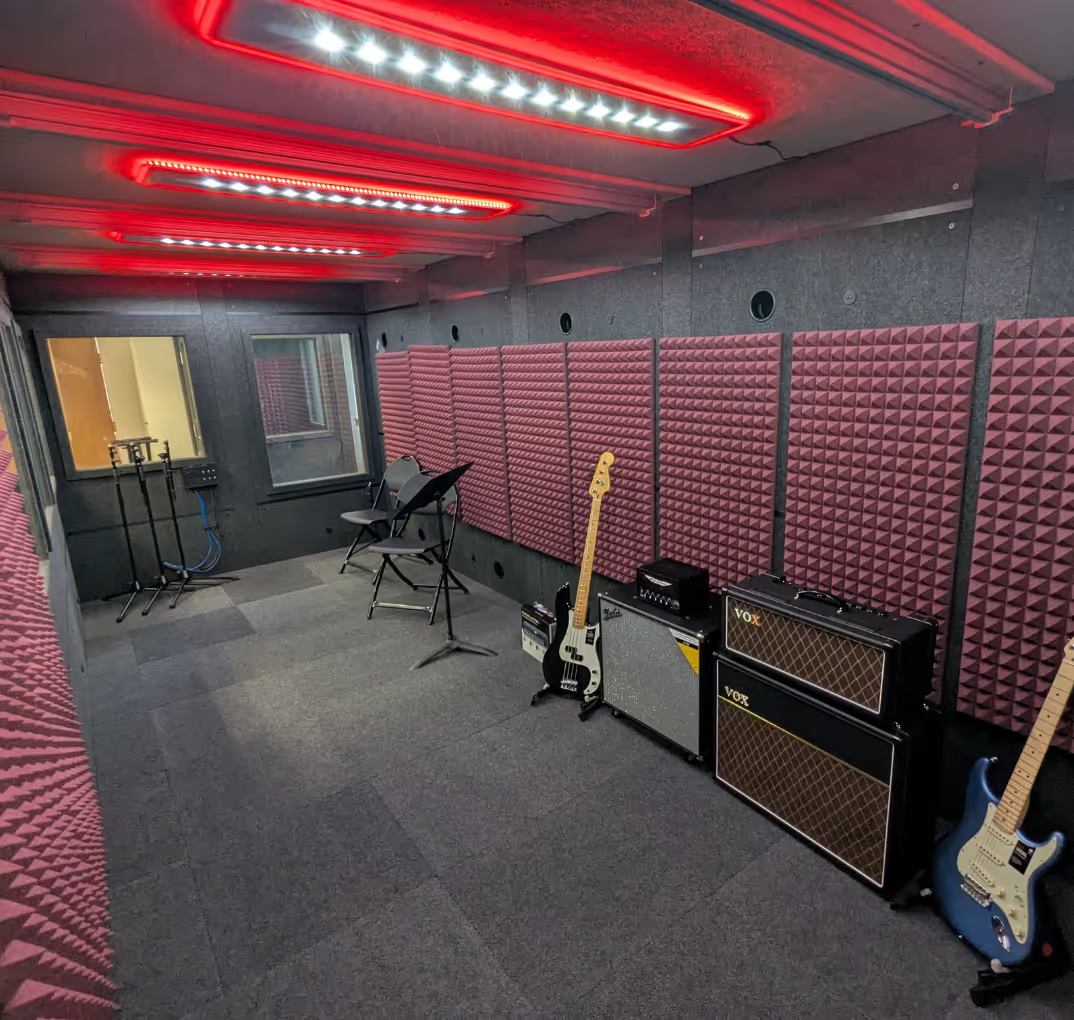
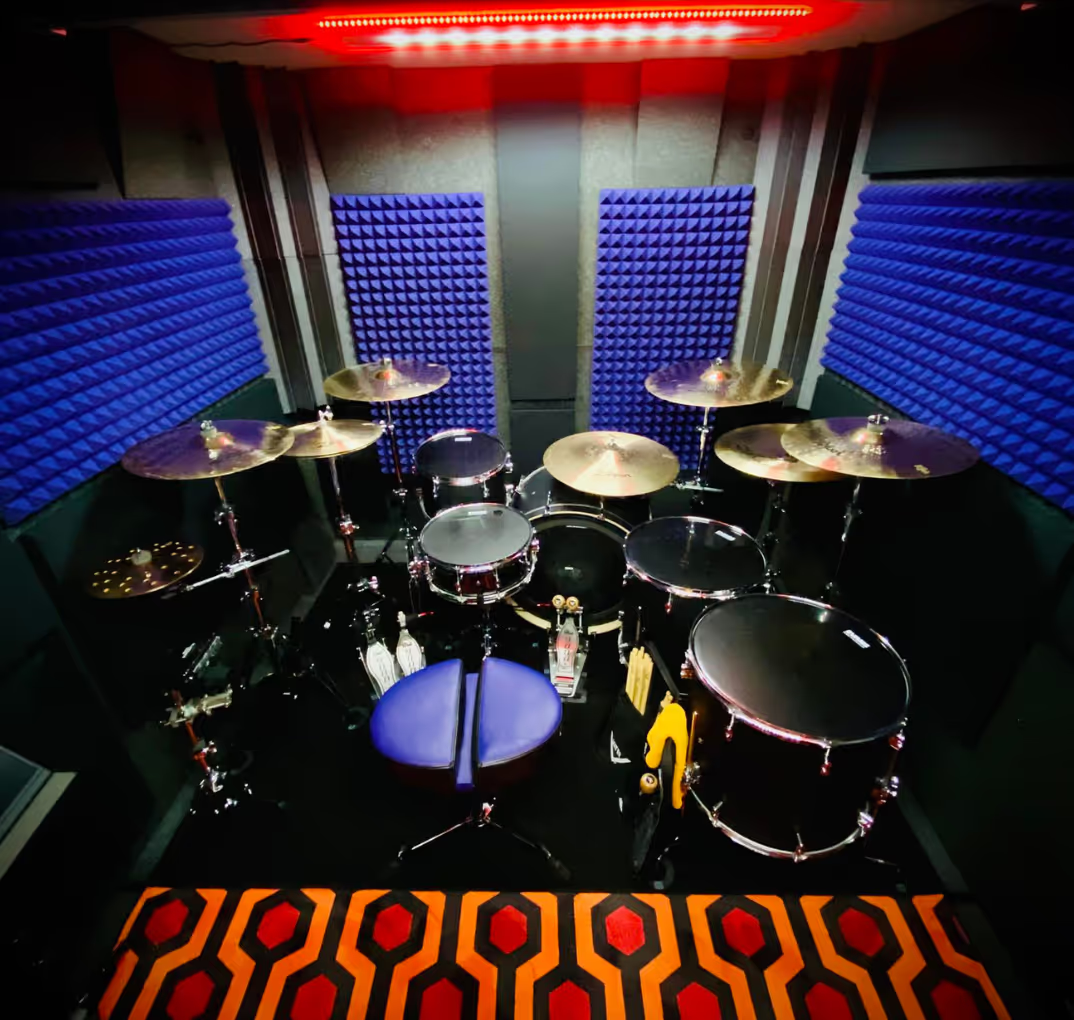
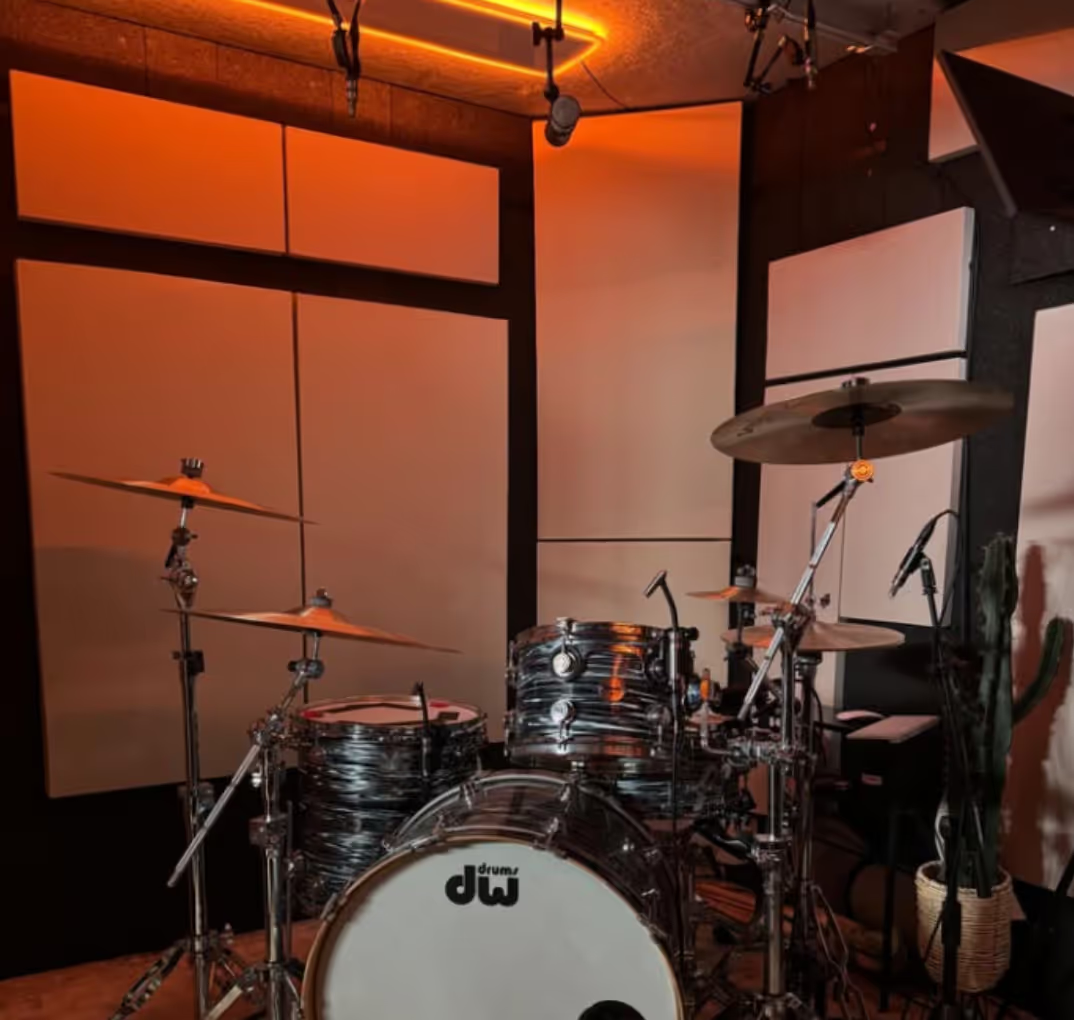
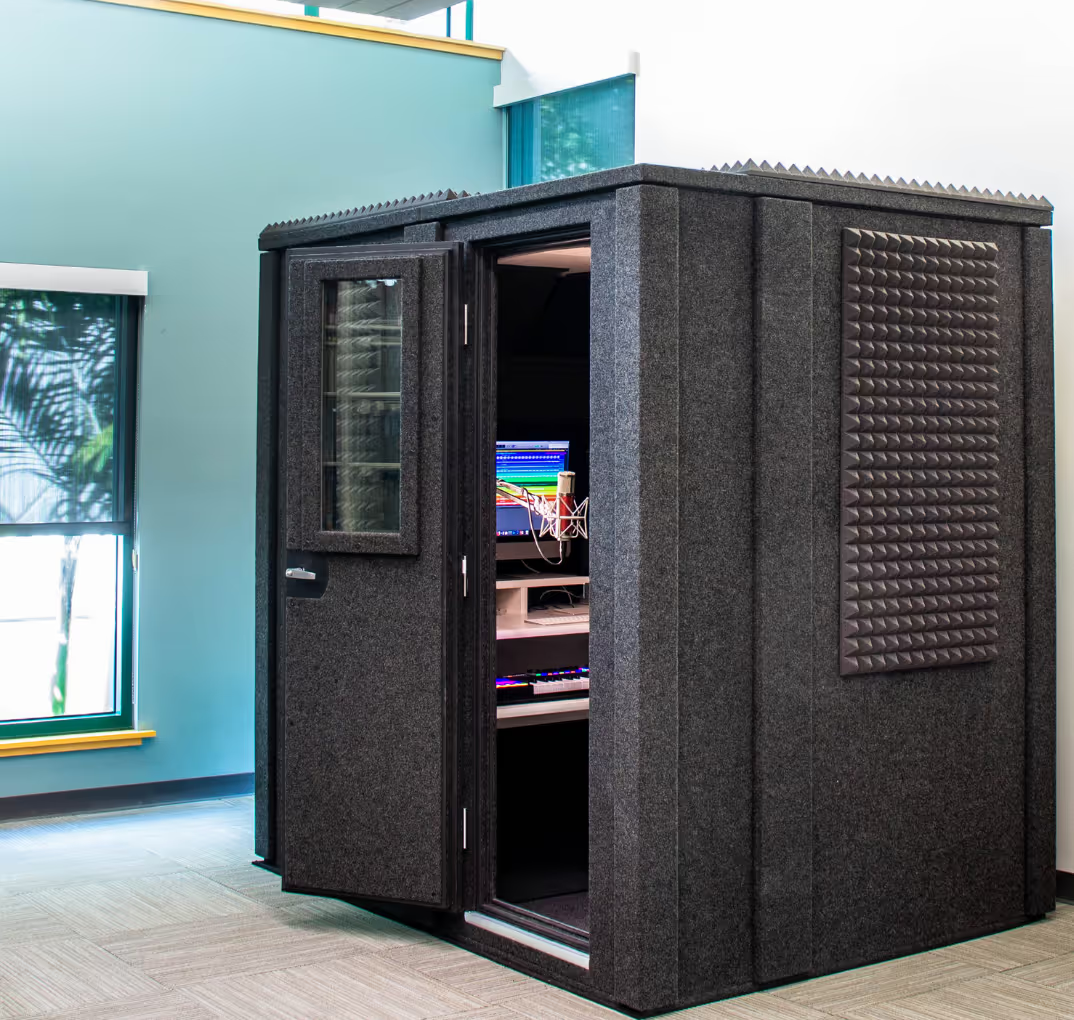
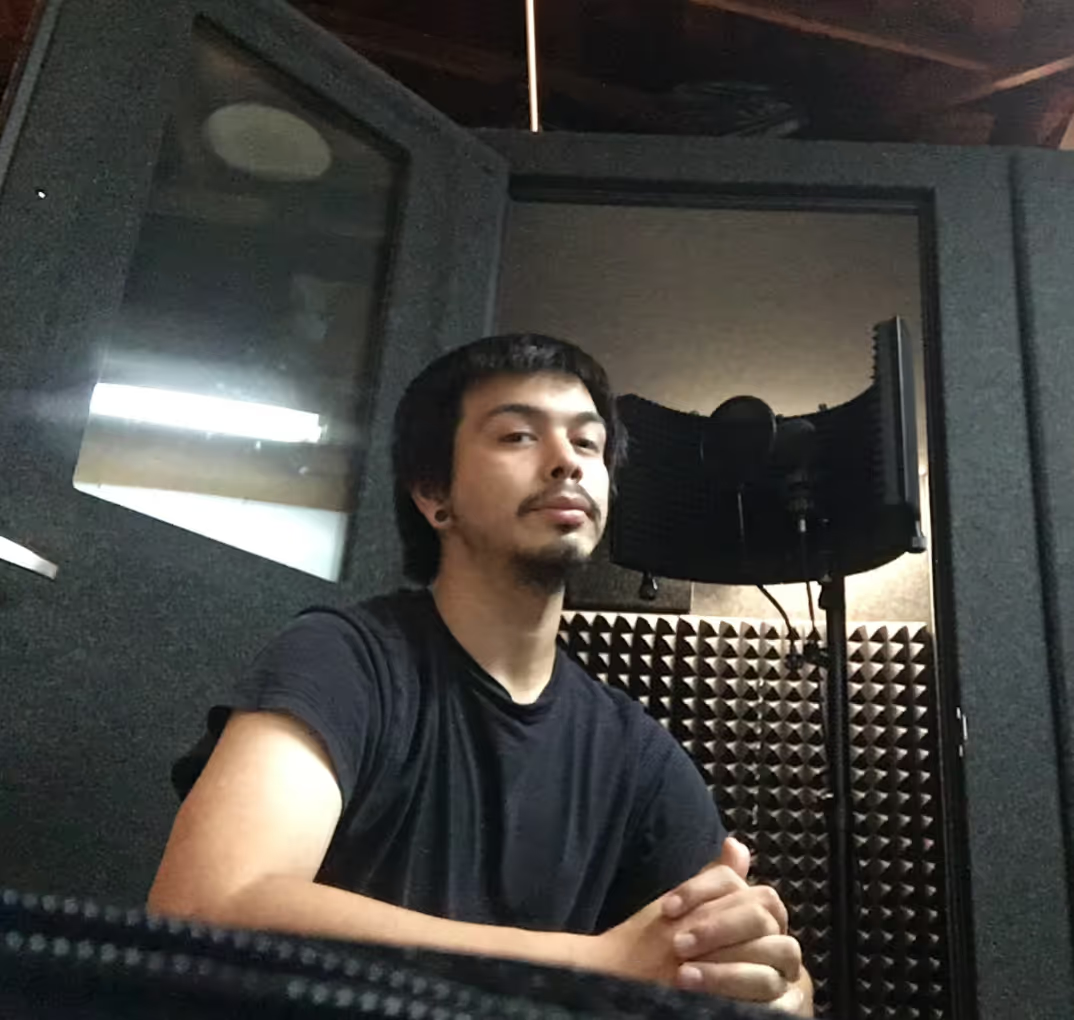
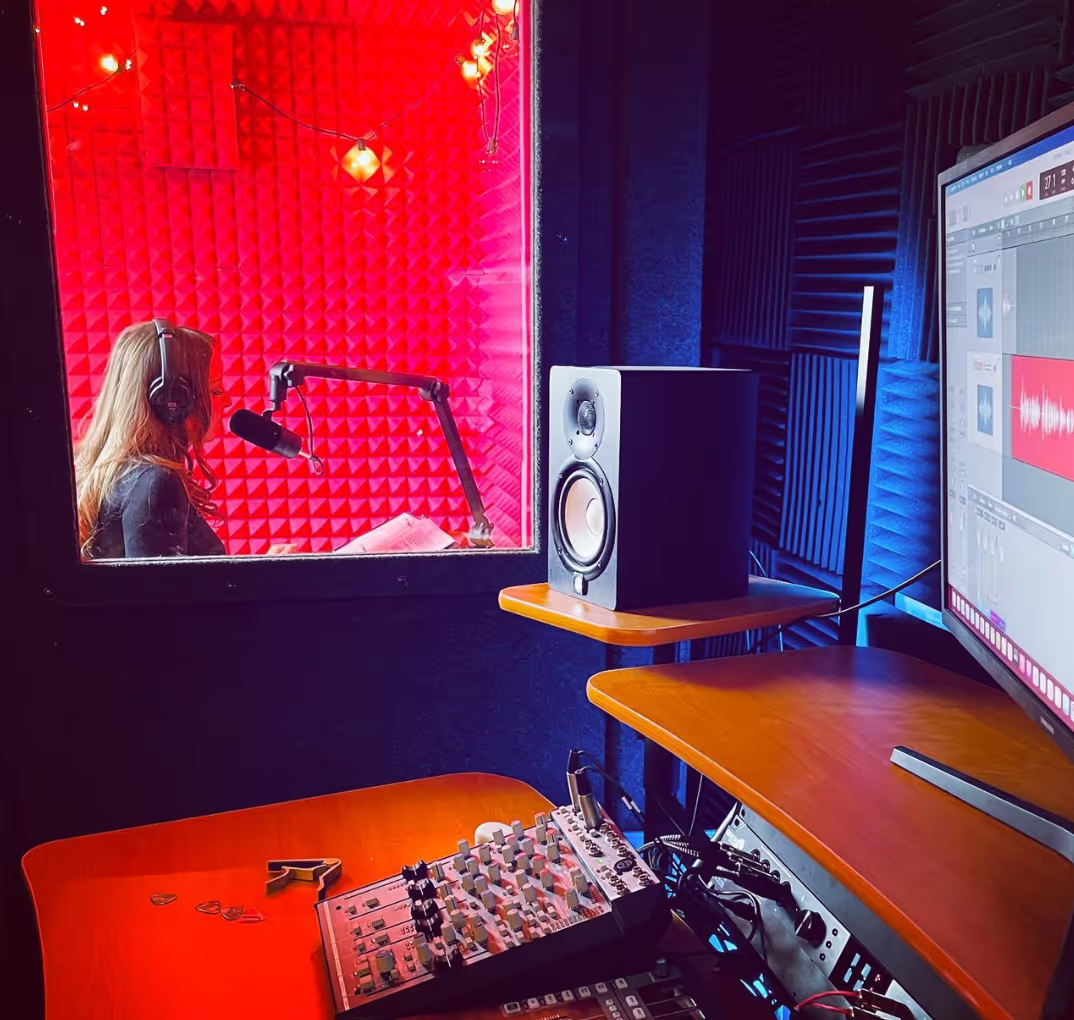
When you’re having problems DIY-ing your home recording space, the key is to find the balance between sound absorption and reflection while also ensuring that the space is almost soundproof. Depending on your available room and resources, there are many different configurations of sound reflecting and absorbing surfaces that can allow you to achieve the cleanest, crispest possible vocal recordings without any unwanted noises.
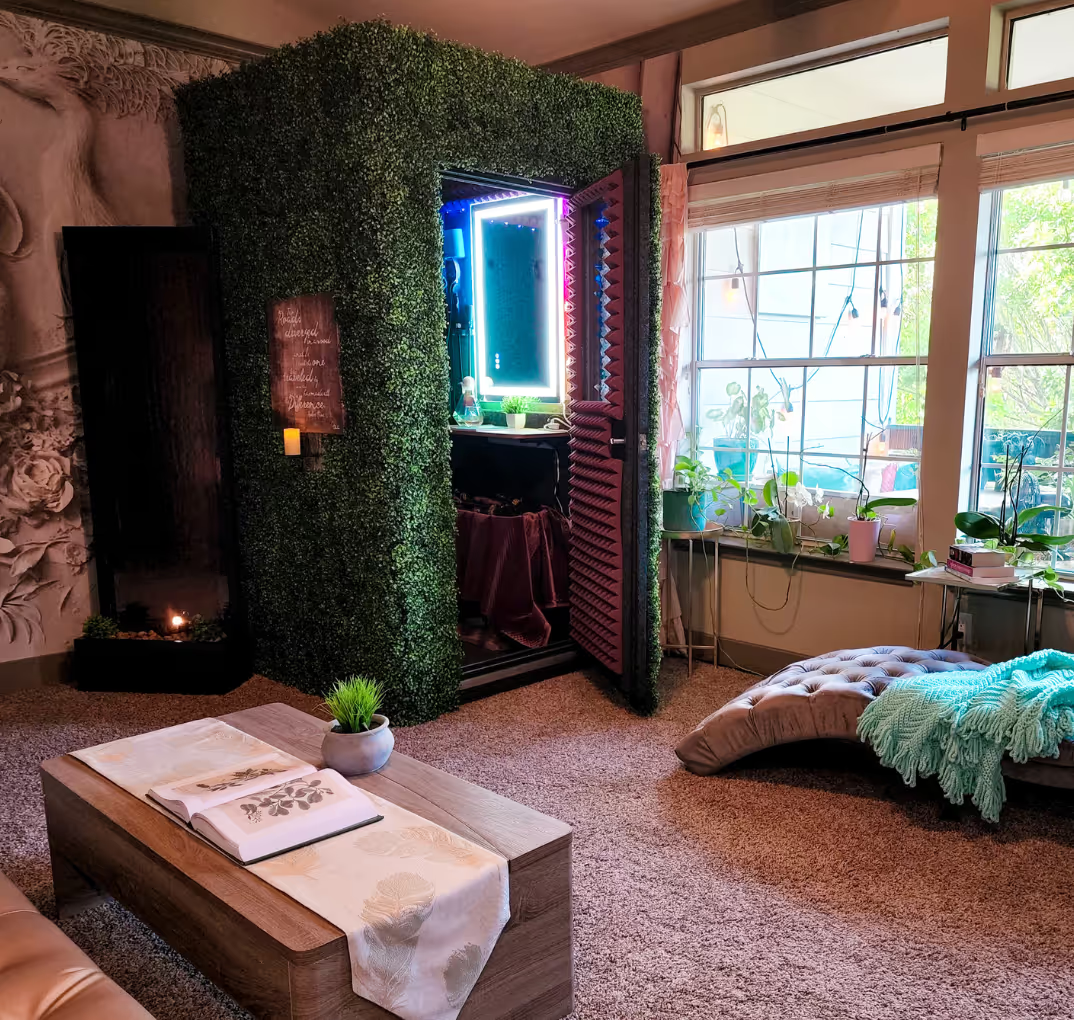
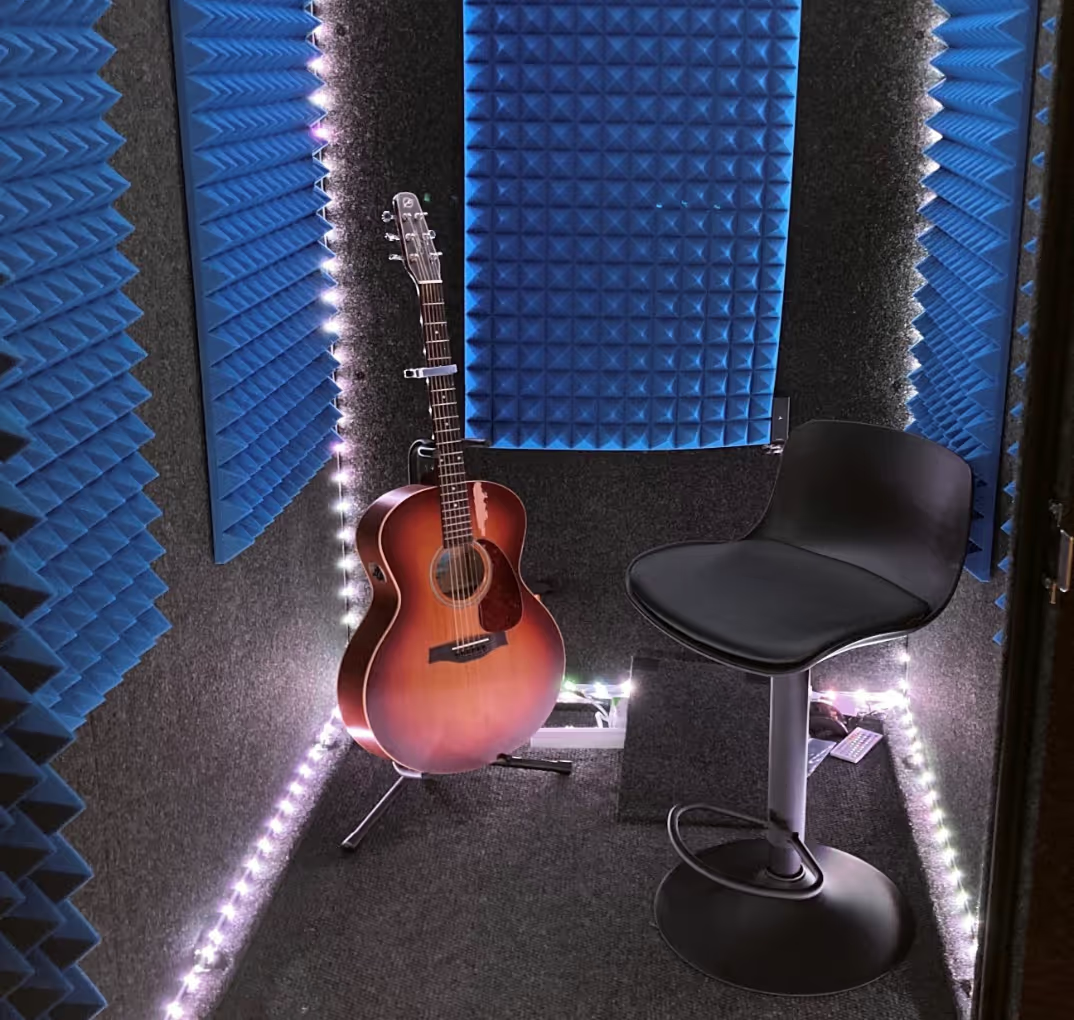
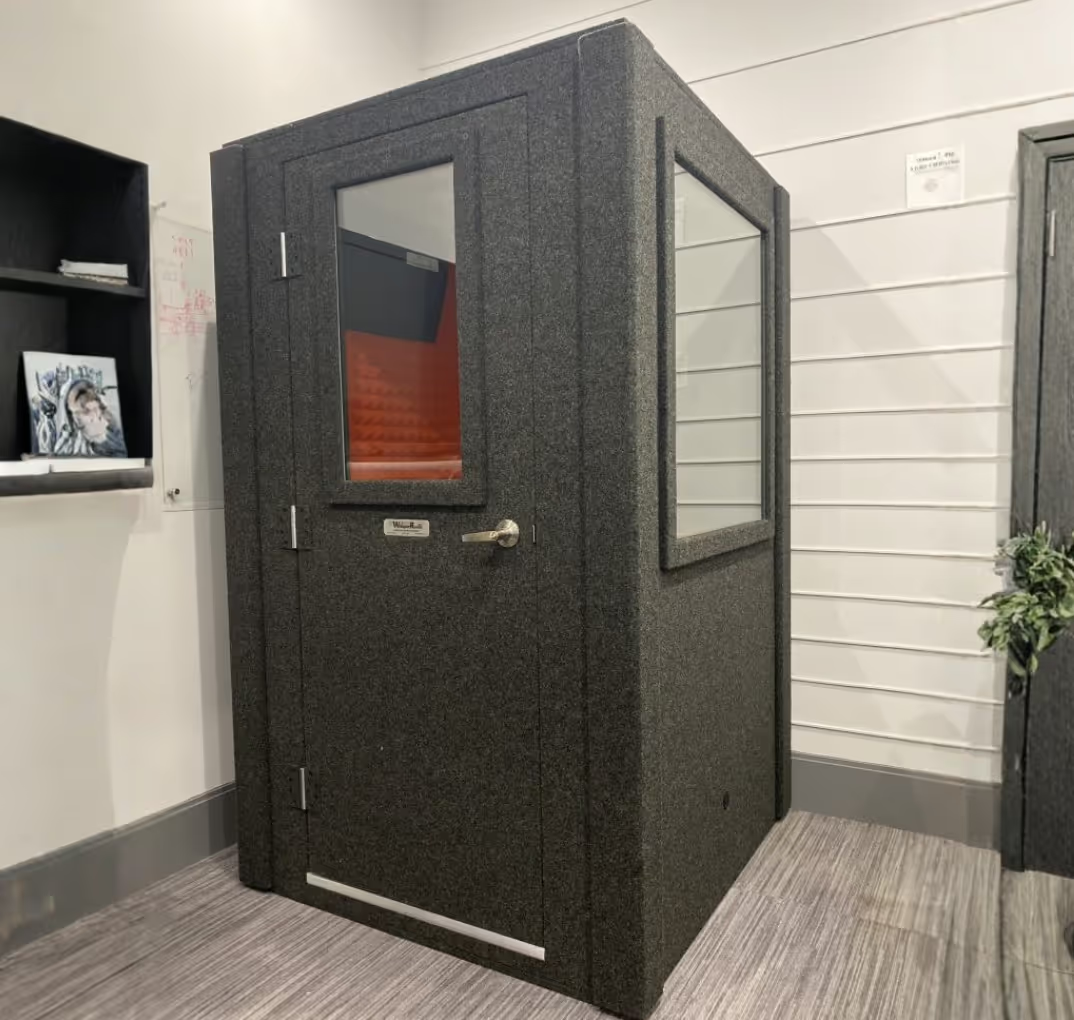
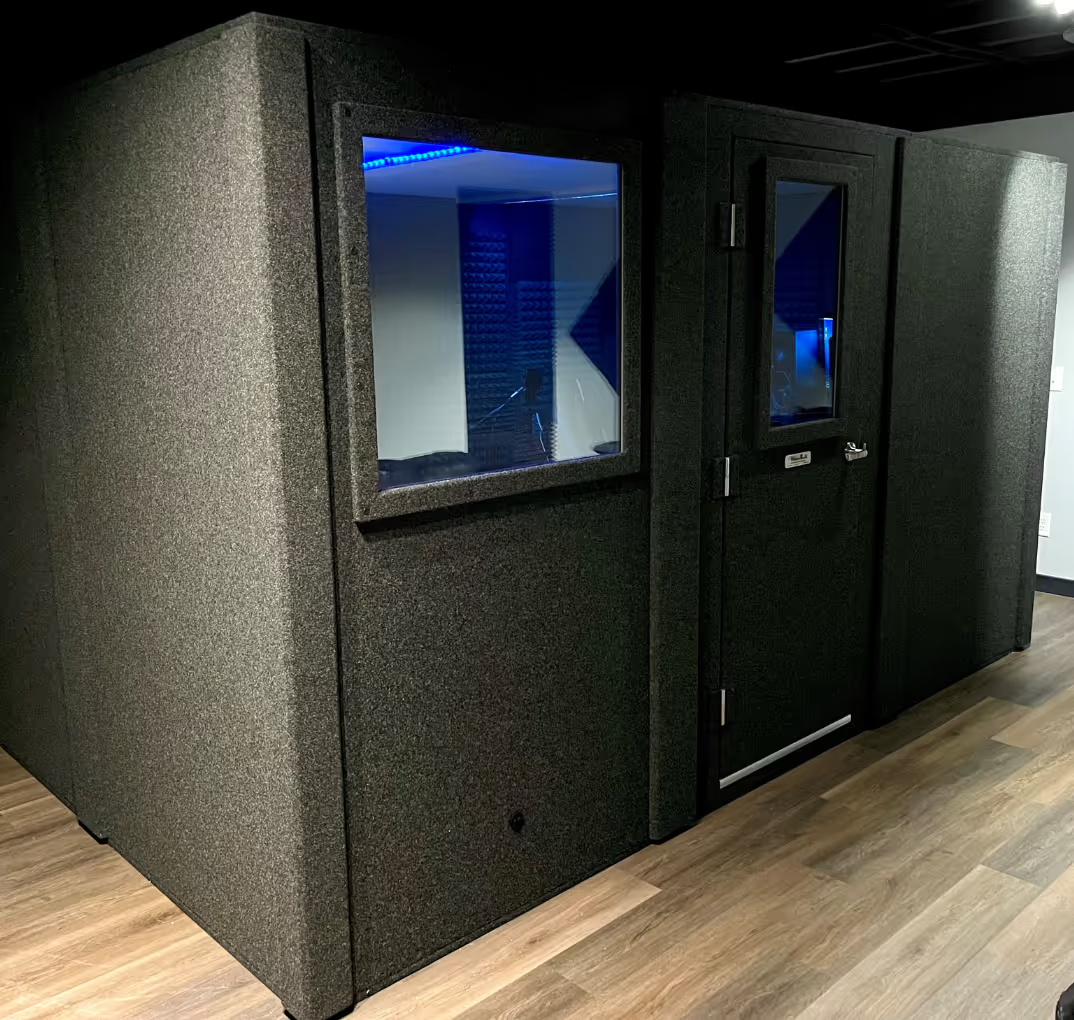
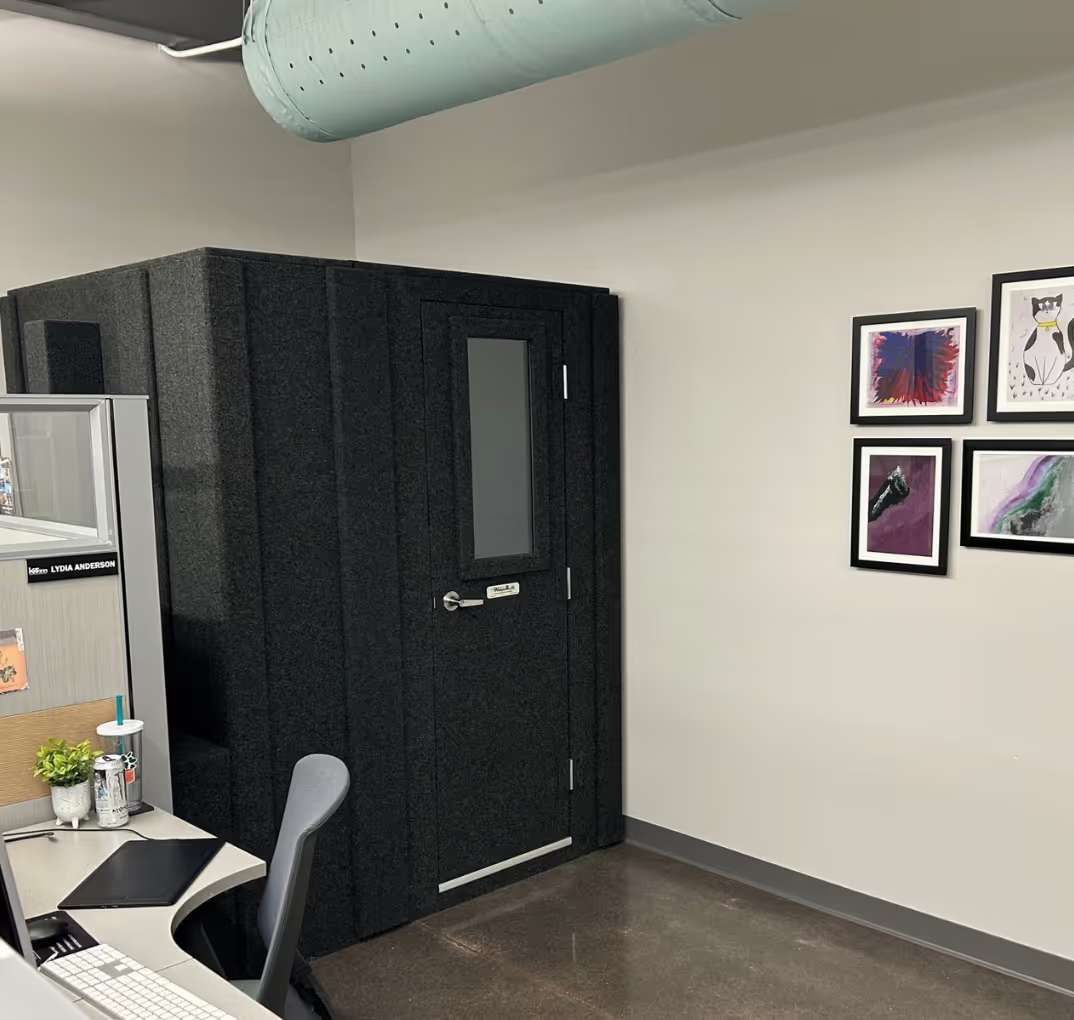
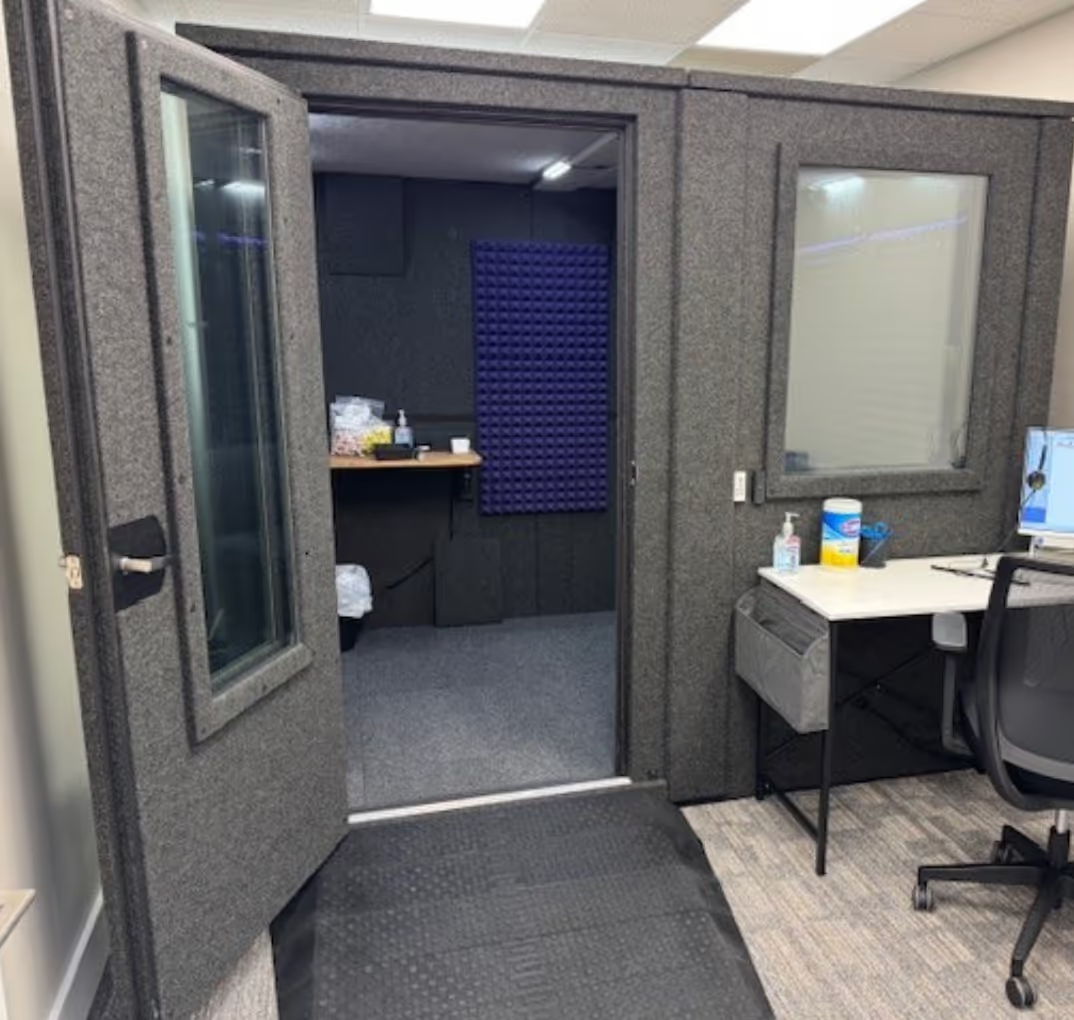
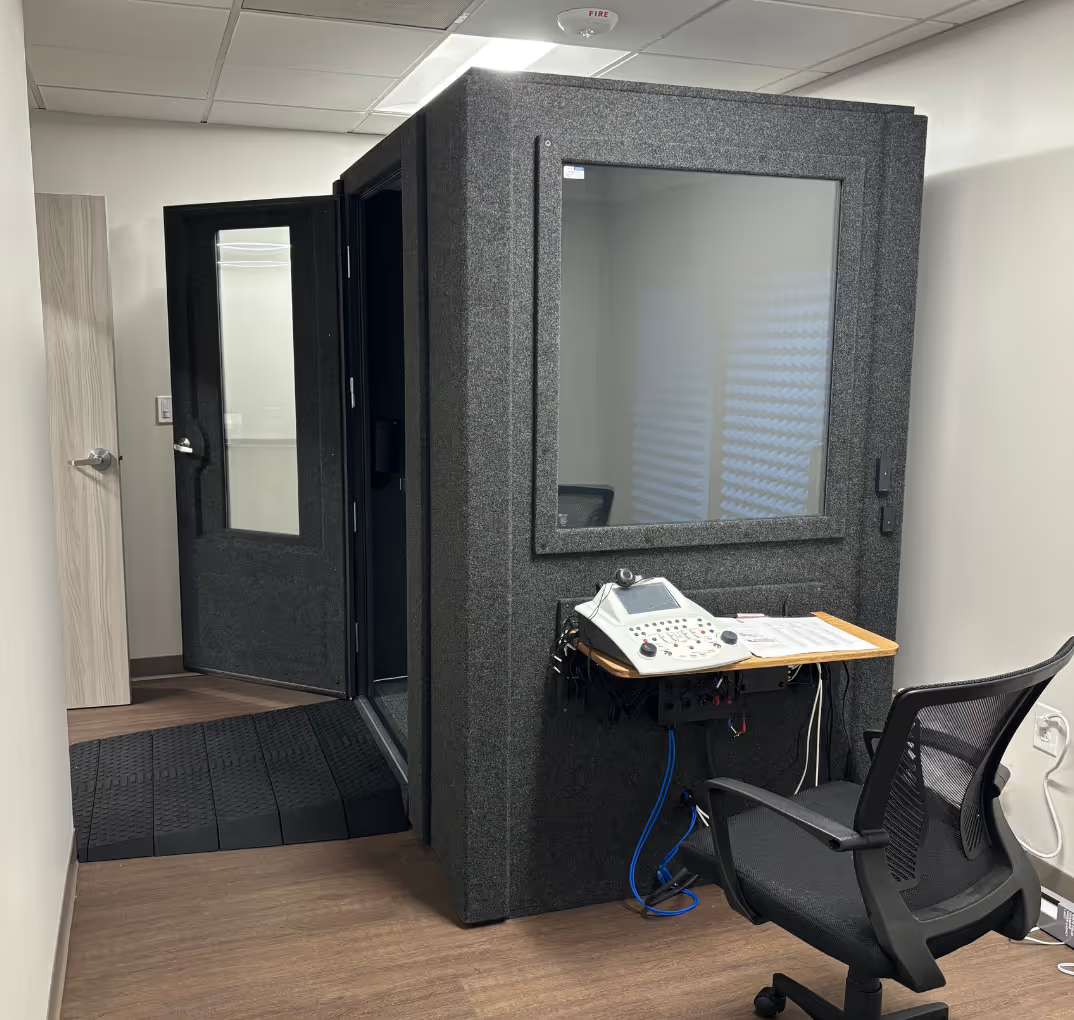
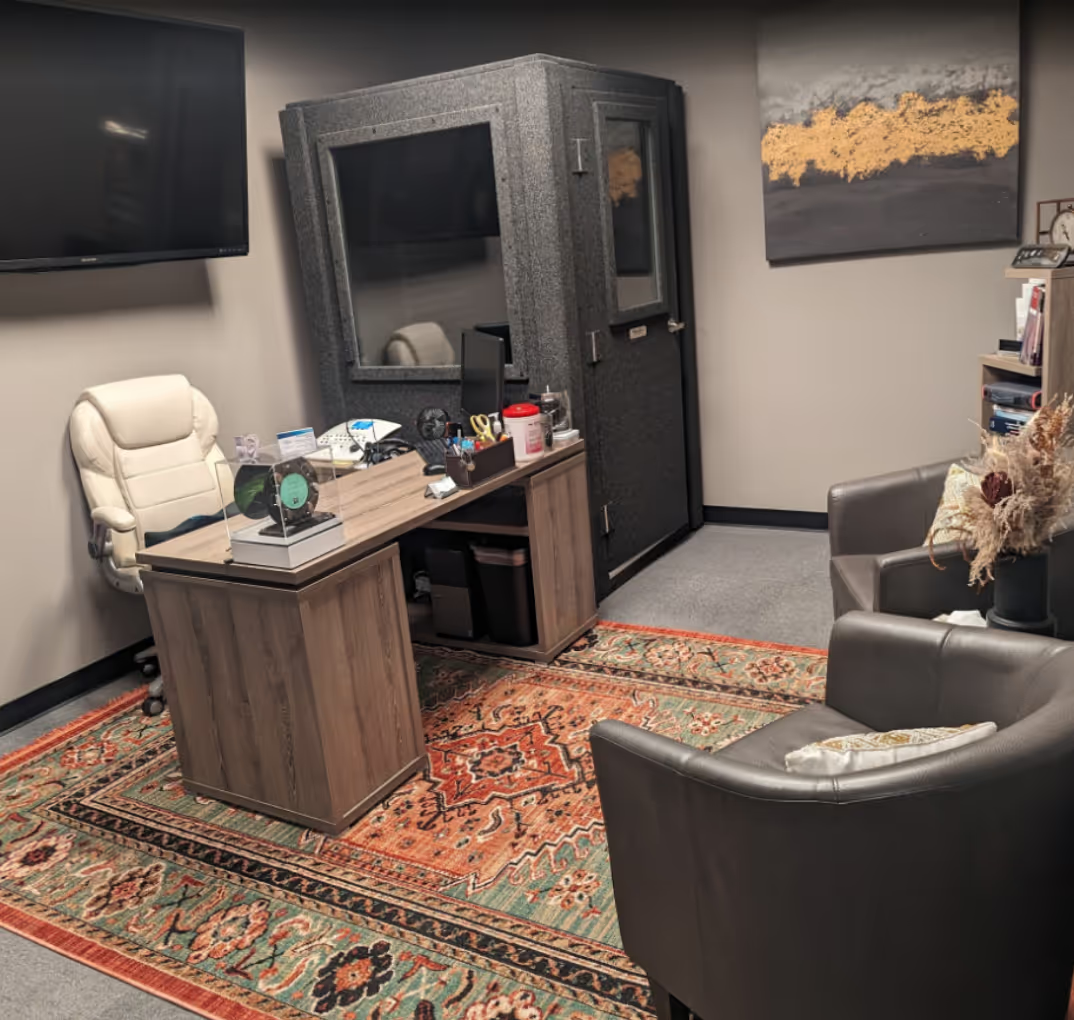
That’s why there are 26 different WhisperRoom™ booth sizes to choose from – modular and expandable plans that can be customized to your specific home recording needs. Work with us to ensure that you’ll never have to record in terrible acoustic conditions ever again.
Outsourcing Audio Mastering
If you’re a beginner at the recording game, there’s nothing wrong with outsourcing the final mastering of your tracks to someone who’s more experienced and suited for the task. However, you should always look towards knowing how to master your own audio. As a studio tech, familiarizing yourself with at least one digital audio workstation (DAW) should be part of your master plan.
Thankfully, given the different DAWs available to anyone with a mid-range laptop today, it’s become much easier to start learning audio mastering. From more complex and customizable workstations like Cubase 10 to free and more basic software like Mac’s Garageband, there’s a large variety of DAW you can start using. This is important because the skill of audio mastering cuts across all studio disciplines.
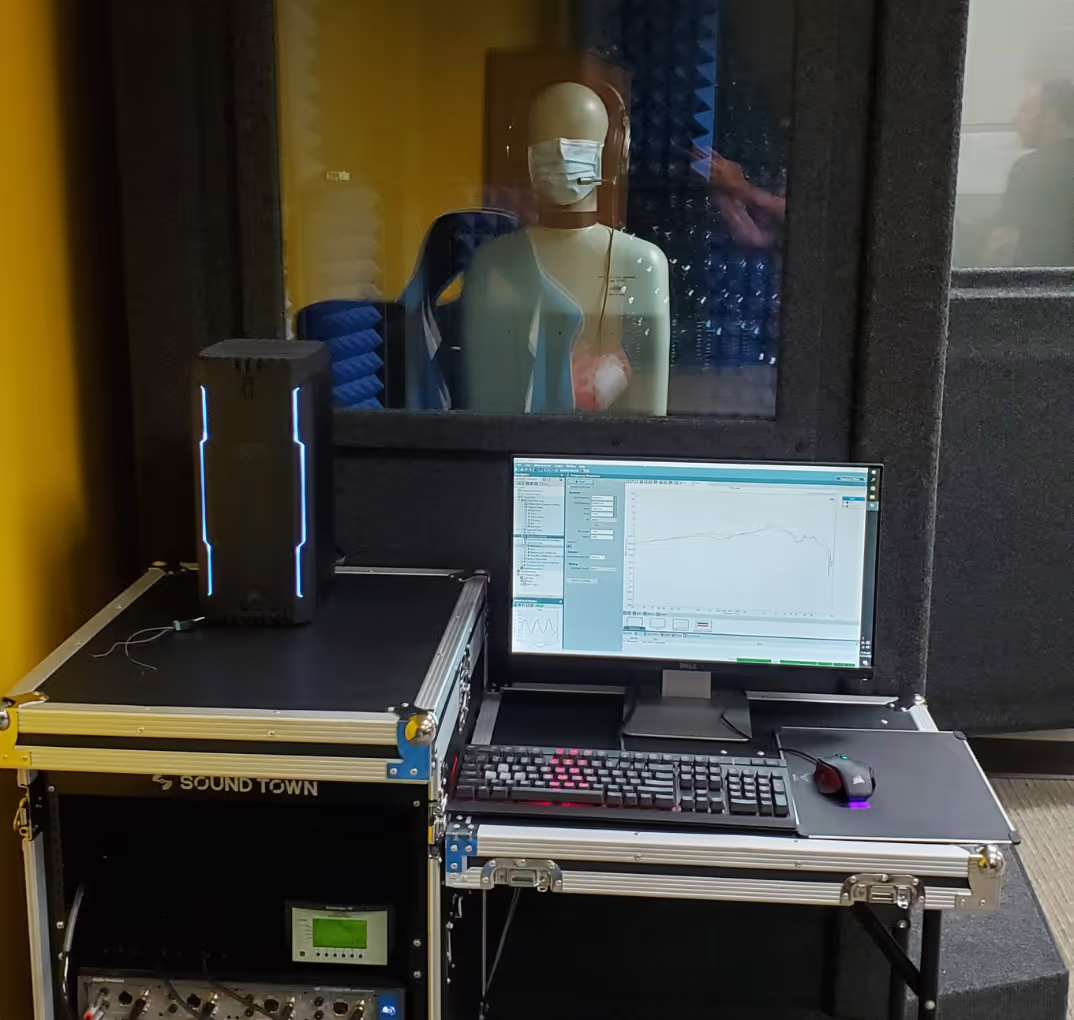
Learning to master your own audio can train your ears for a variety of recording and production work, improve the way you choose and set up audio equipment, increase your knowledge of studio acoustics, and ultimately make you better at any future recording endeavor.


.avif)
.avif)
.avif)

.avif)
.avif)

.avif)
.avif)
.avif)
.avif)
.avif)
.avif)
.avif)
.avif)
.avif)
.avif)
.avif)
.avif)
.avif)
.avif)
.avif)
.avif)


.avif)

