

Explore WhisperRoom's Guide to Sound & Creativity
Find tips, ideas, and advice to sharpen your skills and create your dream studio.
Explore Options & Accessories
Customize your WhisperRoom booth with accessories and options for recording, audiometry, broadcast, and more. Learn how to tailor your booth to your needs.
READ MORE


Discover Something New
Your go-to resource for audio tips, creative ideas, and sound inspiration.
.webp)
DIY Vocal Booth vs WhisperRoom: What Is the Real Cost, Performance, and Long-Term Value?
Thinking about building a DIY vocal booth? Compare real costs, sound isolation performance, ventilation challenges, time investment, and long-term value versus a professional WhisperRoom.
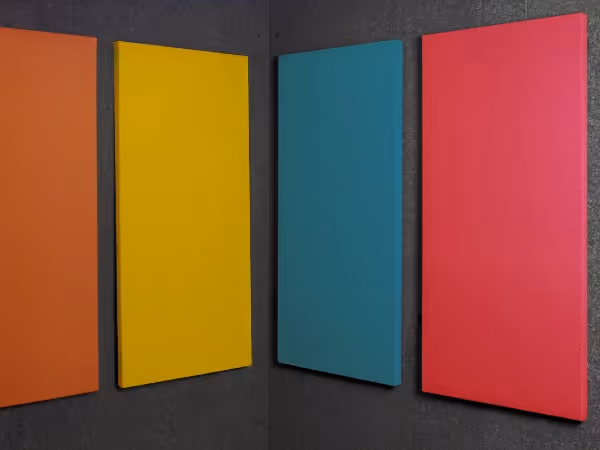
Audimute Acoustic Panel Colors: Real WhisperRoom Installations & Color Examples
See all 16 Audimute acoustic panel color options used inside real WhisperRoom booths. Compare colors, view real installations, and choose the right acoustic package for your space.
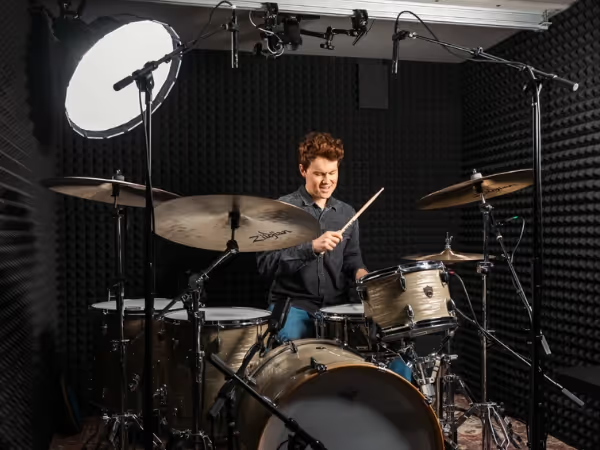
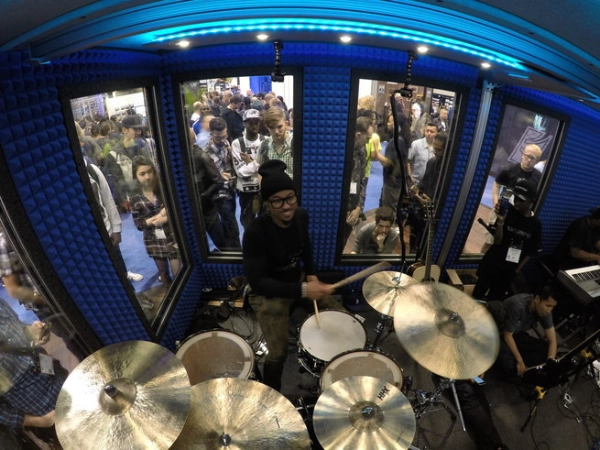
Drum Isolation Booths: What to Look For and Why WhisperRoom Is the Best Solution for Drummers
Learn what makes a great drum isolation booth and why WhisperRoom delivers the best solution for drummers seeking real volume control, isolation, and studio-ready sound.
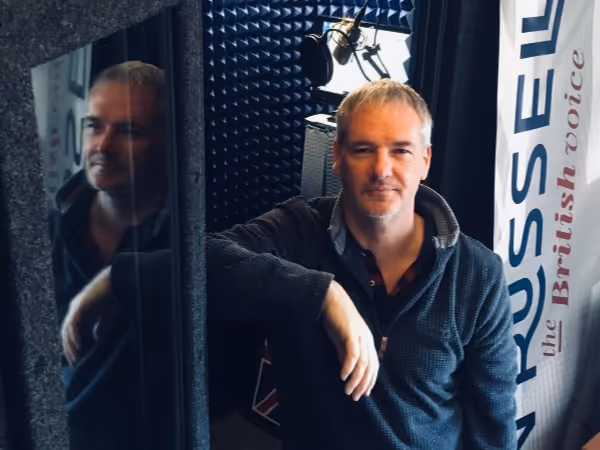
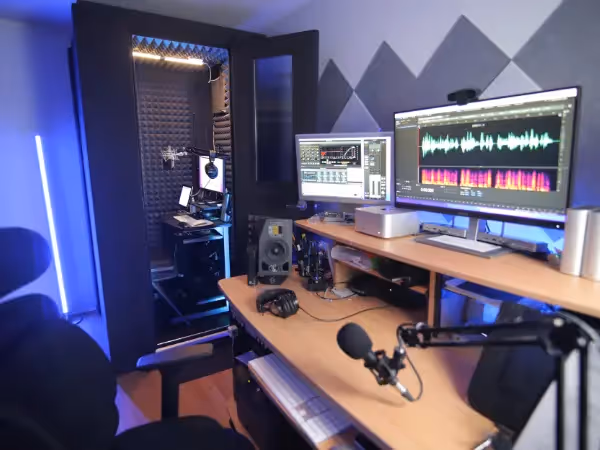
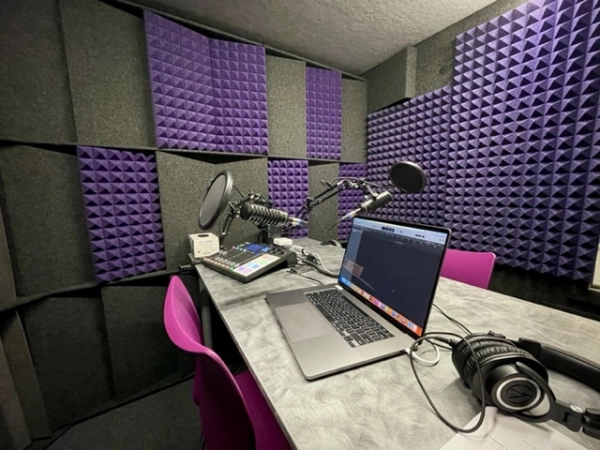
7 Essential Pieces of Gear for Voice Over Recording in a WhisperRoom
Setting up your voice over studio? Learn the 7 essential pieces of equipment VO artists use to record professional-quality audio inside a WhisperRoom sound booth — plus practical tips to help you choose the right gear.
Ready to Experience WhisperRoom?
Get a Quote Today and Find the Perfect Sound Booth for Your Needs.

