This month, WhisperRoom™ is celebrating 30 years of excellence. We had a chat with our company’s President, Ben White, to hear how he got the idea for the world’s first acoustic booth. You have to read the story!
So, where did the idea come from?
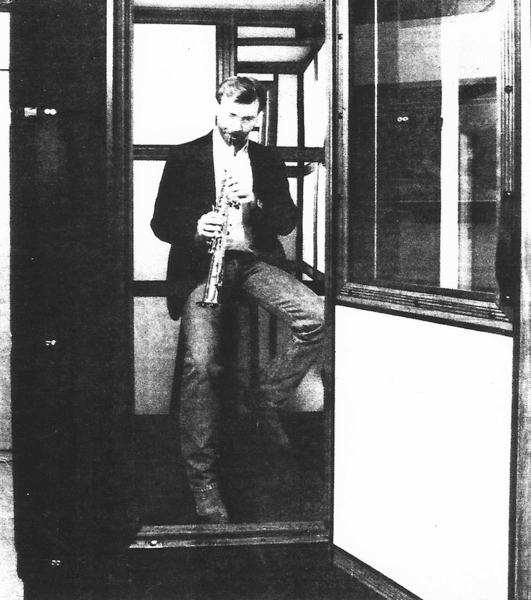
“I used to go to a place called Clyde’s restaurant up in Columbia Maryland. That’s where I used to eat a lot of my meals and I liked a lot of people there. I was taking classes at the University of Maryland at the time and I would sit there and do my studying and drink some beers. One day I went outside, and I laid down under this tree and I was just taking a nap. I woke up when I heard this beautiful music. I finally rolled over and it wasn’t on the radio or anything, it was some teenage kid down by the lake playing his alto saxophone. I thought, “God that sounds pretty”.
I was about 30-years old at the time and thought “I could do that”, “I’m single”, “I can afford it”. So, I went out the next day and rented a saxophone and signed up for lessons. Back then I was living in a condominium and had people living on both sides, above me, and below me; it was a middle unit.
I used to go to all the places around, down in Georgetown and Baltimore to listen to jazz. I went to Blues Alley many times and all the hotspots; anywhere there was a saxophone player. I really got into it. I was practicing like 4 to 6 hours a day sometimes.
After driving all the way down to Baltimore or DC to hear some music, I’d come home at maybe 3 o’clock in the morning and pick up my saxophone and I’d want to play it so badly – but I couldn’t. I’d just sit there and go through the fingerings and you know, puff on it a little bit here and there, but I couldn’t play it because it was too late and the neighbors wouldn’t appreciate that.
At that time, I was working a rotating shift as a Software Engineer. Some days I would work nights and I was off during the day. So, during the day, I would practice, thinking that most of the people were at work and I could play a little bit more. I used to even go out on my patio deck to sit in the sun, drink an Irish coffee, and play my saxophone. At that time, I wasn’t any good. I was just going through the basic scales, practicing my long tones, and stuff like that. That went on for a while and then I realized that I need a place to play. Where am I gonna go to play and practice? So, I was making the best of it.
One day I walked into Clyde’s and there was this woman sitting at the bar. I went over and sat next to her and we started talking. During the conversation, I asked her, “well where do you live?”. She said the Pines Condominium Complex and I said, “that’s where I live!”. She said, “no kidding!”.
We started laughing and she says, “Have you ever heard that idiot that plays that saxophone on his back-patio deck?”. I just started cracking up laughing and she asks what I’m laughing at. I said, “that’s me…”. That’s when I realized that I’ve really got to do something. Needless to say, I never talked to that girl again.
A week or so after that, I was driving home to visit family and thought “I’m either going to have to move into a house somewhere where I have privacy to practice my saxophone or I’ve got to build something that I can get in and play”. I thought it through and decided that I was gonna build something.
You know, that’s not a bad idea…
When I got back to Maryland, I went to Heckengers (it was like a local Lowes or Home Depot) and I drew up a design. It was like a box, a big 5’x5′-foot black box. I looked at the materials they had and everything, then I built this big room out of plywood and I put carpet on the outside of it and I designed a ventilation system for the rear of it that was baffled so the sound wouldn’t get out. I had these two big 20″ fans on the back, one pushing and pulling air. I had this big 4’x4′ window in it, and I used to have all my stereo equipment straight across the room so I could use remotes. I would get in there late at night when I’d come back from Georgetown or something and I’d record myself. I’d play it back, then record myself, then play it back. I could do all of that through the window with the remotes.
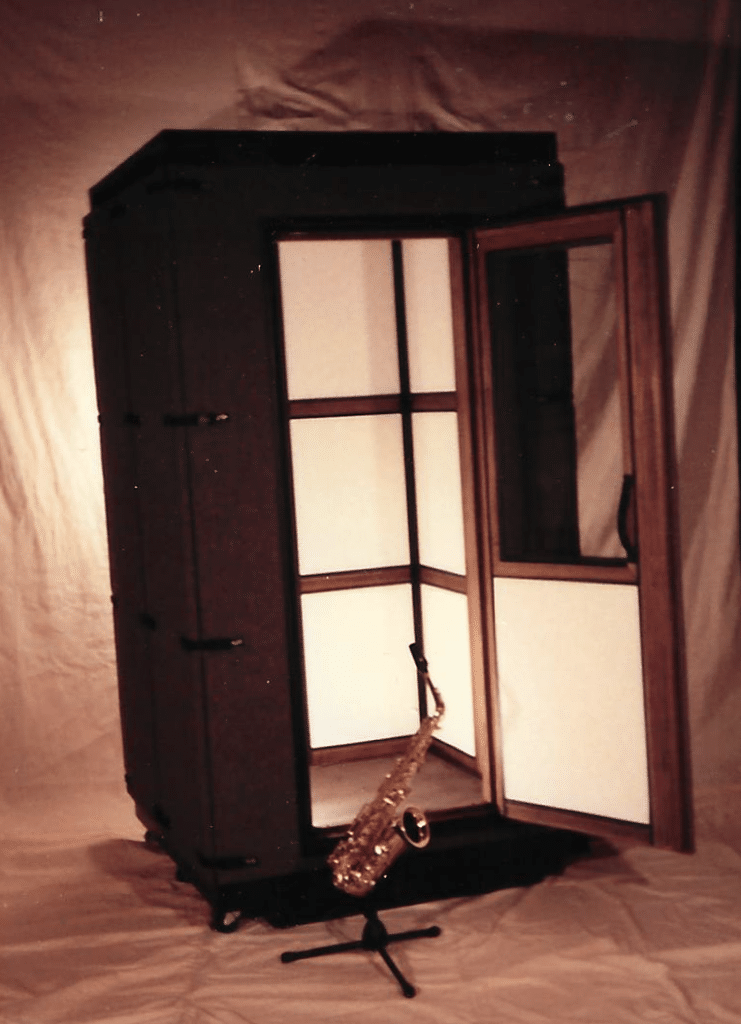
All my friends and everyone who would come over would say, “You know, that’s not a bad idea. That’s a good idea! Too bad there’s not something like that on the market”. So, I checked into it and there wasn’t anything like that on the market. After a while, I thought, “well maybe if I needed it, a lot of other people needed it”. I was thinking about musicians. Somebody who wanted to play their musical instrument, or sing, or something like that. So, I got in touch with an acoustical engineer and I bought some books and started learning about acoustical engineering. You know, the type of glass to use, the wood that works better, what gets the best STC ratings, and all of that. After getting my thoughts together I designed a room. The original one that was patented. Everything was elaborate on it.
I built one for myself, a 4’x4′ room (which we still have at the plant down in Morristown). I put ceiling acoustic tiles in it, three of them per wall. Behind that, it had multiple layers of material. It had plywood, Rockwool, loaded flexible vinyl, a 1/4″ of hardboard, then it had an air buffer, and then the acoustical tiles. It was multiple layers and it worked great. I could get in there and play at three or four in the morning and nobody was ever bothered by it.
So I drew it all up, hired a patent lawyer, and filed for a patent on it. I went ahead and took a year’s leave of absence as a Software Engineer. That freed me up to dedicate my time towards designing and developing the WhisperRoom and getting the patent squared away.”
Celebrating 30 Years of Excellence
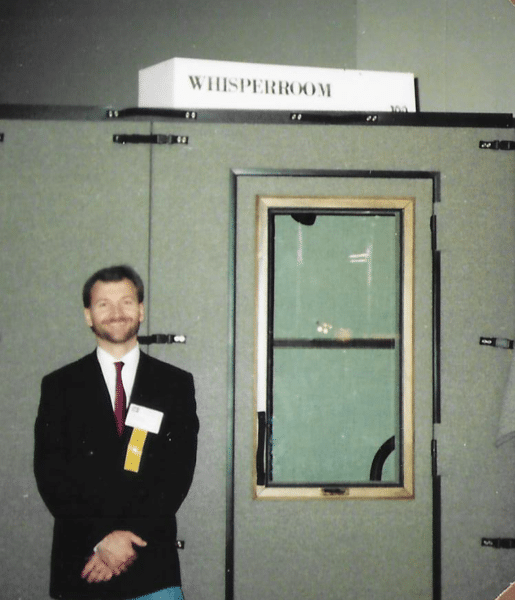
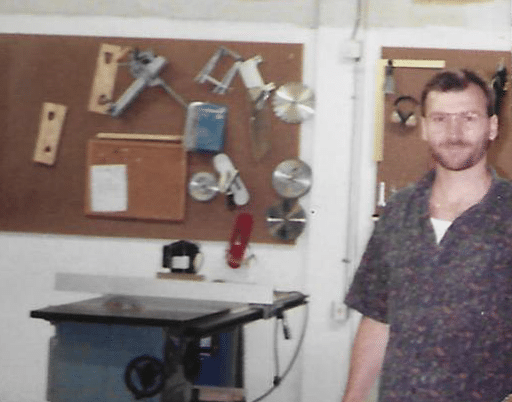
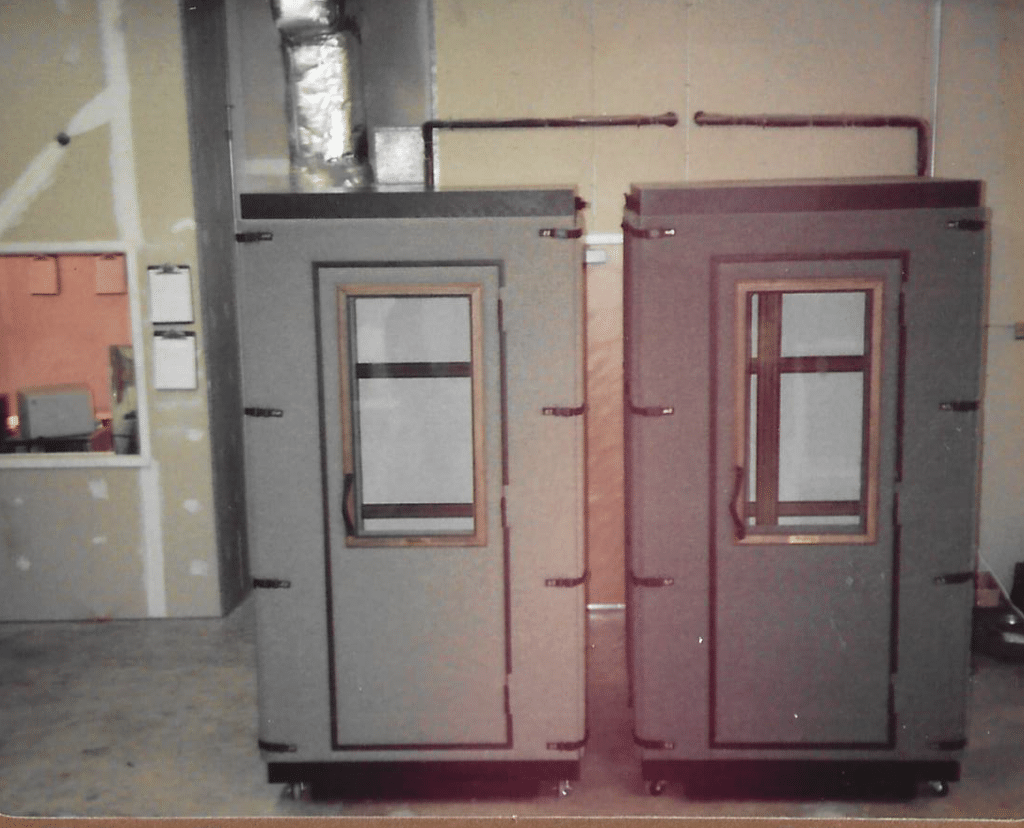
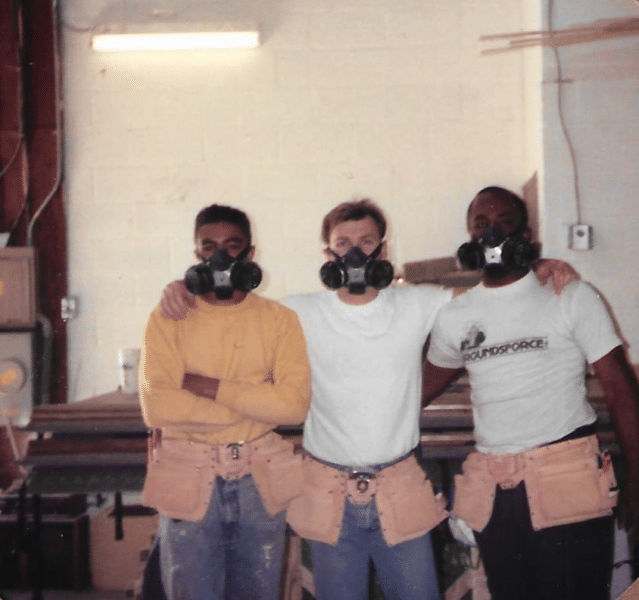
From its humble beginning in 1990, WhisperRoom has grown into the world’s premier supplier of modular sound isolation booths. We have helped several thousand professional musicians, voice actors, broadcasters, audiologists, podcasters, and others achieve privacy to sharpen their craft. Take a look at these old photos from the early years of our company.
Now’s the perfect time to get started on your journey to becoming a musical artist. With so many of us on lockdown right now there is so much free time on our hands. Learning guitar could be the ideal boredom-killer, while also providing you with a chance to increase your skills in a new hobby. The guitar is an excellent choice for both beginners and more experienced musicians. That’s because it is relatively easy to learn and offers a lot of room for creativity.
Why Take the Time to Learn to Play?
There are a variety of reasons why you might want to try this instrument. Whether it’s to create your own music or simply spend your spare time doing something that could be beneficial to you. Even aside from the creative and musical elements of learning guitar, there are so many more advantages, often improving a variety of aspects of our lives; from social benefits to mental and physical health.
At a time like this, learning guitar can be a great way to keep you busy and distracted from all the problems in the world while you are safe indoors, which is a benefit that you simply shouldn’t overlook.
Top 10 Reasons to Give It a Try
- It can give you a new creative outlet
- You can learn to play in a variety of genres; from jazz to metal
- Learn a new skill and become a talented musical artist
- In the future, you could teach others your skills and make money from tutoring
- Learn how to play your favorite songs
- It can help you to become more productive and build self-confidence
- You can express yourself in a new and exciting way (whether it be happiness, sadness, anger, etc.)
- It can be a great escape from anxiety and stress
- Most find that it can improve concentration and memory
- It’s perfect for impressing your friends and family
Learn to Play While Stuck at Home
You’re likely to find that there is a broad range of options available to you when it comes to beginning your guitarist journey – without even needing to leave your home. There are many great online courses and tutors out there who could help you to become the musician you dream to be. Finding the right one can be ideal.
If you want a fast and effective learning experience to set you on the path of success, it’s important that you find the best teachers and lessons that are out there. It might be worth trying a variety of different ones to further enhance your skills as the days in quarantine go by.
If you’re looking for a little advice, you may want to check out our review on the Guitar Tricks program. The course itself could be a great way to learn guitar, so it might be worth taking a closer look at what we have to say if you’re interested.

With social distancing becoming the new normal, it should not keep you from writing and producing music with fellow musicians. The internet has made it easier than ever to make a remote music collaboration with another artist or producer. Even though traditional recording studios have been pretty quiet the past few months, the pandemic has caused a home-studio boom and artists are still making new singles and records.
Many musicians around the globe have set up a home studio as a creative outlet for their cabin fever. But, working in solitude each day can become exhausting if you’re used to teaming up with others in a studio environment. Thanks to technology, working on a musical project in collaboration with another individual has never been easier. Here are nine tips that will help you streamline your next remote music collaboration.
1. Have a Rock-Solid Plan
“If you fail to plan, you’re planning to fail!” – Benjamin Franklin
Creating a rock-solid plan will help you execute your collaborative project. There’s a good chance that you will have some sort of preexisting relationship with whoever you collaborate with. Take time to chat about the project and share ideas about how you’ll complete the project. It’s helpful to establish an open line of communication for when more questions arise.
Decide on the style of the song or the nature of the project, hash out the musical details, and set expectations of who’s responsible for what. A one-size-fits-all planning approach is not suggested. Everyone has a unique style and preferences. We recommend that you create a unique plan for each of your collaborations.
2. Use the Same File Formats
Make sure you know the preferred file format before you ever export a track. It’s helpful to get this squared away when planning, but just ask your collaborator what they prefer if you’re unsure.
Stem files (files with specific musical elements) are a crucial link for remote music collaboration. You need to be mindful when sharing stems because there may be a discrepancy between the two DAWs. For instance, one software might export the files at 32-bit while the receiving user’s software can only open 24-bit files. When all else fails, a good approach is to export the files at the same Bit Rate and Bit Depth that you recorded the project in.
3. Appropriately Name Your Tracks
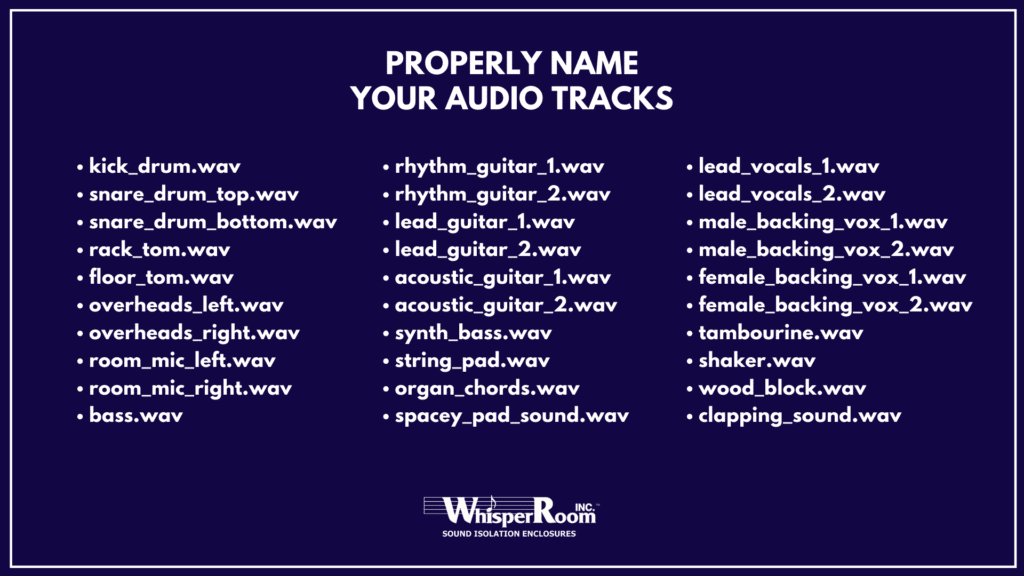
It’s vital to name your tracks before sharing. A typical song might have over 30 individual tracks to it. You might know what instruments “Audio 001” and “Audio 002” refer to, but sloppy file names will cause frustration and confusion for any collaborator.
Use titles that make sense are easily identifiable. For example, a 30-track project might have the following names for the files.
4. Bounce Individual Tracks
Whenever you’re ready to bounce the session’s tracks, export as individual files. Some artists and engineers might have different preferences, but it’s helpful to send everything you have so they will have the most insight into your tracks. For example, the 30-track project that we mentioned earlier in the article could be bounced as 30 individual files. This will give your collaborator full access to everything in your session.
Note: You can share your entire session if you and your collaborator have access to the same DAW. This will help you save time.
Learn how to bounce stems from your DAW by following one of the appropriate links below.
5. Make Sure Everything Lines Up
When preparing your tracks for a bounce you need to make sure that everything lines up. Choose a start and endpoint for each of your clips and be sure to stick with the same parameters for each track that you bounce. It is a nightmare to sync up multiple tracks that aren’t aligned properly.
Preparing stems that don’t line up makes you look unprofessional and lazy. Take your time and double-check your files before sending them.
6. Include Dry and Wet Versions
Generally, you’ll want to send “dry” versions of your stems. Dry stems are files that don’t have any added effects.
Sure, you might think that a reverb-soaked snare drum sounds great and your tape echo helps tie the vocals together but send those tracks separately. By sending stems, you are already limiting the options that your collaborator has compared to when they have access to the whole session. Wet stems (i.e. reverb, delay, etc.) will limit their creative options even more.
It helps to send all the unprocessed “dry” tracks and include additional “wet” tracks if you think the reference is necessary. This way, your collaborator can go to town and get creative by adding their own effects and to the track.
However, keep in mind that every producer, artist, and engineer has their own habits and preferences. Try to square these details away when you’re planning out the project.
7. Send Multiple Takes
Give your collaborator even more options to work their magic by sending multiple versions of the same track. Think “mild”, “medium”, and “hot” when recording different takes of the same track.
As artists, it’s easy to stay in your comfort zone and inclinations, but try to add some variety. This will give your collaborating partner different varieties to play with. The outcome may sound different than what you’re used to hearing, but that can be for the best!
8. Pay Attention to Your Levels
Be mindful of your volume levels and make sure nothing is clipping the master. If any of the tracks in your session are over panned, too loud, or not loud enough, fix the levels before exporting the stems. Do this by lowering the volume of the tracks rather than the master fader. You can select all of the tracks and simultaneously lower the volume levels until nothing is clipping anymore.
9. Use Cloud Storage and File-Sharing
A remote music collaboration will need to be shared multiple times before completion. Thankfully, cloud storage applications make it easy to share files. You can get free online storage (up to a certain limit) on Google Drive, OneDrive, Dropbox, and iCloud.
This will help you efficiently bounce ideas back and forth, keep files well organized, and have an up-to-date thread between the collaborators.
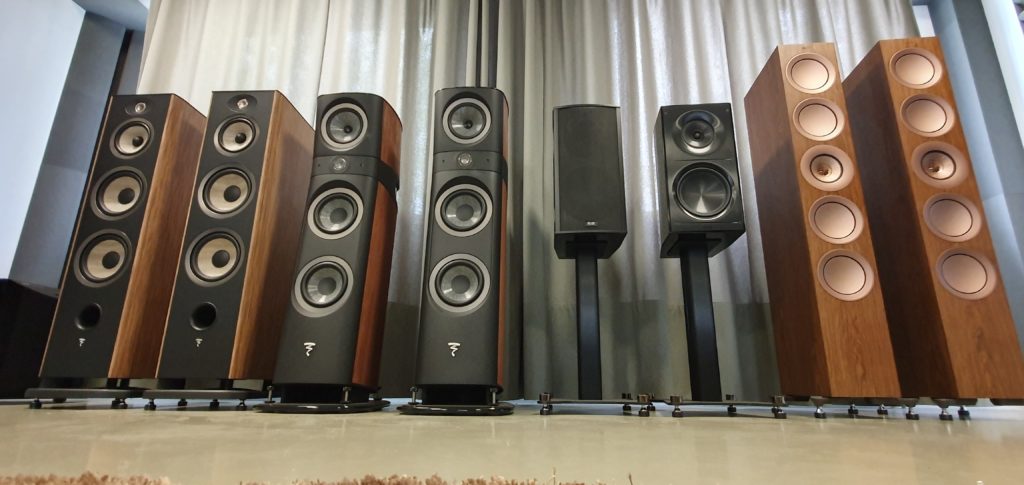
Musicians have a tendency to enjoy loud music, but a volume cranking lifestyle will eventually take its toll on your hearing.
There’s a bit of a stigma when it comes to taking care of your ears and playing music. Some folks don’t want anything to hinder what they hear when rocking out while others think they are invincible. Reasons aside, repetitive exposure to loud noises and noisy environments will eventually punish your ears and cause irreversible hearing damage.
Research shows that professional musicians are four times as likely to develop noise-induced hearing loss (NIHL) when compared to the general public and 57% more likely to get a persistent ringing known as tinnitus.
It’s tragic for a musician to damage their hearing, especially when measures can be taken to prevent permanent hearing loss. Let’s take a look at several ways to protect your ears and prolong your ability to hear.
1. Avoid Frequent & Lengthy Exposure to Loud Noises
Ear-splitting environments are not your friend. Being exposed to loud noises for lengthy periods of time is one of the most detrimental things you can do to your ears. In-ear ringing might stop a few hours after subjecting yourself to excruciating noise, but repeated exposure can lead to unrepairable hearing loss. Make sure to take frequent breaks when practicing with your band.
2. Wear Earplugs to Protect Your Hearing
Earplugs are your best defense against noise-induced hearing loss. When used properly, earplugs will do an excellent job of protecting your ear canal. An inexpensive pair of disposable foam earplugs from your local convenience store will reduce noise by 20 to 30 decibels. However, disposable earplugs are only meant to be used a handful of times and they don’t provide the best protection for low-frequencies and high frequencies.
If you’re an active musician who frequently spends time around loud noises, consider investing in a pair of reusable earplugs. If you need some recommendations, here’s a recent list of the 10 best earplugs for musicians.
3. Use Noise-Canceling Headphones
Over the past decade, many innovations have been made to traditional headphones. Recent noise-canceling earbuds and headphones have become a hot product for audio enthusiasts. They do an excellent job of eliminating excess sounds from ambient background noise so you can better enjoy the music you’re listening to. This allows you to listen to your music much more clearly without cranking up the volume when the environment gets too loud.
Active Noise-Canceling Headphones
There are two different types of noise-canceling headphones, active and passive. Active noise-canceling headphones require a power source and do a better job at reducing lower frequencies. They are usually more expensive than a pair of passive noise-canceling headphones due to the technology that goes into their design.
Passive Noise-Canceling Headphones
On the other hand, passive noise-canceling headphones don’t require any power. They use insulation and sound-absorbing material to reduce background noise. They do an excellent job of reducing higher frequencies. Watch the video below to better understand how both pairs of headphones work and decide if a pair is suitable for you.
4. Don’t Stand In Front of Speakers
Whether you are mixing a track in your studio, practicing band, hanging at a nightclub, or attending a concert, try your best to avoid standing directly in front of the speakers. Loud noises are much more intense when you are near the source of the sound. Try to position yourself next to the amplifiers next time your band rehearses and remember to stand back in the crowd when music is blaring at a live event. Although, a complete loss of hearing is rarely the outcome – its better to be safe than sorry.
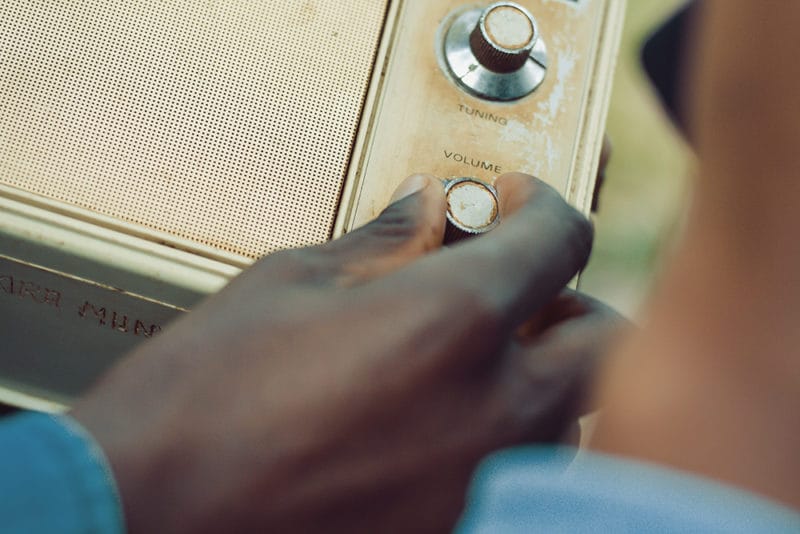
5. Turn the Volume Down
Your inner ear will eventually suffer damage if you make a habit of subjecting yourself to loud music. There is nothing you can do to build up a resistance to loud noises. However, you can turn down the volume. It’s best not to make a habit of practicing at excruciating volumes or listening to music too loudly.
In the short-term, chronic exposure to loud noises rarely cause hearing loss, but over the years it can snowball into irreversible hearing damage that will affect you later on in life. Be conscientious of the volume of noise that you make yourself endure and try to turn down the volume when it gets too loud.
6. Get Your Hearing Checked
A regular checkup can help you prevent serious hearing damage and detect any onset hearing loss. If you’ve been exposed to loud noises and are experiencing muffled sounds, ringing in your ears, hypersensitivity, or any other difficulty with your sense of hearing – it’s time for a hearing test.
Regular checkups will help you gain a better understanding of your hearing health and prevent serious damage from happening. You only have one pair of ears, it’s vital to take good care of them.
A Bulletproof Plan To Grow Your PodcastPodcasts are one of the quickest growing forms of media and they have become part of our daily lives. No matter where you’re located, episodes can be downloaded and listened to at any time.
According to a research study from April 2020, there are over 1 million different podcasts and more than 30 million episodes. Many of these podcasts fall under the category of business, culture, news and politics, comedy, or health. These popular genres break down even further into specific niches with dedicated listeners tuning in each week. So how on earth do you grow your podcast in the midst of all this competition?
Simply stated, word-of-mouth from a loyal fan base is how your podcast will take off. It sounds easy, but it takes a lot of effort and dedication to reach that point.
You’ll Need “The Basics”
Your podcast will have to actually exist before you can put any effort into growing it. We hope you have already chosen an awesome topic, a captivating name, and an entertaining host for the show.
To start a podcast you’ll need some basic recording gear, a quiet space to record, and strong brand identity (an attractive website, social media profiles, an RSS feed, and several published episodes).
Now, let’s take the foundation you’ve already started with and combine it with the following tips to develop a bullet-proof growth strategy for your podcast.
1. Focus on Your Niche Audience
It’s likely that your podcast falls under the category of a specific niche – sometimes very specific. Hopefully, you’ve done the research, have a strong interest in your topic, or can offer valuable expertise that will entertain your listeners. Without proficient knowledge of your niche, you will have a difficult time becoming an authoritative voice.
Brainstorm Topics
Like all creative work, brainstorming is a key ingredient. Spend time listening to other podcasts in your niche to find out what concepts lack proper representation. If you find out that you don’t know enough about the concept, have an industry expert on the show as a guest. It’s important to have endless ideas for different episodes that revolve around your podcast’s main topic.
Understand Your Audience
Who are they? What do they like? How do they spend their time? How do they spend their money? Where do they live? How old are they? These are all important questions to ask yourself as you work to connect yourself to a dedicated audience.
It’s vital that you spend time to learn everything you can about the audience you want to reach. As your show grows, your audience might change. You need to assure yourself that each episode is relevant and noteworthy. Try creating different personas that represent your listeners and constantly consider if your topics would appeal to their ever-changing interests.
2. Engage Your Listeners
Excited listeners will keep coming back. You need to tell unforgettable stories, show a great sense of humor, and entertain your listeners if you want to make your podcast irresistible. Don’t be afraid to put yourself out there.
Encourage Interaction
It’s a good idea to provide a Q&A section towards the end of your show. This will strengthen your relationship with the listeners and help you gain a better understanding of what their needs, wants, and expectations are.
Subscribe, Rate, and Review
Part of your engagement strategy should emphasize subscriptions, ratings, and reviews. Listeners who subscribe to your podcast are your most valuable audience and one of the clearest indicators of your growth.
Excellent ratings and 5-star reviews will help you rank higher in the sections and libraries for your podcast’s niche. They will also give you the opportunity to respond to reviews and read unfiltered opinions that will only help you make improvements.
Social Media Strategy
Strive for a comprehensive social media strategy to share episodes, tag appropriately, and respond to messages and discussions. Mainstream platforms like Facebook and Twitter work great, but take the extra step to engage your audience on the social media platform that they spend time on. Instagram, Snapchat, and TikTok give you the opportunity to get personal and creatively communicate with your fans.
SEO and Blogging
Having an active blog that is relevant to your niche will help you grow your podcast and establish more authority on the topics you discuss on your show. A well-thought SEO strategy will help you better position your website’s articles and episodes on popular search engines.
Although painful to do, adding a transcription of each episode and relevant keywords with links to your show notes will also help your website’s SEO on Google and other search engines.

3. Own Your Brand & Let It Shine
Treat your podcast as a business and continually build your brand. Consider creating additional content to share with your audience. Behind-the-scenes photos of your podcasting process will give your fans a glimpse into your creative process. Make trailer videos to promote across social media and consider video recording each episode in-full to have an upload for your YouTube channel. Creating and promoting unique content will help you differentiate yourself from the competition.
As your audience grows, consider making some merchandise to sell. Well designed t-shirts, hats, and stickers will provide extra revenue for your podcast and will help your efforts of building loyalty and word-of-mouth awareness.
4. Work with Guests
Depending on the nature of your podcast, guest interviews can be a great addition. Friends, industry experts, and influencers will spice up an episode with their stories, opinions, and discussions. Even consider cross-promoting with other podcasters in your niche. If they aren’t a direct competitor, bring them on as a guest and help connect the dots between your niche by letting them do an episode on something that falls within their expertise.
Make it easy for your guests to share the episode with their online audience by providing press kits so they can post across their social media. Having a press kit will help keep your brand’s integrity as your content is shared across the web.
5. Find Sponsors and Affiliates
Sponsors
As your podcast grows, your audience will grow with it. This presents a valuable opportunity to offer advertising space. Some companies will seek you out directly, but it’s wiser for you to find several brands that appeal to your audience. Make a list of prospects and reach out with a pitch for the advertising space. However, don’t be desperate when looking for a sponsor. You need to make sure that your ads convey something of value to your listeners.
Affiliates
Podcasters that are looking to monetize their growing show can earn additional income and reach a larger audience through affiliate marketing. Commissions are earned by promoting a product, service, or website within your podcast. Similar to sponsorship, you will have to reach out to brands that fit your niche and create an agreement that represents their products or services.
After that, you’ll need to provide tracking codes or affiliate links in your show notes to attribute the click or conversion back to your podcast. This is attractive to podcasters because there is no cost – only a reward. You will receive a commission for referring traffic and sales to your affiliate’s online shop.
6. Track Your Growth
Without data, it’s impossible to gauge your growth. Platforms like Podtrac, Blurbrry, Castos, and Anchor will give you detailed insights. For example, you’ll be able to see your listener count, listener growth, episode downloads, email subscriptions, online sales, and more when using one of these platforms.
Different metrics will have different levels of importance. It’s helpful to define several “success factors” to regularly monitor. You’ll have a hard time hitting your targets if they don’t exist. Routinely monitor your success factors to understand how your podcast is growing. Apply the insights to your advantage. For instance, if one episode had lots of downloads, consider making another one in the same format. Tracking your statistics will give you the power to make informed decisions for growth in the right direction.
7. Improve your Quality
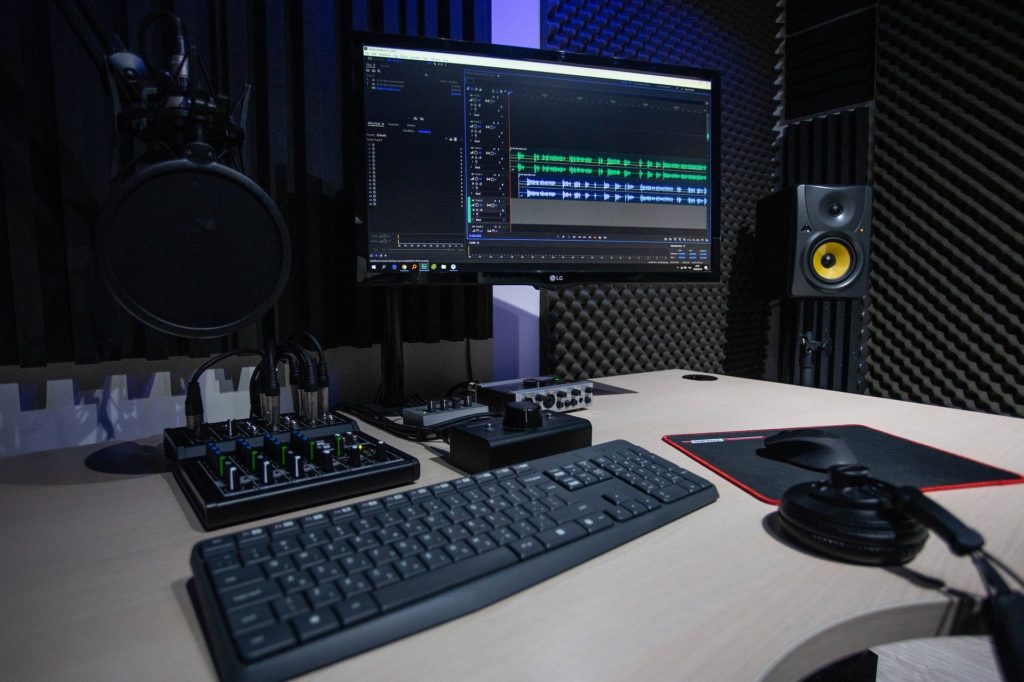
As your podcast grows, you’ll want to grow with it. It’s important to produce the highest quality show that you can. As revenue starts to pour in and your listeners grow, consider upgrading your microphones, purchasing a studio booth, making a new website, or investing in video production gear.
There’s a lot you can do to refresh your brand and improve the caliber of your podcast.
Final Thoughts
Finally, whether your podcast is a hobby, a dream job, or your current full-time occupation, there are many ways to grow your show. You’ll grow your podcast by staying consistent, productive, and entertaining.


